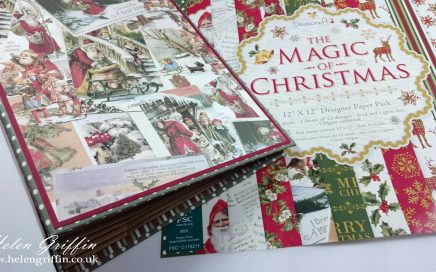
Christmas 2017 BONUS | Part 2 | Ultimate Mini Album
Here we have part 2 of the Christmas mini album bonus. I love how easily this album comes together and can’t wait to fill it with all my Christmas memories.

Here we have part 2 of the Christmas mini album bonus. I love how easily this album comes together and can’t wait to fill it with all my Christmas memories.

This project is a little late due to technical difficulties – basically everything that could go wrong with this project, went wrong! But here it is and I hope you like it 🙂
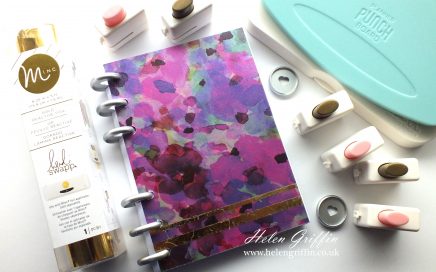
In today’s tutorial, I will be showing you how to make your own notepad using the Planner Punch Board by We R Memory Keepers. I will also show you how to add foiling to your projects without heat – it’s easy too!
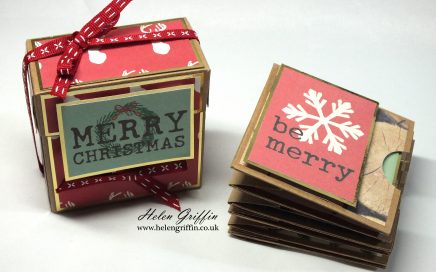
We are making a really cute and fun mini album for Day 8 of this series. It’s actually quite simple to make, but it looks really complicated. I like those types of projects the best, don’t you?
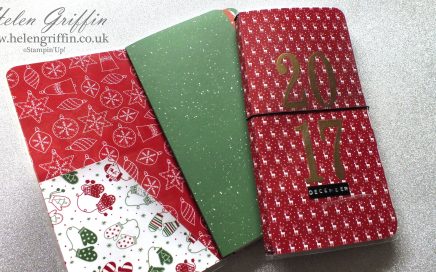
Welcome to the first day of my new Christmas series – The 12 Days of Christmas! I will be sharing 12 Christmas projects with you over the course of November…every Wednesday, Friday & Sunday. The first project is an incredibly useful one and I hope you will agree…and there’s no printer required!
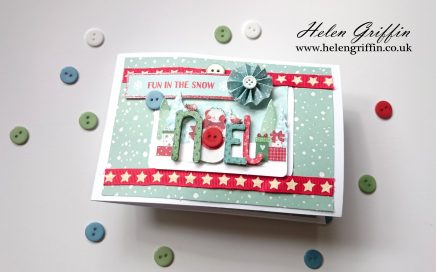
Today’s project was a highly requested one from my Christmas in July bonus tutorial – The giant twist & pop album. Inside I made a mini twist & pop album that sat inside a pocket. You all asked for a tutorial for that…so here it is – with a few surprises inside!
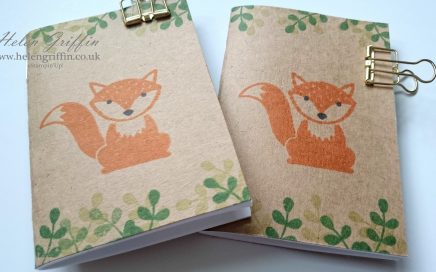
These cute little notepads are so quick and easy to make you can have a whole bunch of them made up in no time! Here’s how…
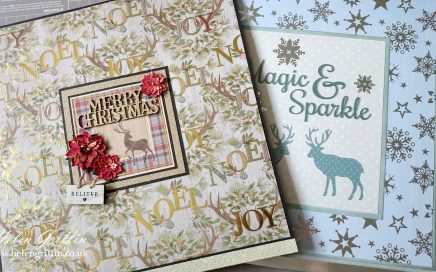
Welcome to the BONUS project for Christmas in July 2017! Yes, you read the title right – a humongous twist and pop turned into a Christmas photo folio album.
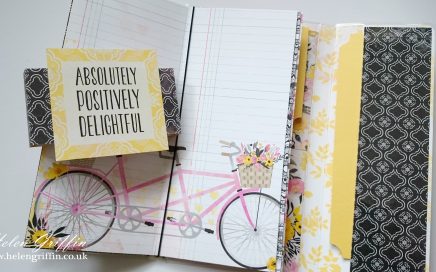
Today’s tutorial is a cute folio with even cuter paper….I really enjoyed making this little folio and can’t wait to fill them up with tiny photos.

I’m enjoying making my own Traveler’s Notebooks (or TN’s) at the the moment and I’ve started to look around for items that I can include or make them from.
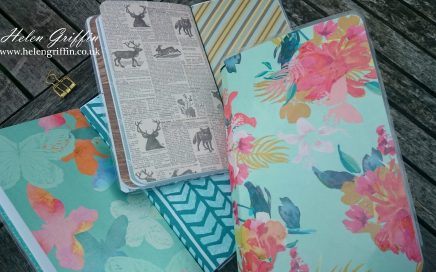
If there ever was a reason for owning a laminator, this project alone would be reason enough. If you have one? Go blow the dust off it. If you don’t have one? Don’t hold me responsible for another gadget added to your stash!
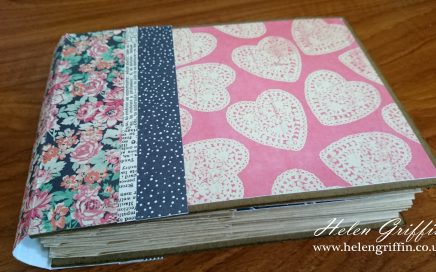
Today I have a paperbag tutorial to share with you today. This one is beginner friendly and all you need are 6 paperbags and your favourite papers to get started.
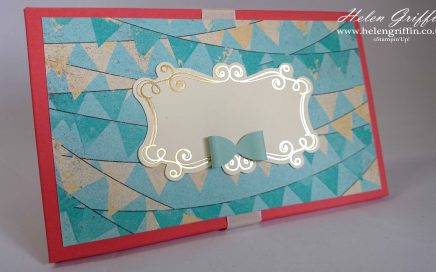
This little album will make the perfect project if you just have an hour or two to complete a something. Especially, if that project needs to be a gift!
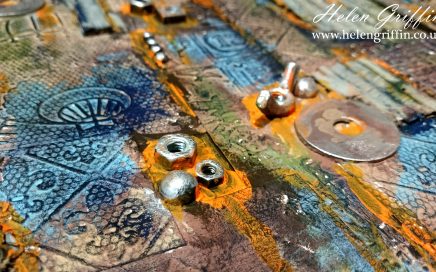
I had an absolutely fabulous time at the IndigoBlu Art Retreat – there was plenty of fun, painting and tea & cake with a bit of shopping thrown in! After a warm welcome, it was time to get my apron on…
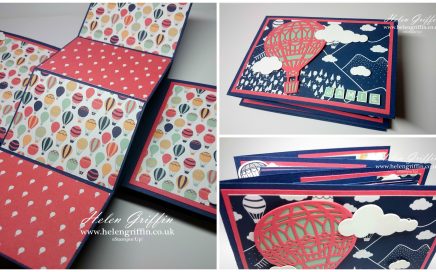
So what happens when you mix together 2 things that you love? In this case I combined my twist & fold mini album and the free SAB Carried Away DSP – the result? Something beautiful that I keep going back to play with!
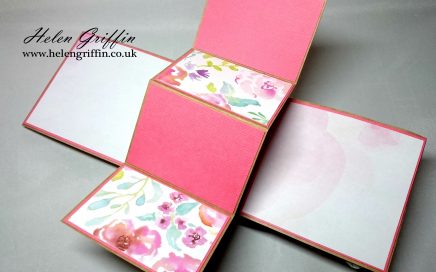
Every now and then, you make a project and it makes you smile with glee every time you go back to it. This is one of those projects – I will never get bored of opening and closing this one.
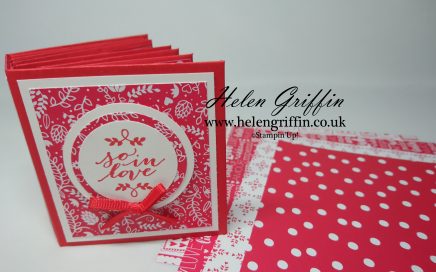
This really is a diddy album, so I’m wondering why this is one of the longest tutorials that I’ve made?! Here is part 2 where I’ll be decorating the book 🙂
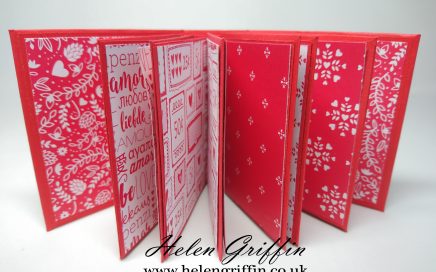
Do I have the cutest little album to share with you today?!!! It’s small and it’s lovely and I show you how to make your own down below…
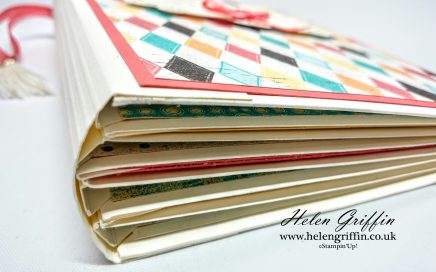
The tutorial for the Cupcake & Carousels Envelope Mini is finally here…it’s another full length tutorial and I hope you all have fun recreating it!
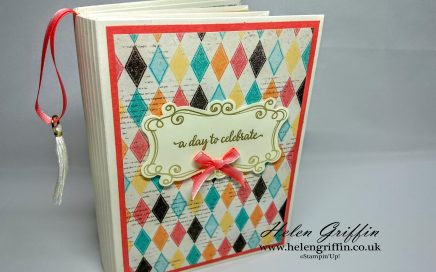
Thank you for joining us for The Pootler’s Blog Hop! We’re so excited to be sharing this hop with you. The products used are all from the new Spring/Summer and Annual Stampin’ Up!® Catalogues. Simply use the links at the bottom of the post to keep hopping!