Every Christmas I make an album to record and share our memories in. My children love to look through my scrapbooks and the Christmas ones are their favourites – it brings up fun memories for them and there’s nothing quite like hearing your children reminisce. Especially if it was sparked from your photos and journaling or even their own.
I can hear you though – “how can I make a scrapbook during December? I’m going to be CRAZY busy! I don’t want to risk a half finished album…again.”
My answer? Preparation & planning is key – just like it is for most things. It will guarantee you less stress and a better success rate.
So what is a December Daily?
It’s an album that records every day in December – it’s a busy time and usually there will be something to record each day. If there is a day where nothing happens, you can fill that day with photos of your decorations, christmas song lyrics or lists of family traditions. You can even put in your lists, receipts and other bits and bobs you’ve collected throughout December – even pretty gift tags that you received with your gifts.
What will I use?
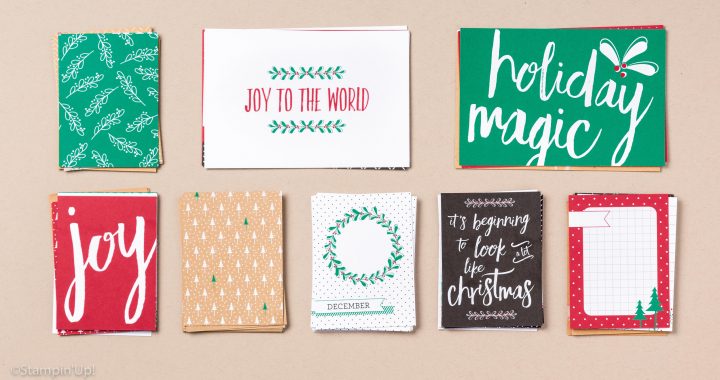
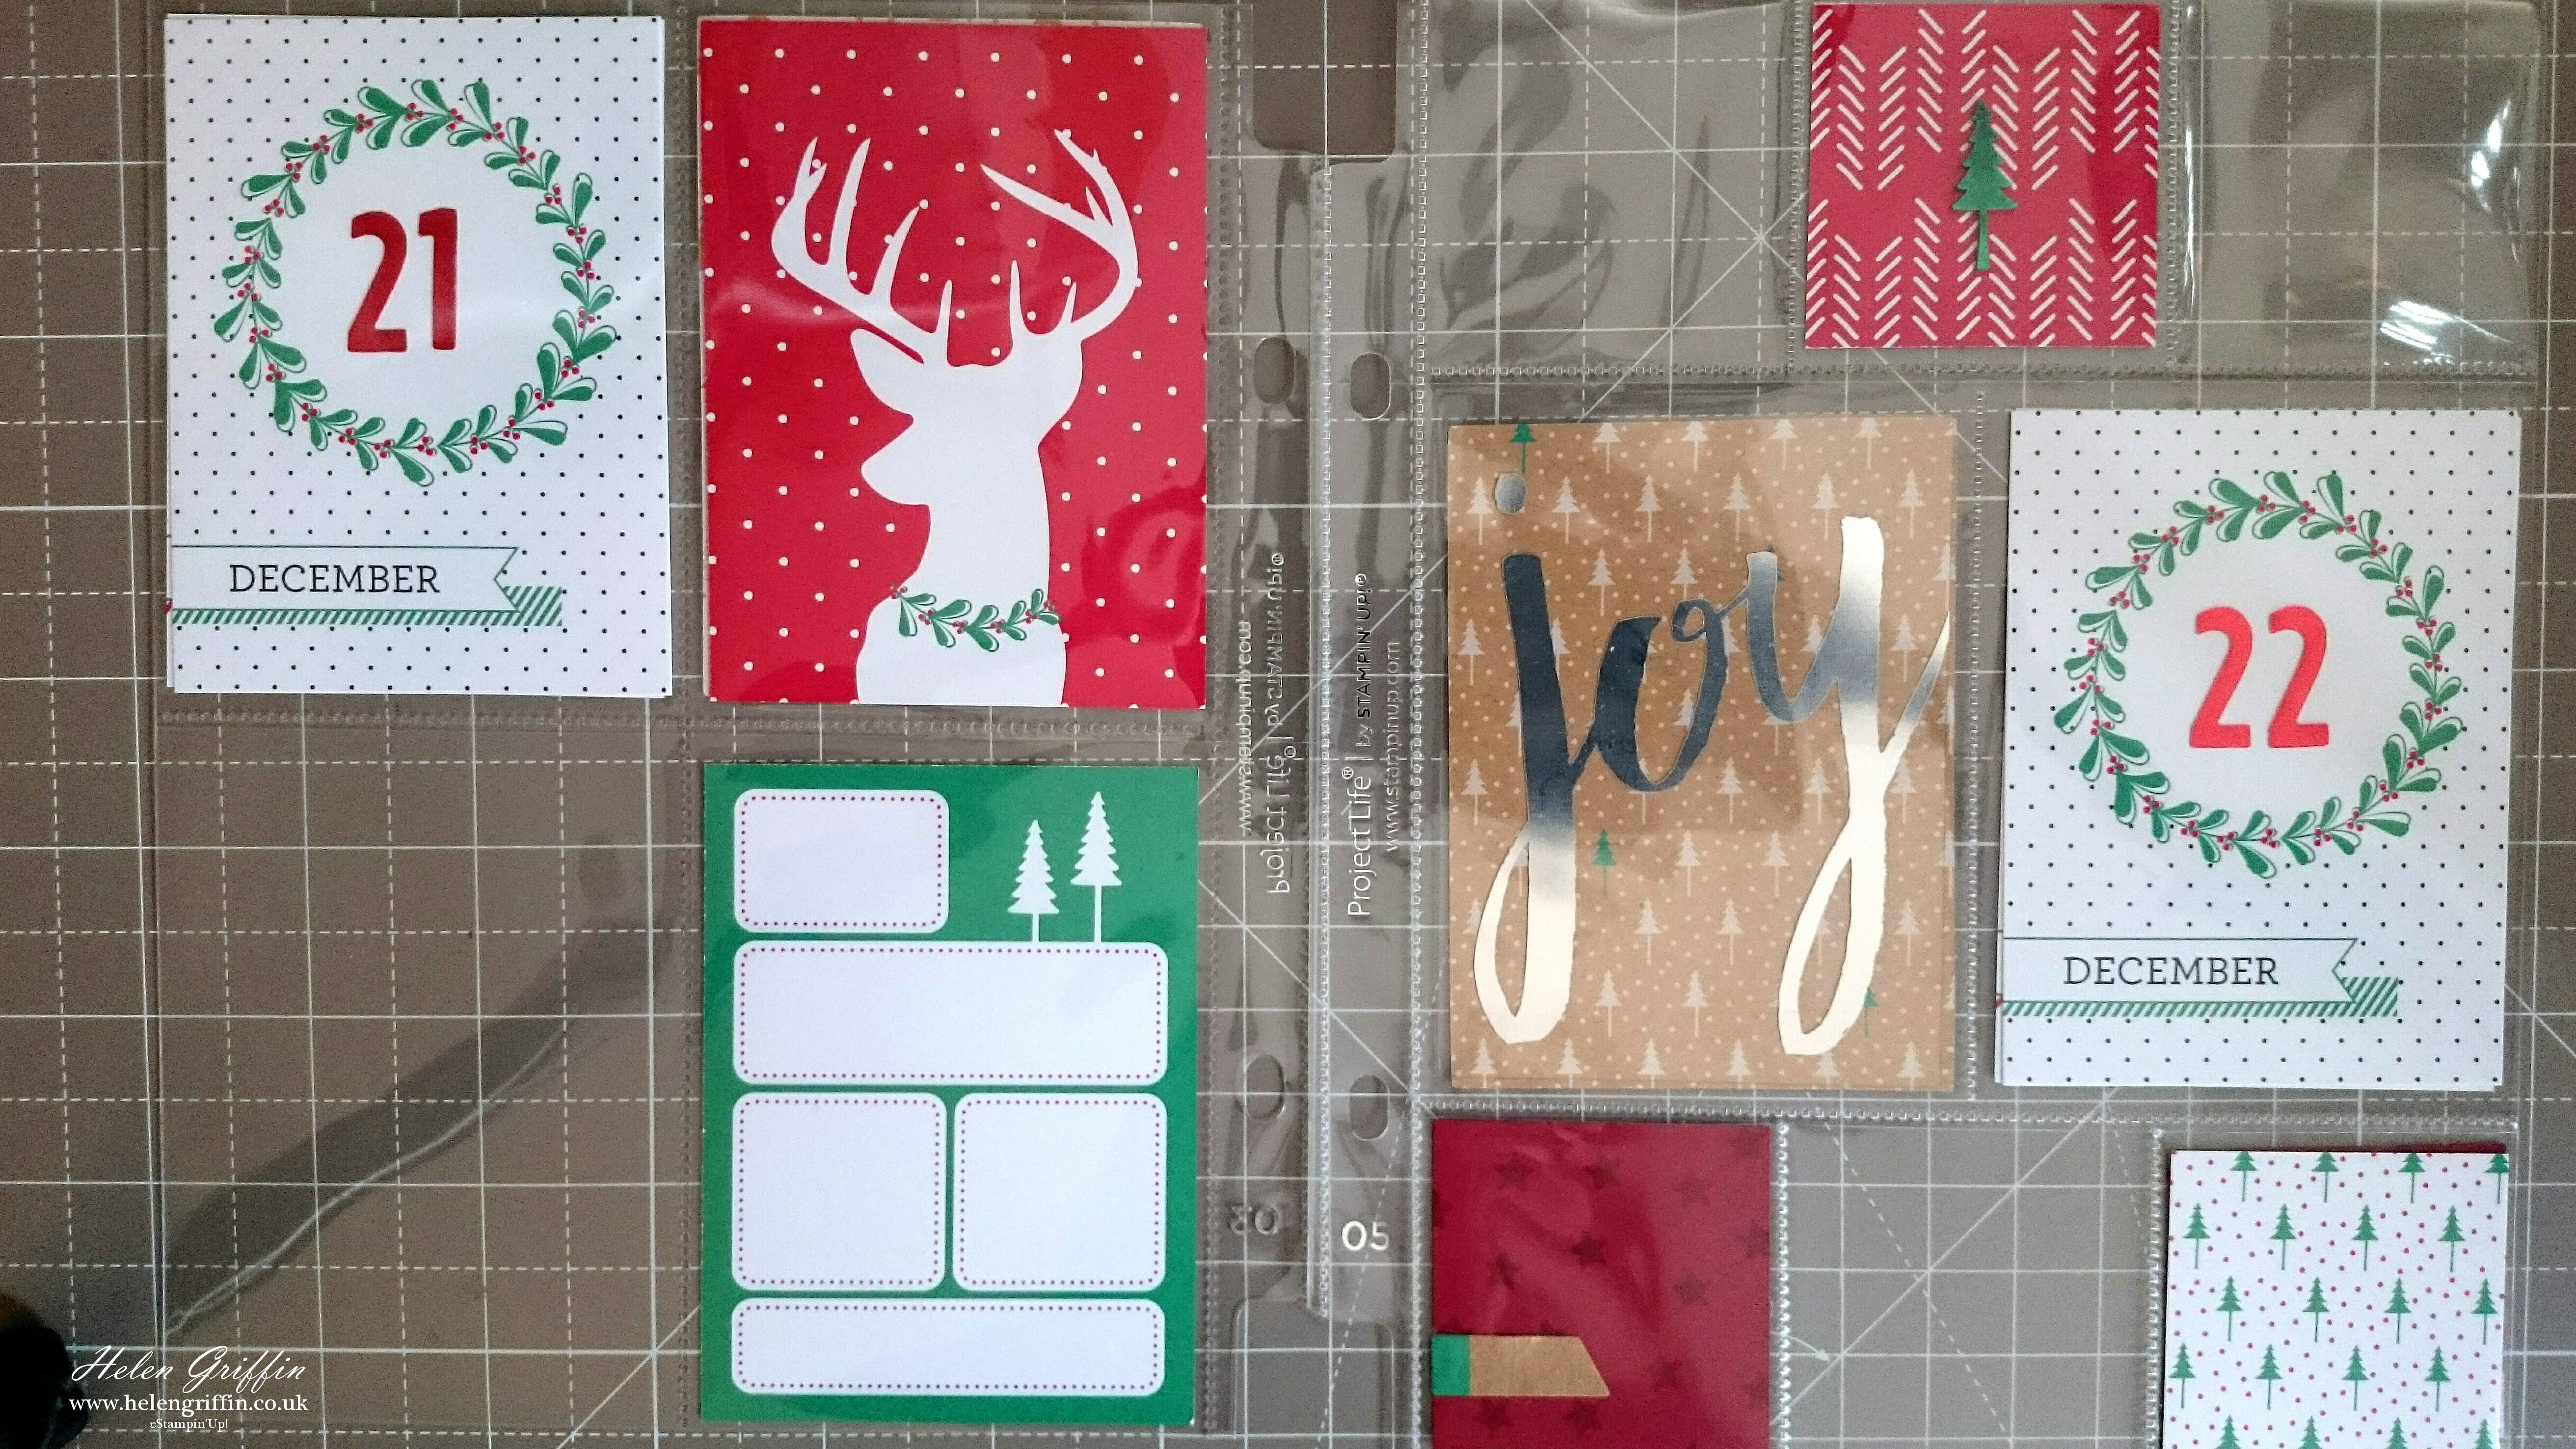
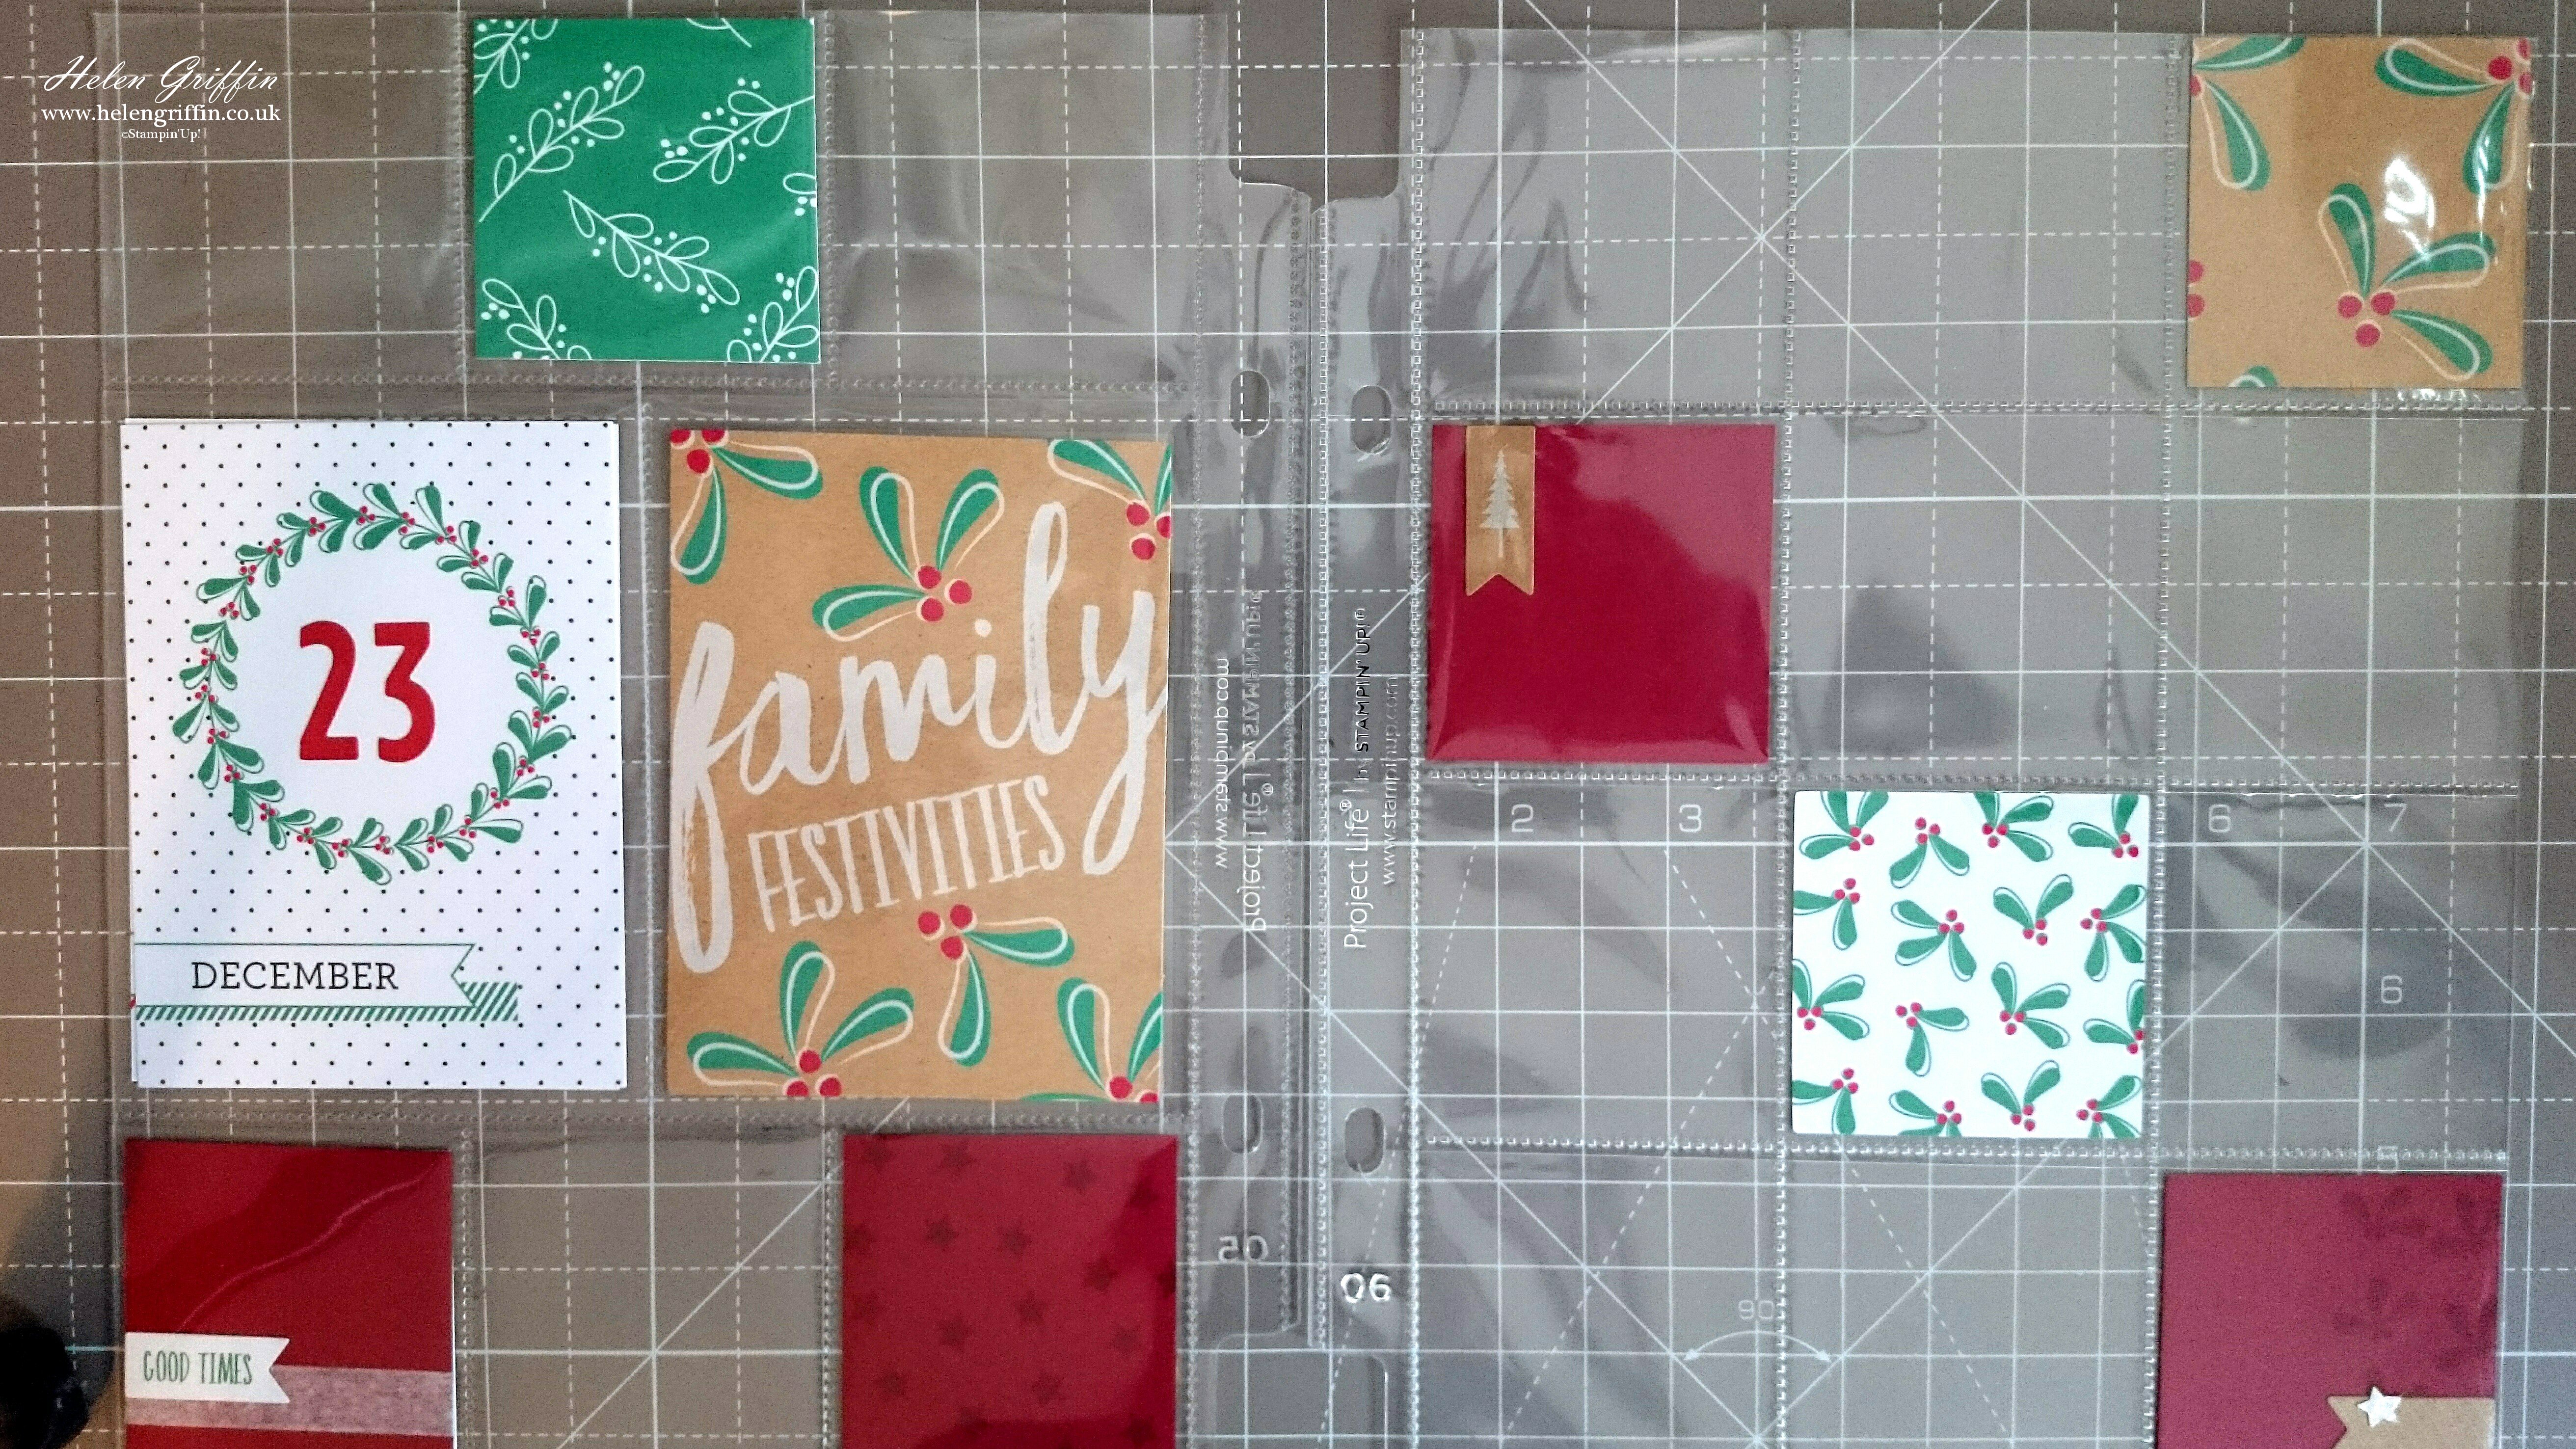
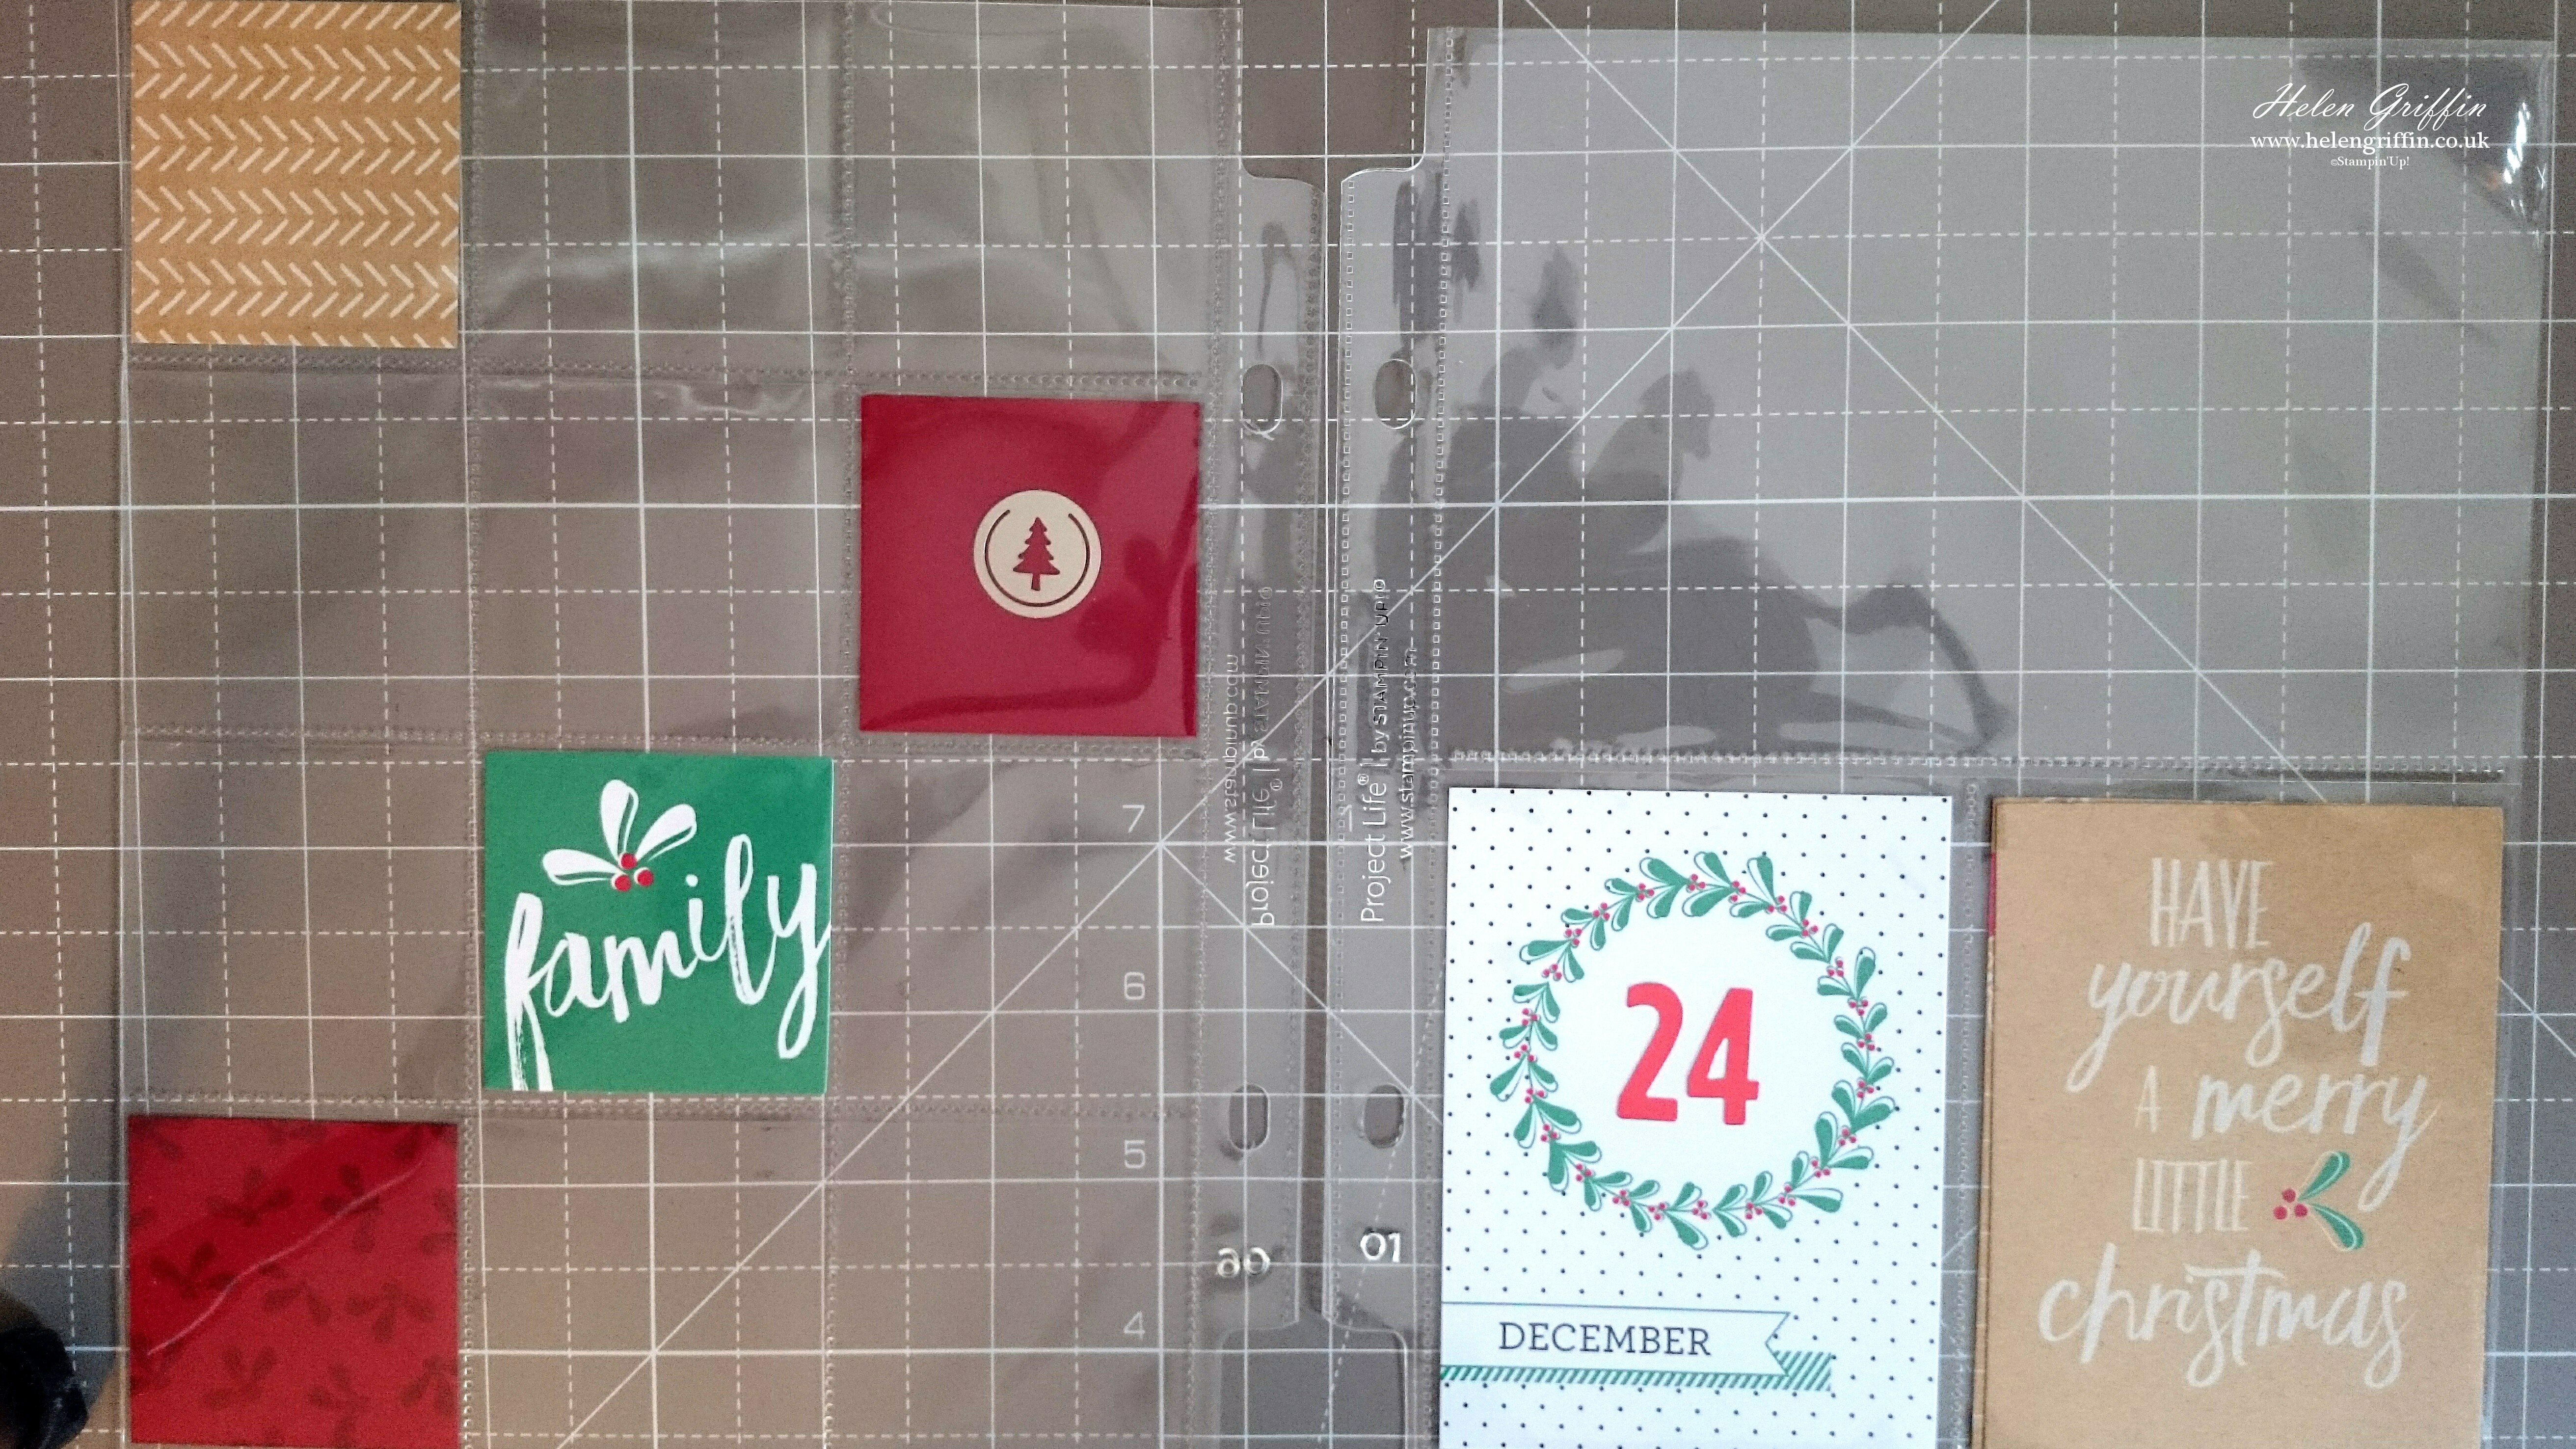
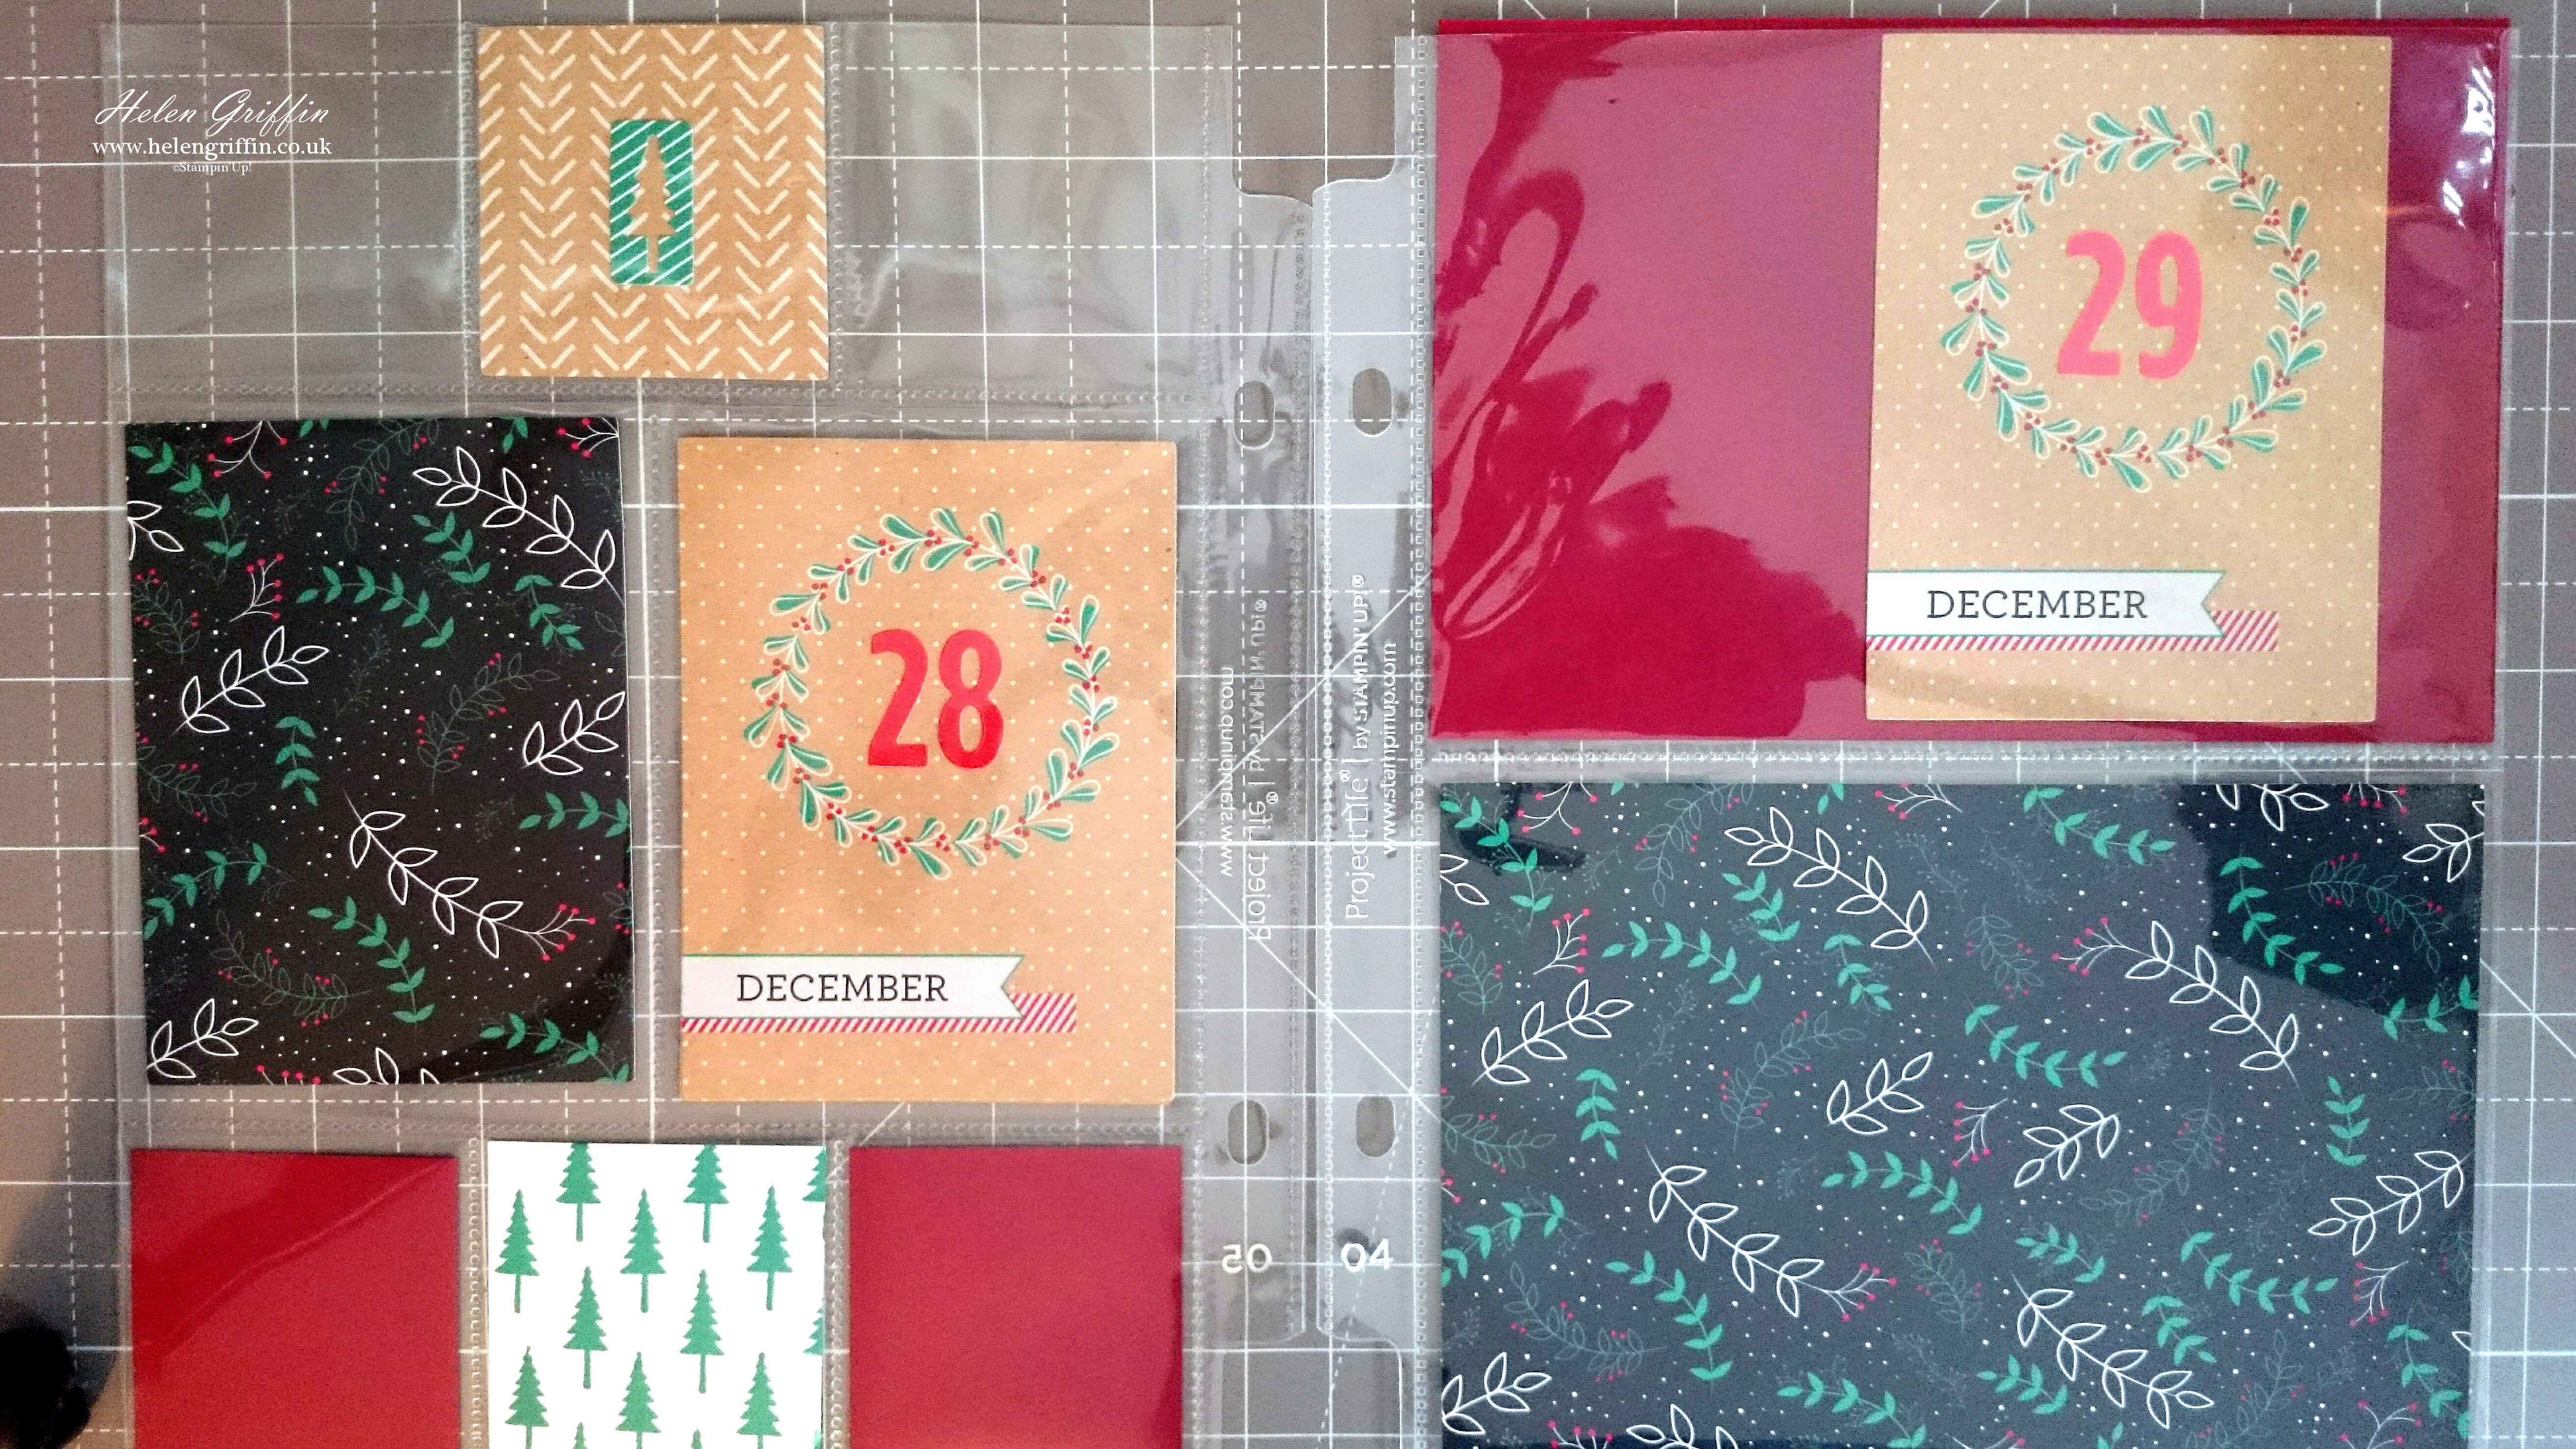
This year I will be using the Hello December 2016 Project Life card and accessory collection by Stampin’Up!. I watched Stampin’Up!’s official video and set my pages up exactly like they have. You can download the page plan here. The video even had card decorating ideas – and I pinched a few of those too. I’ll pop the video in further down, but I need to say a little more on this topic and I’d like your attention, please. We don’t want half finished albums, do we?
Preparation
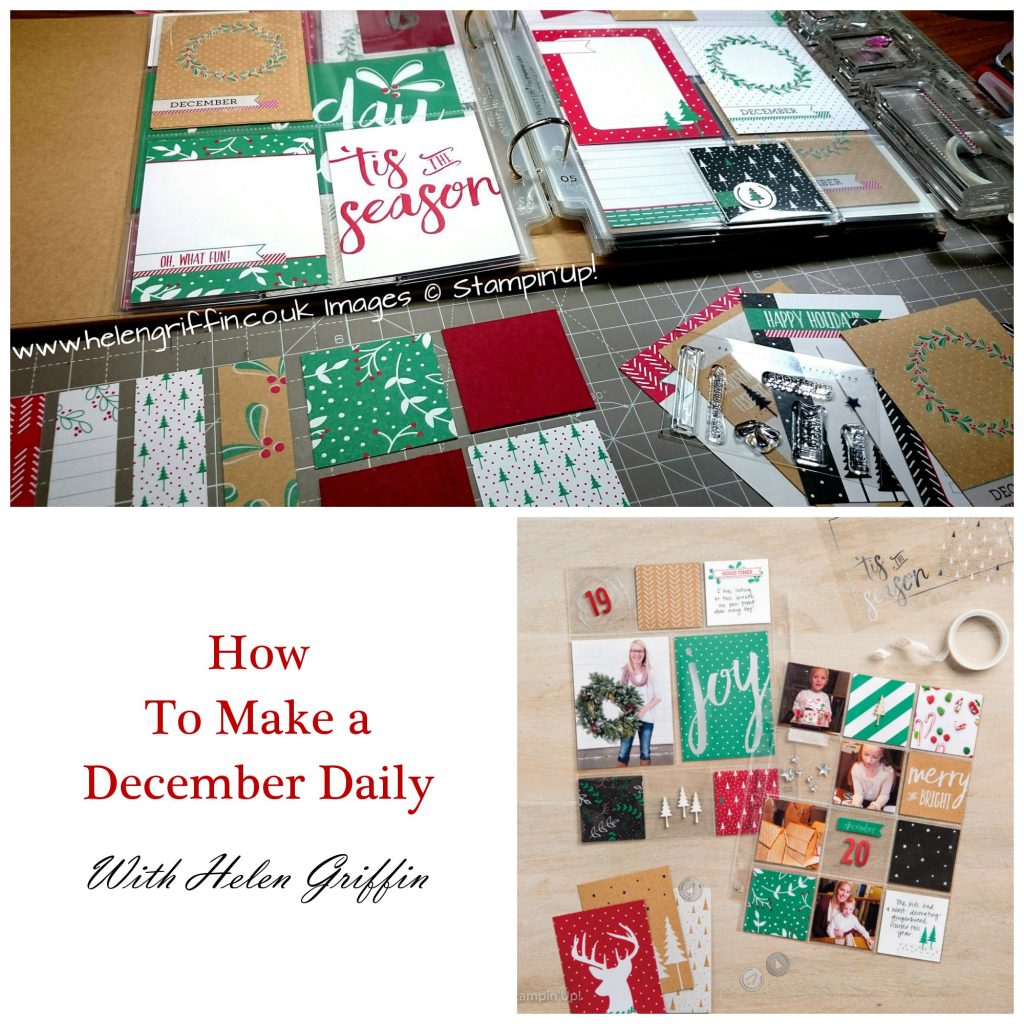
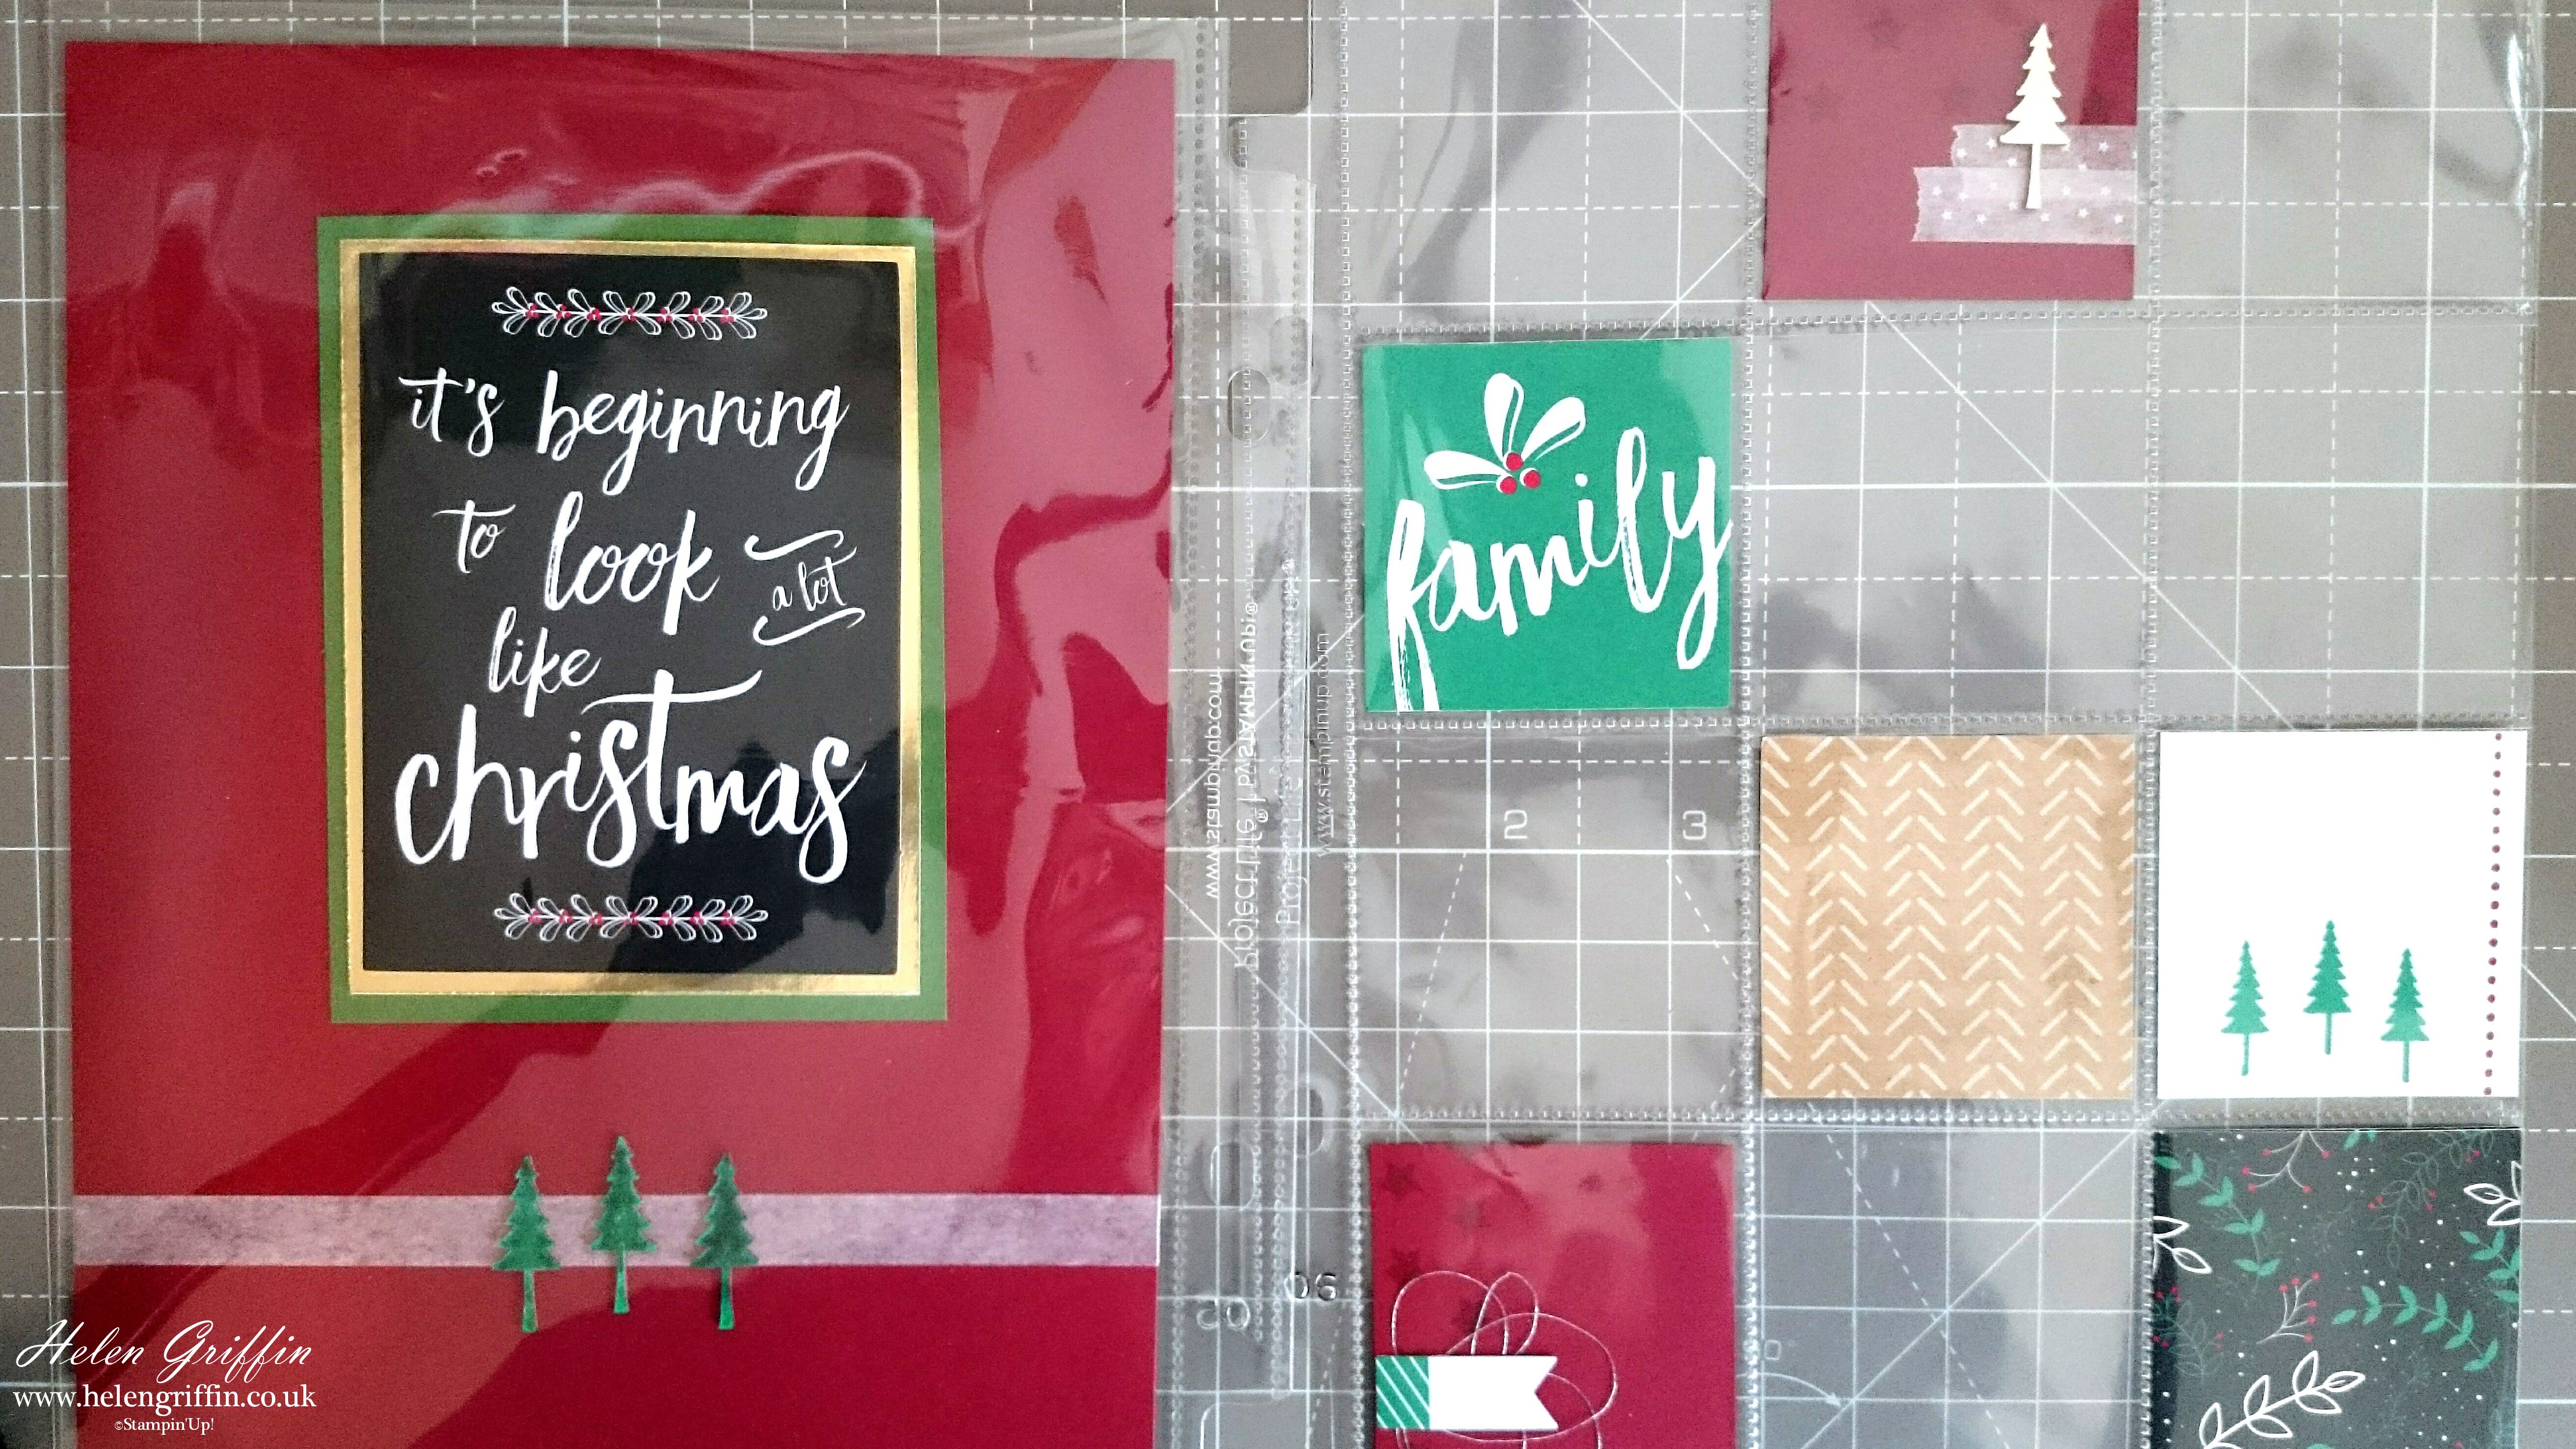
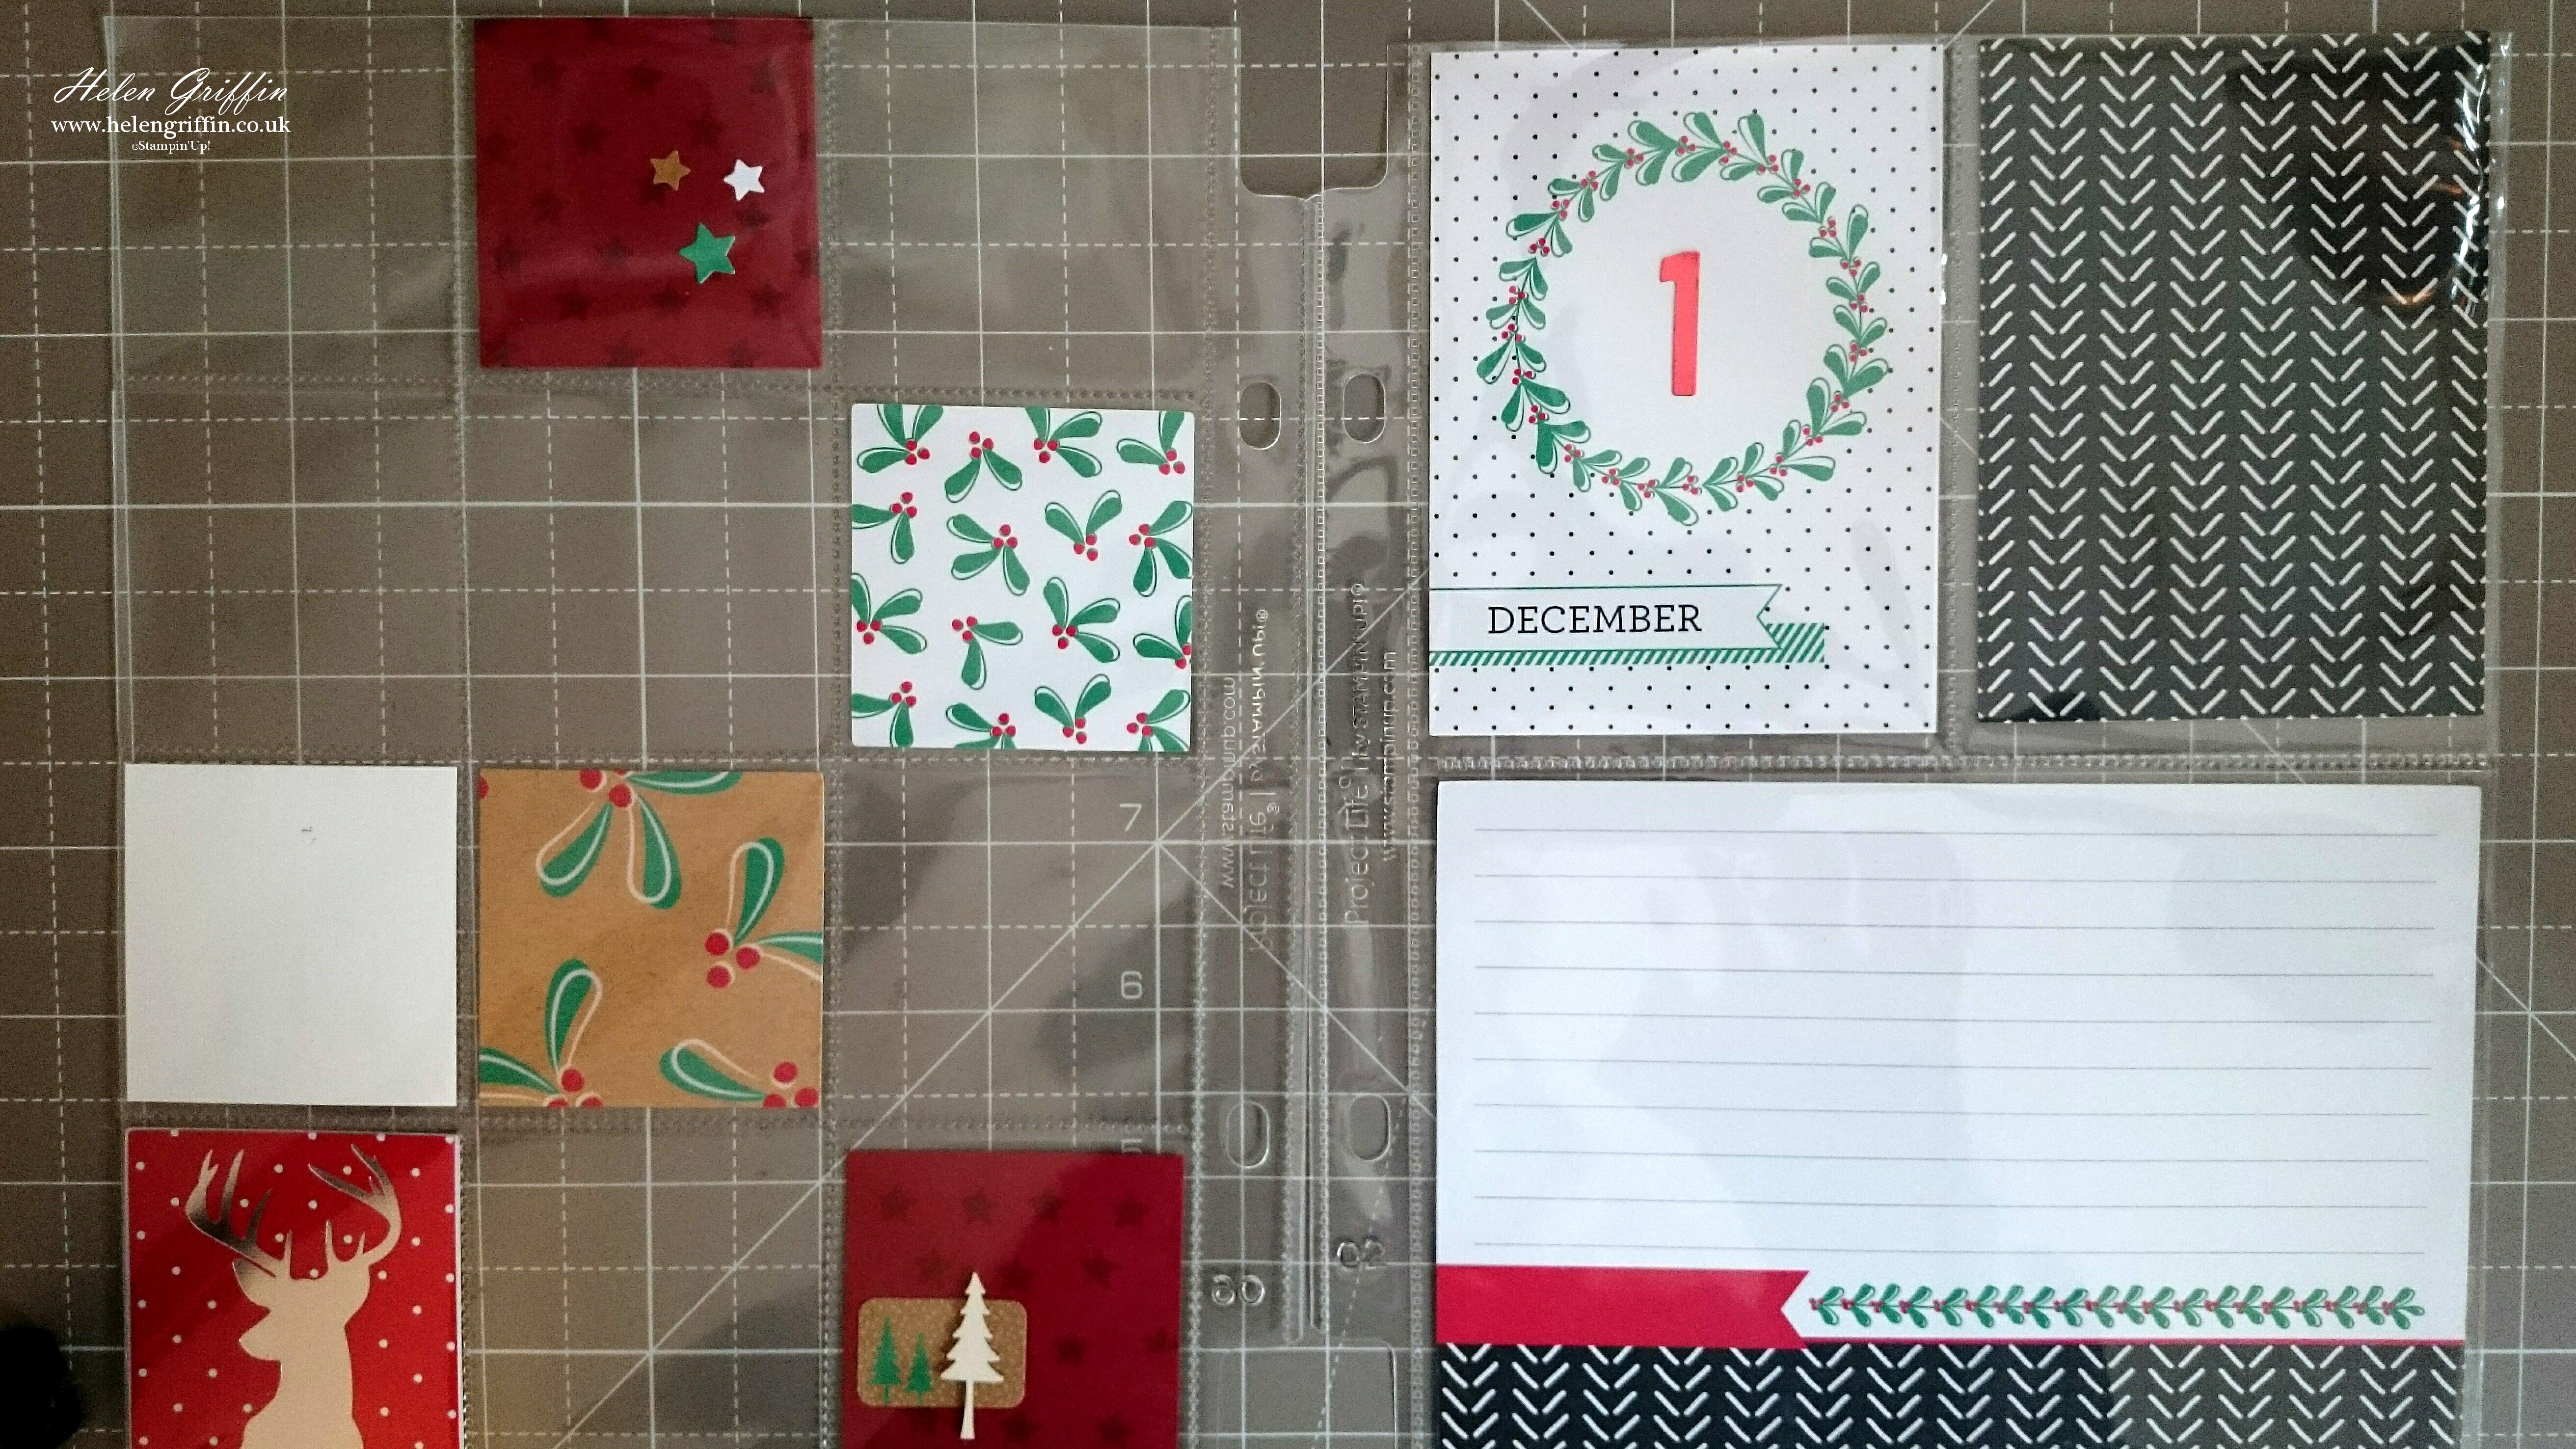
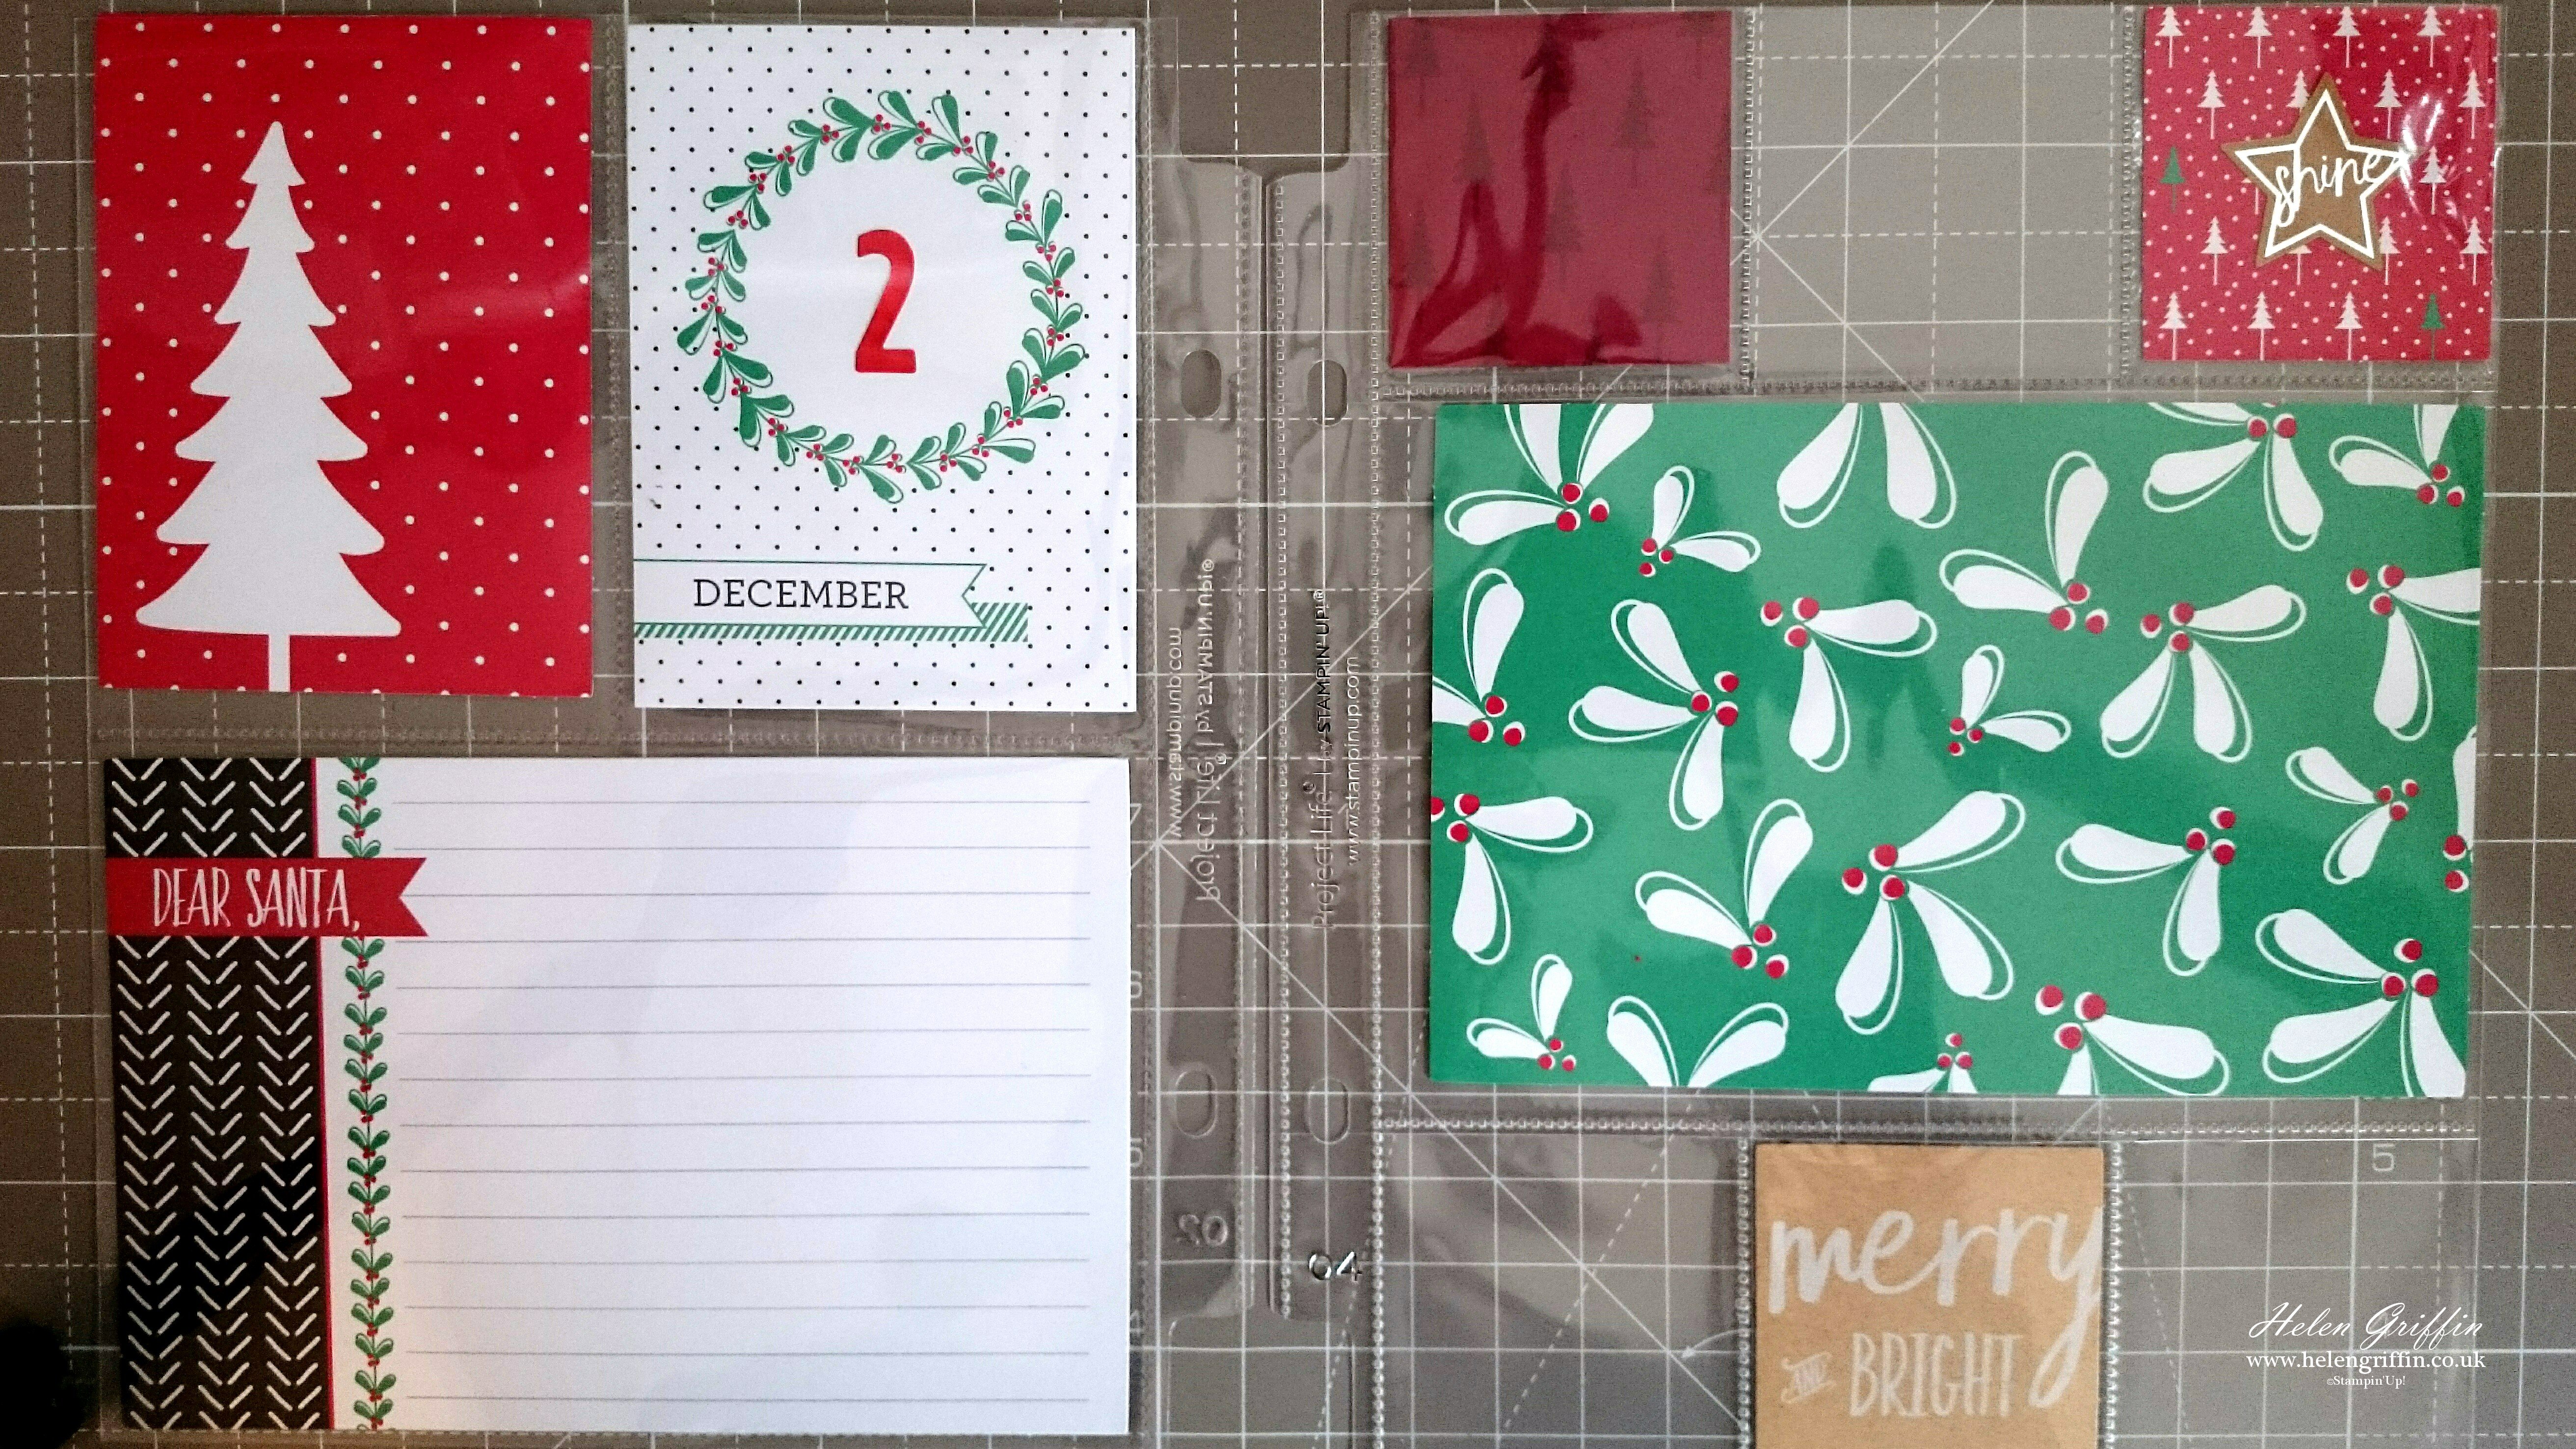
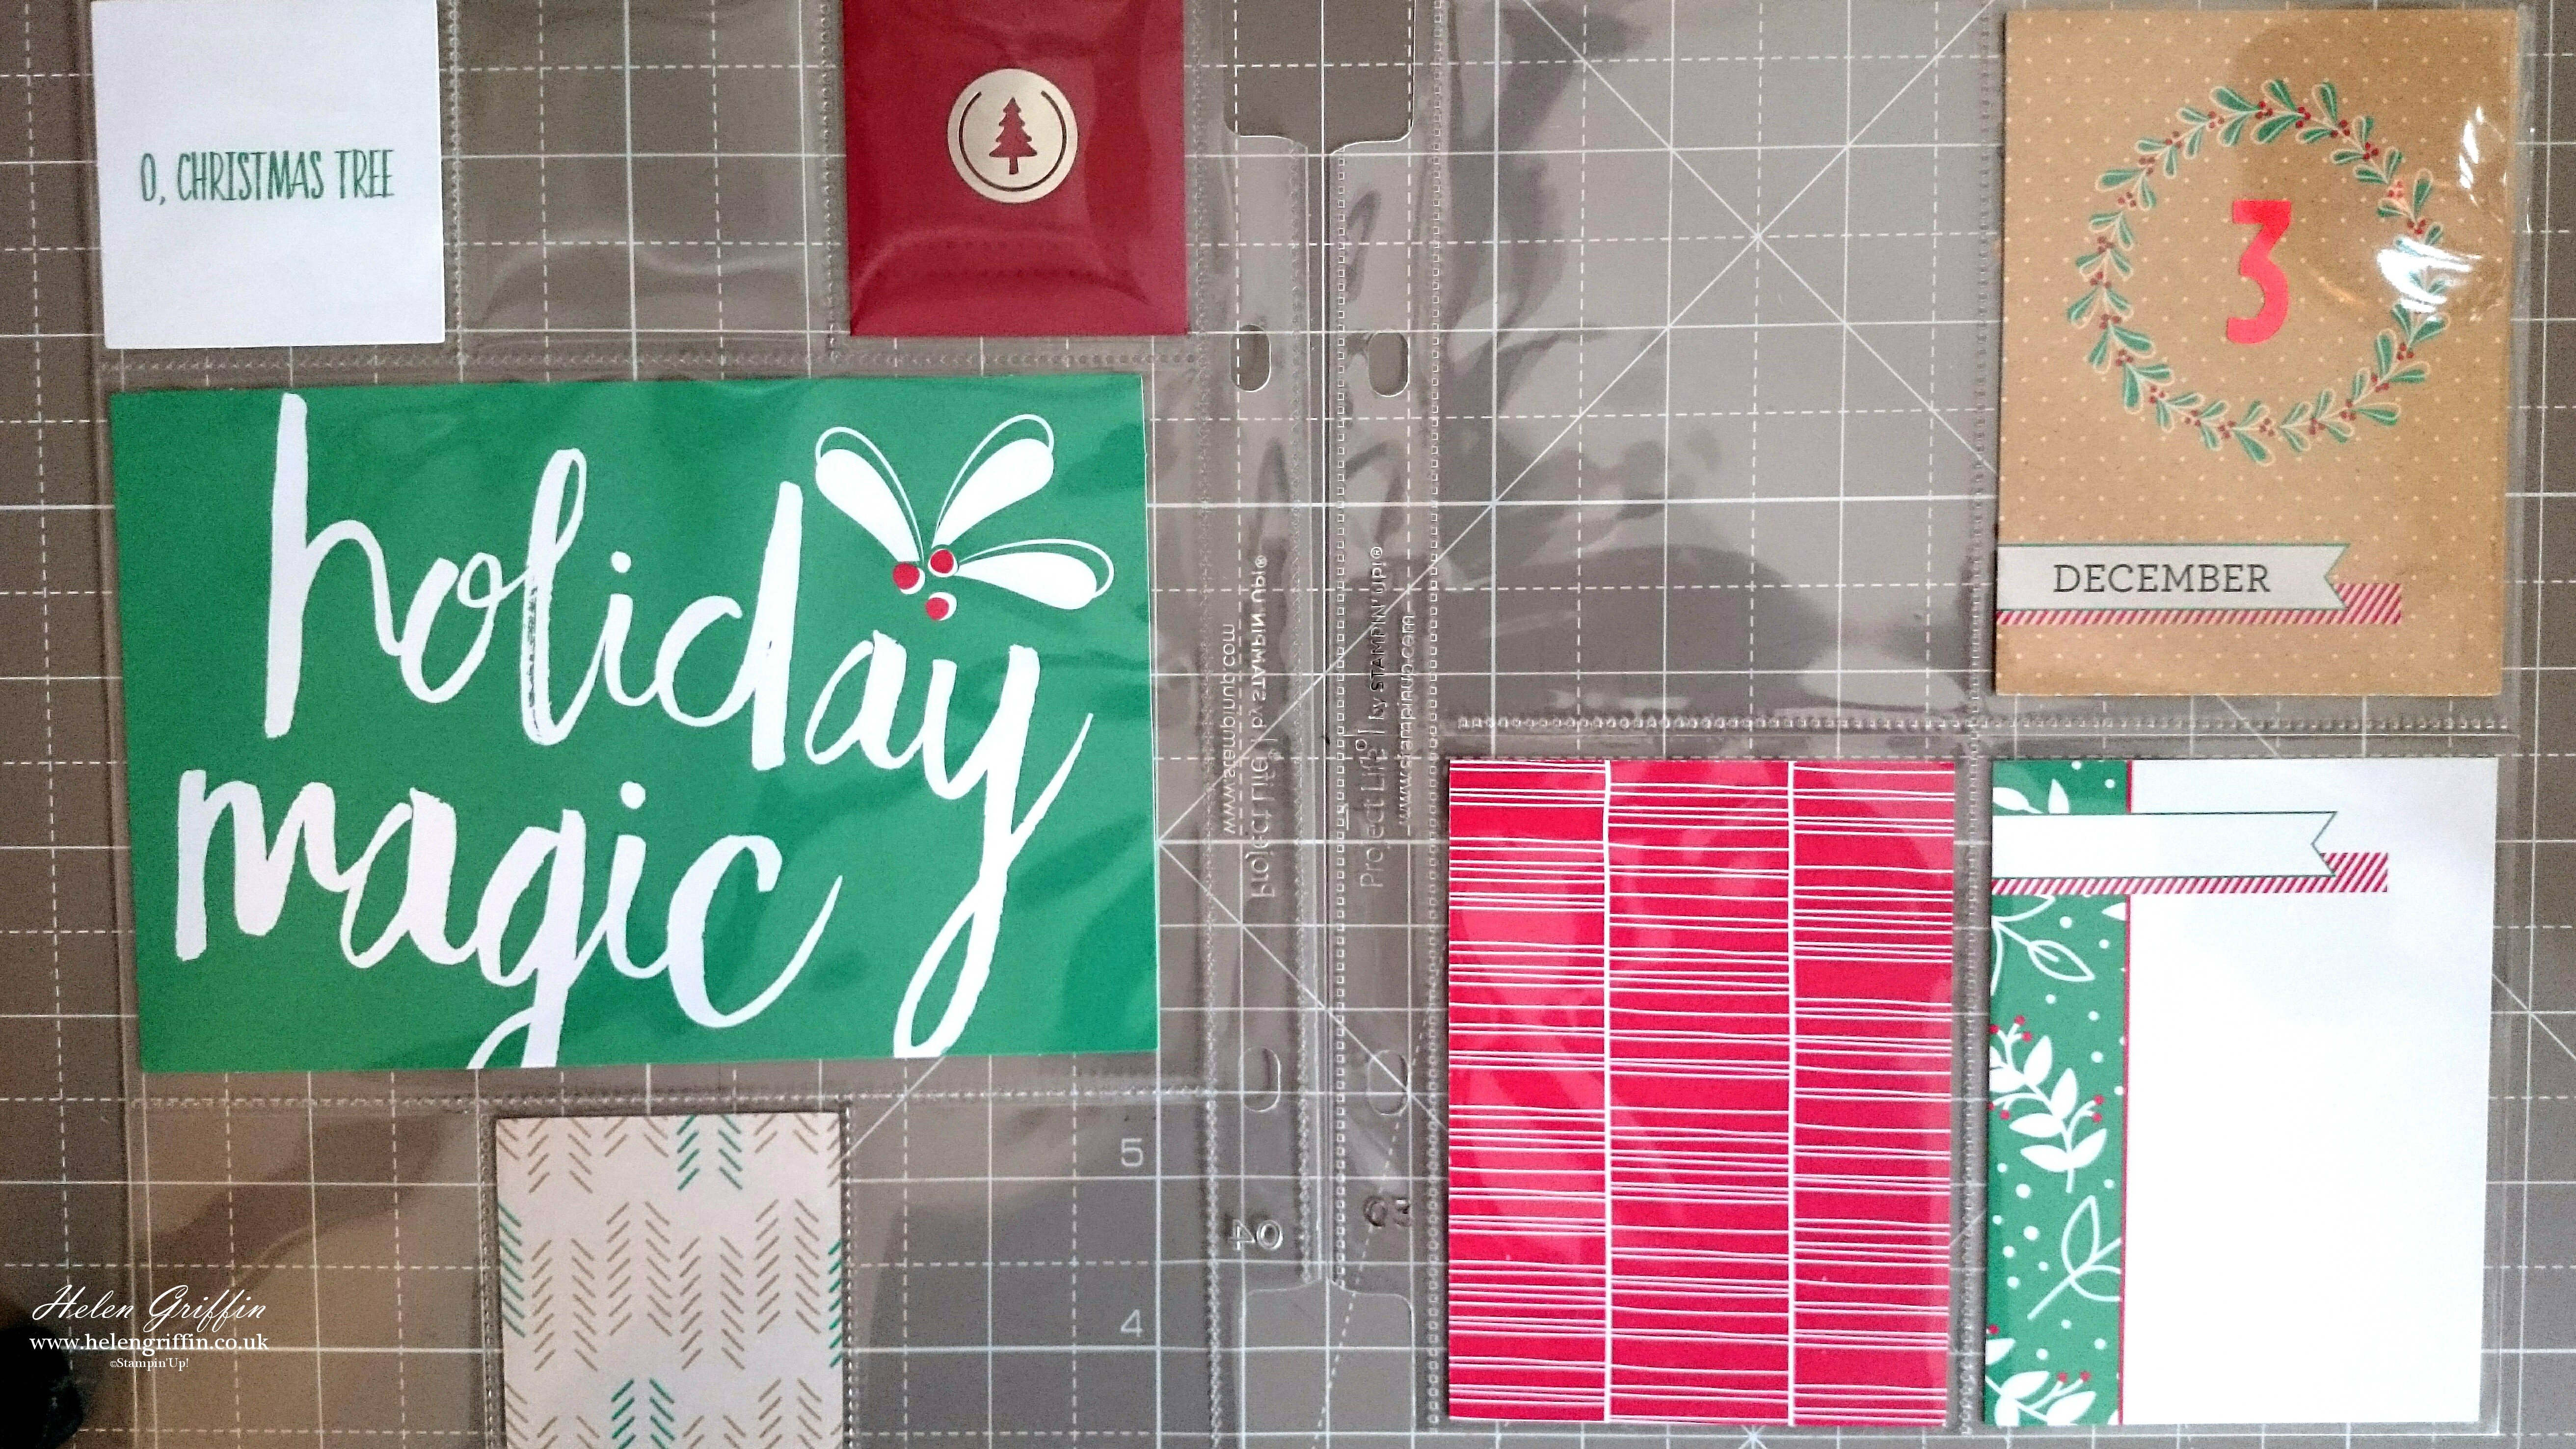
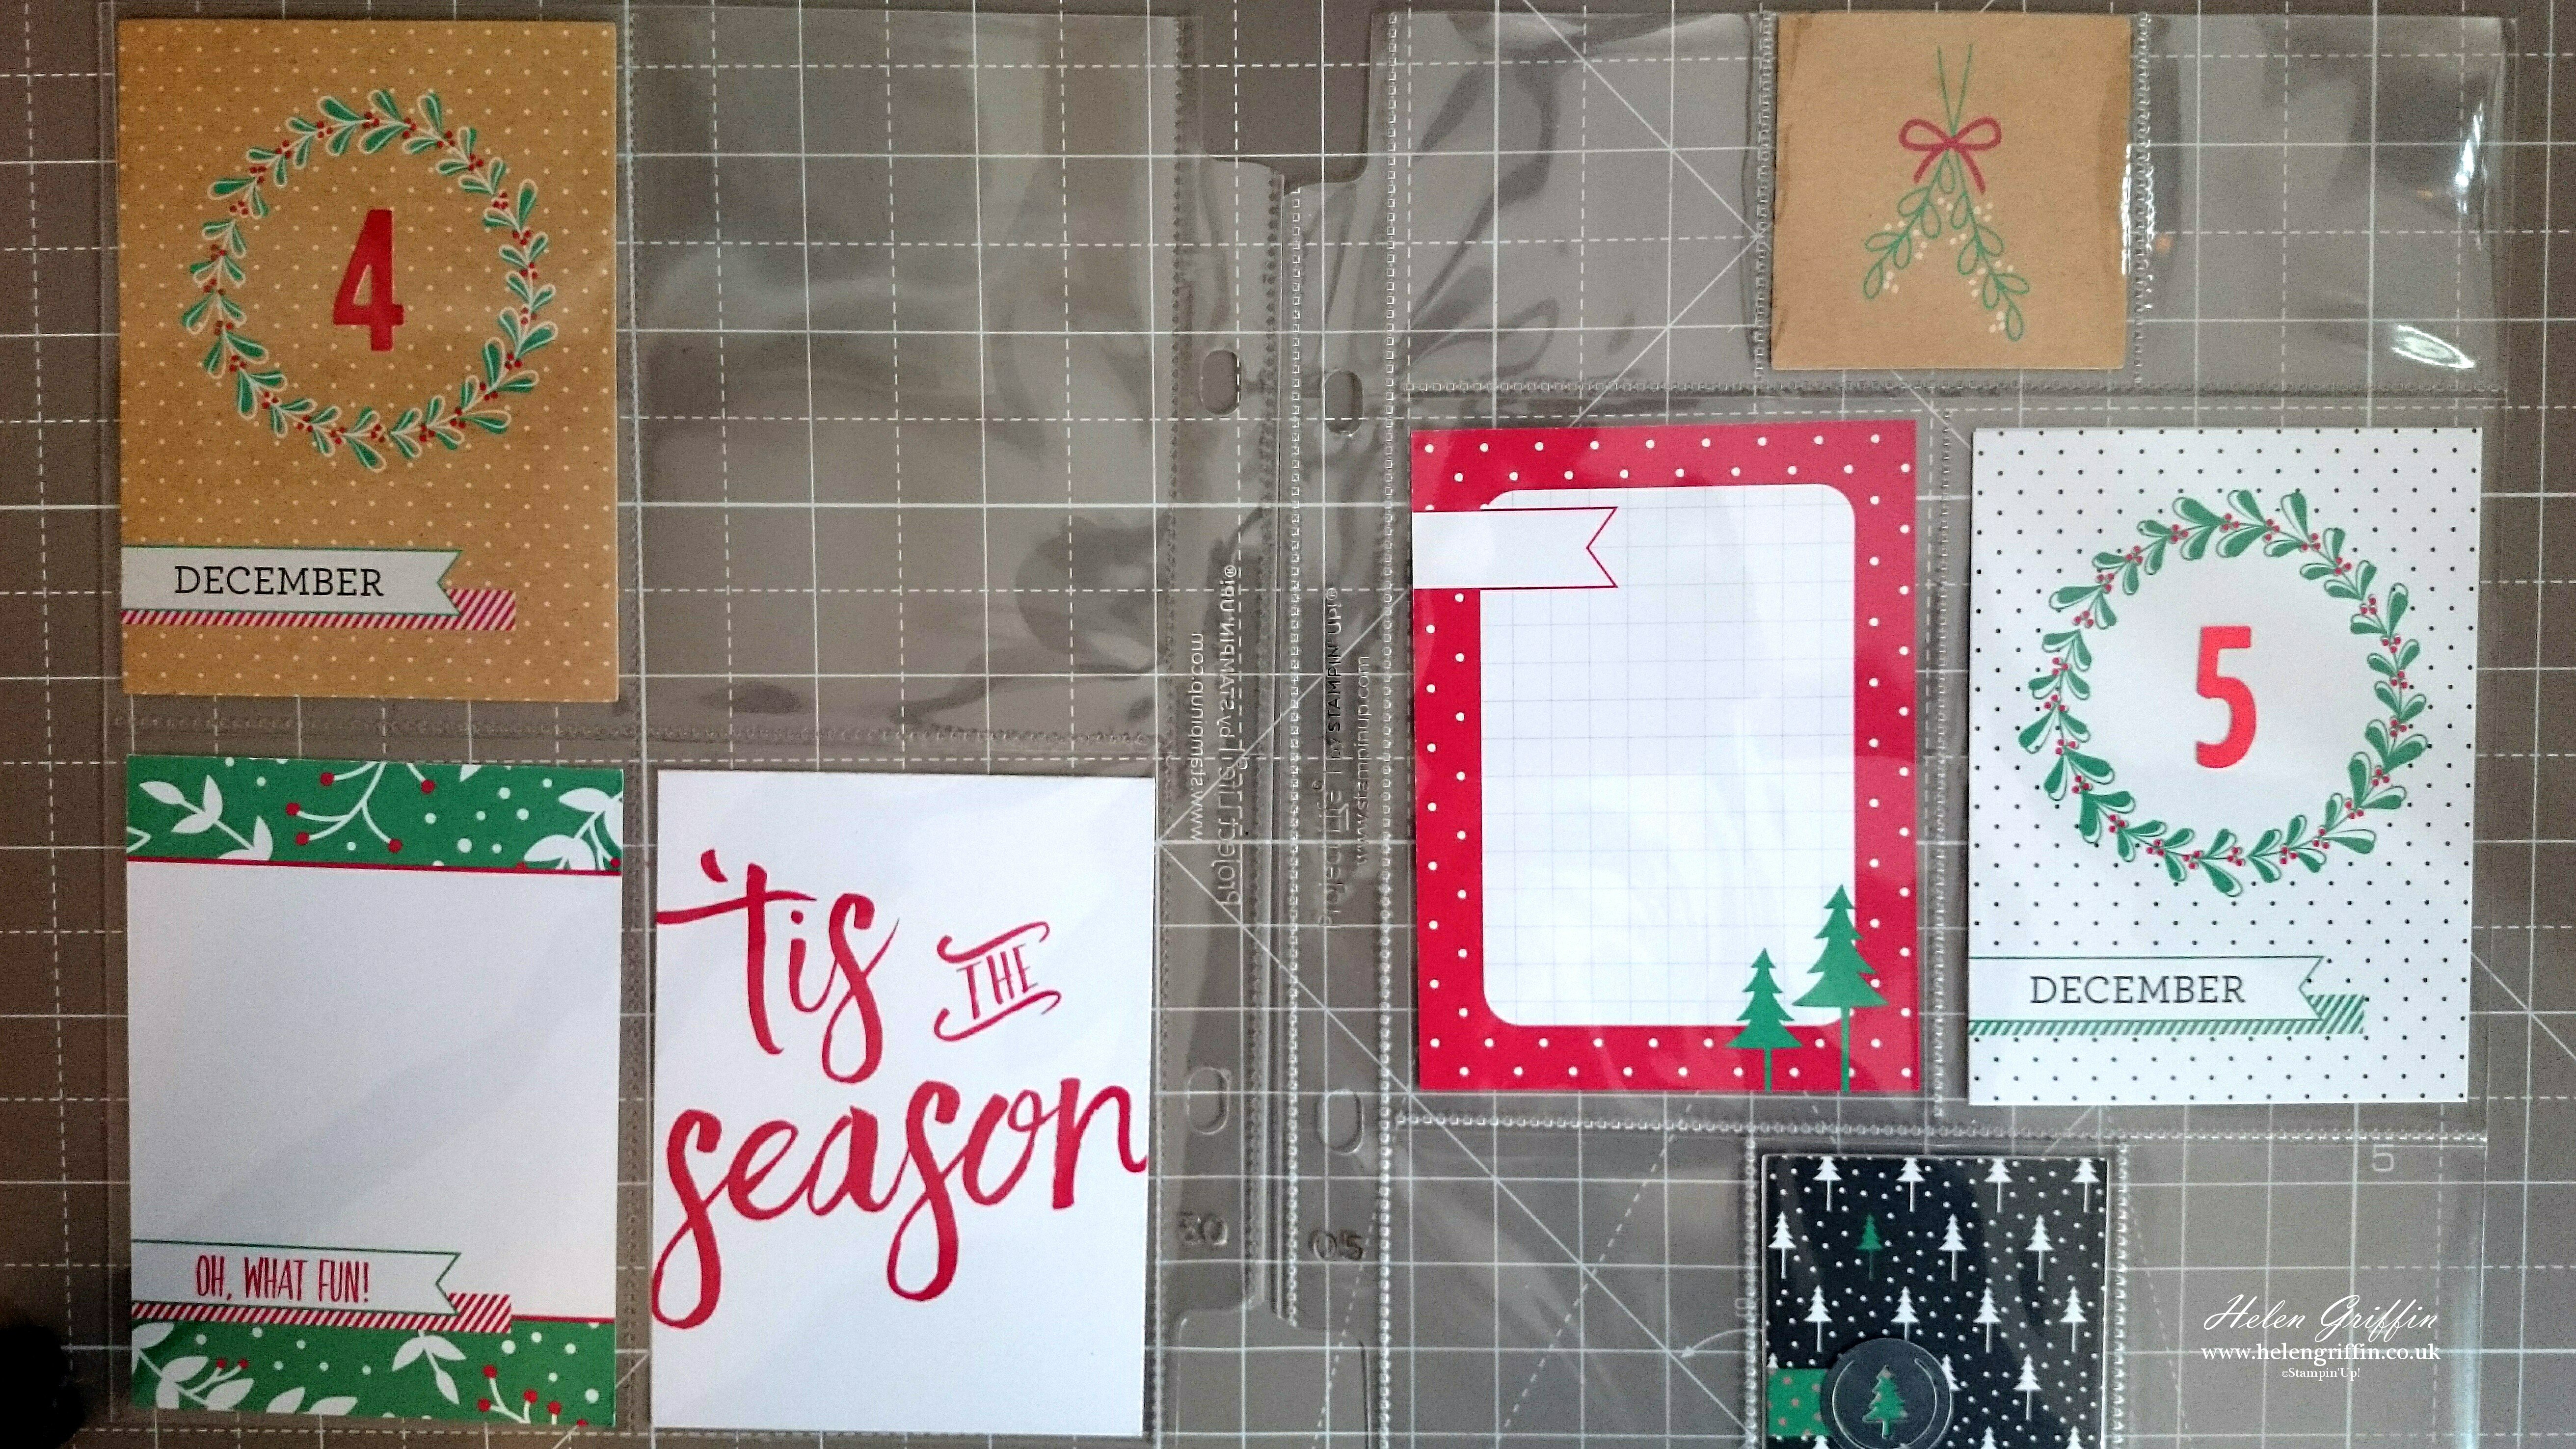
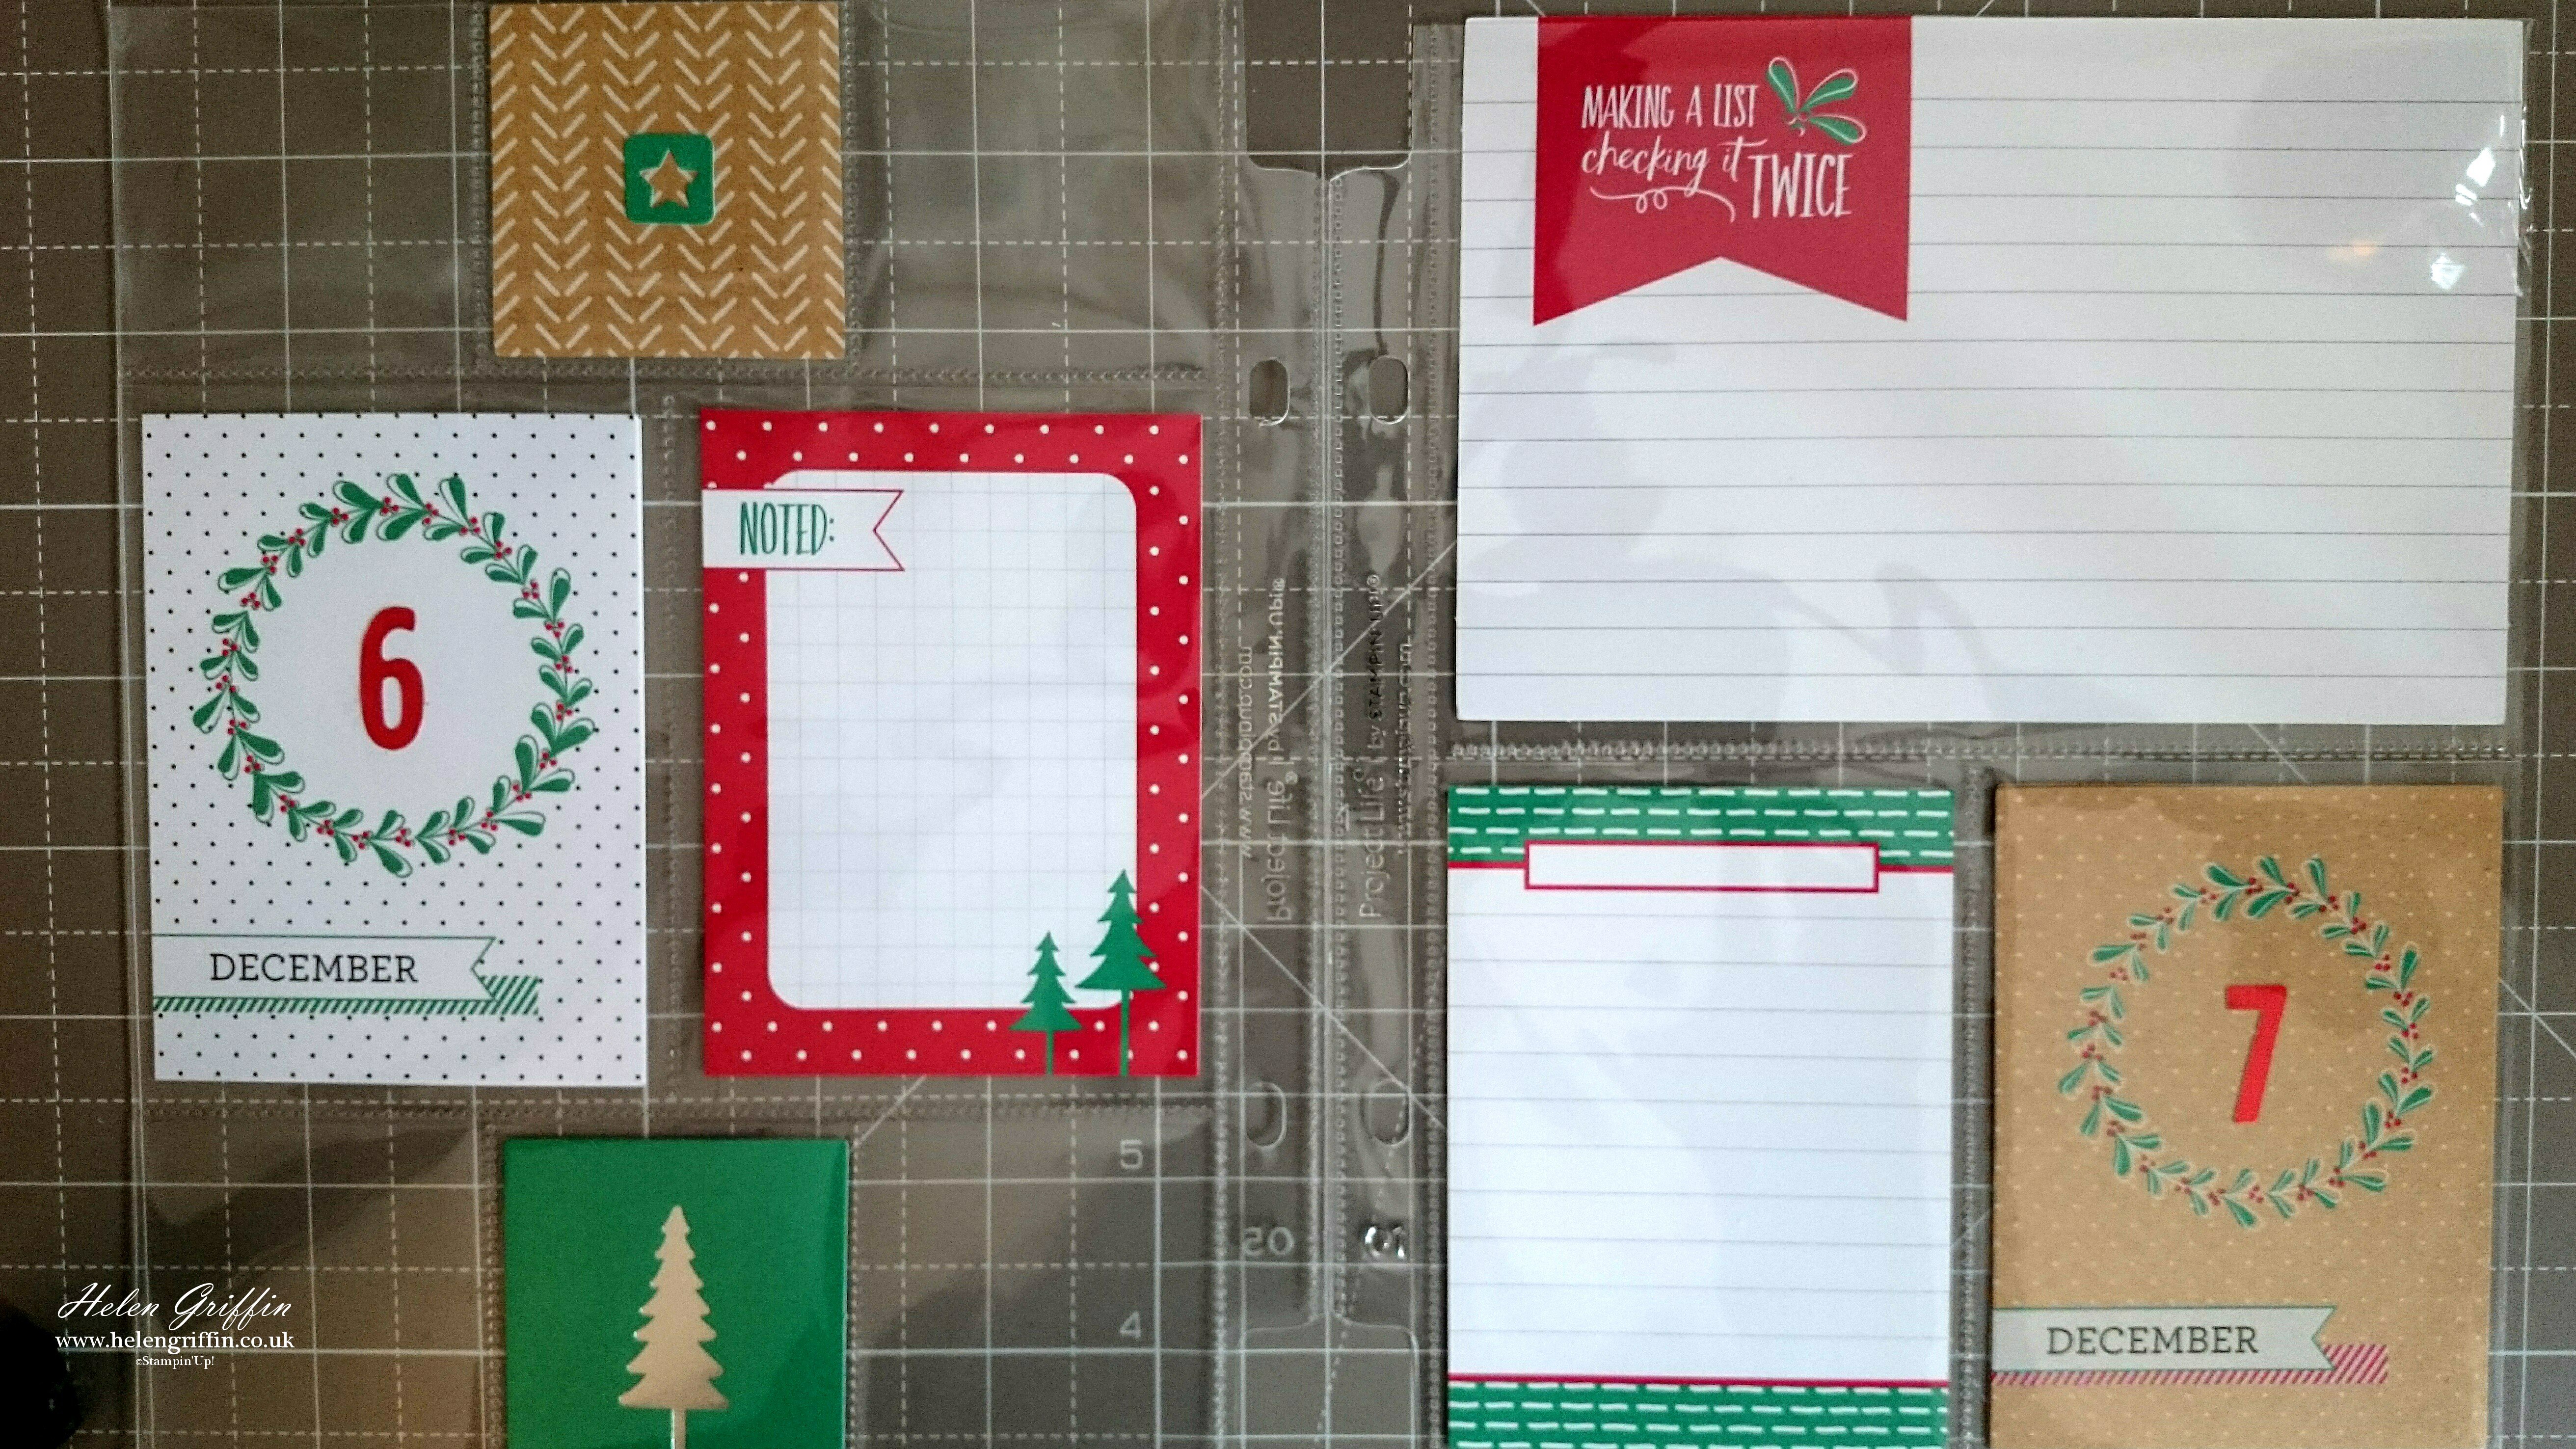
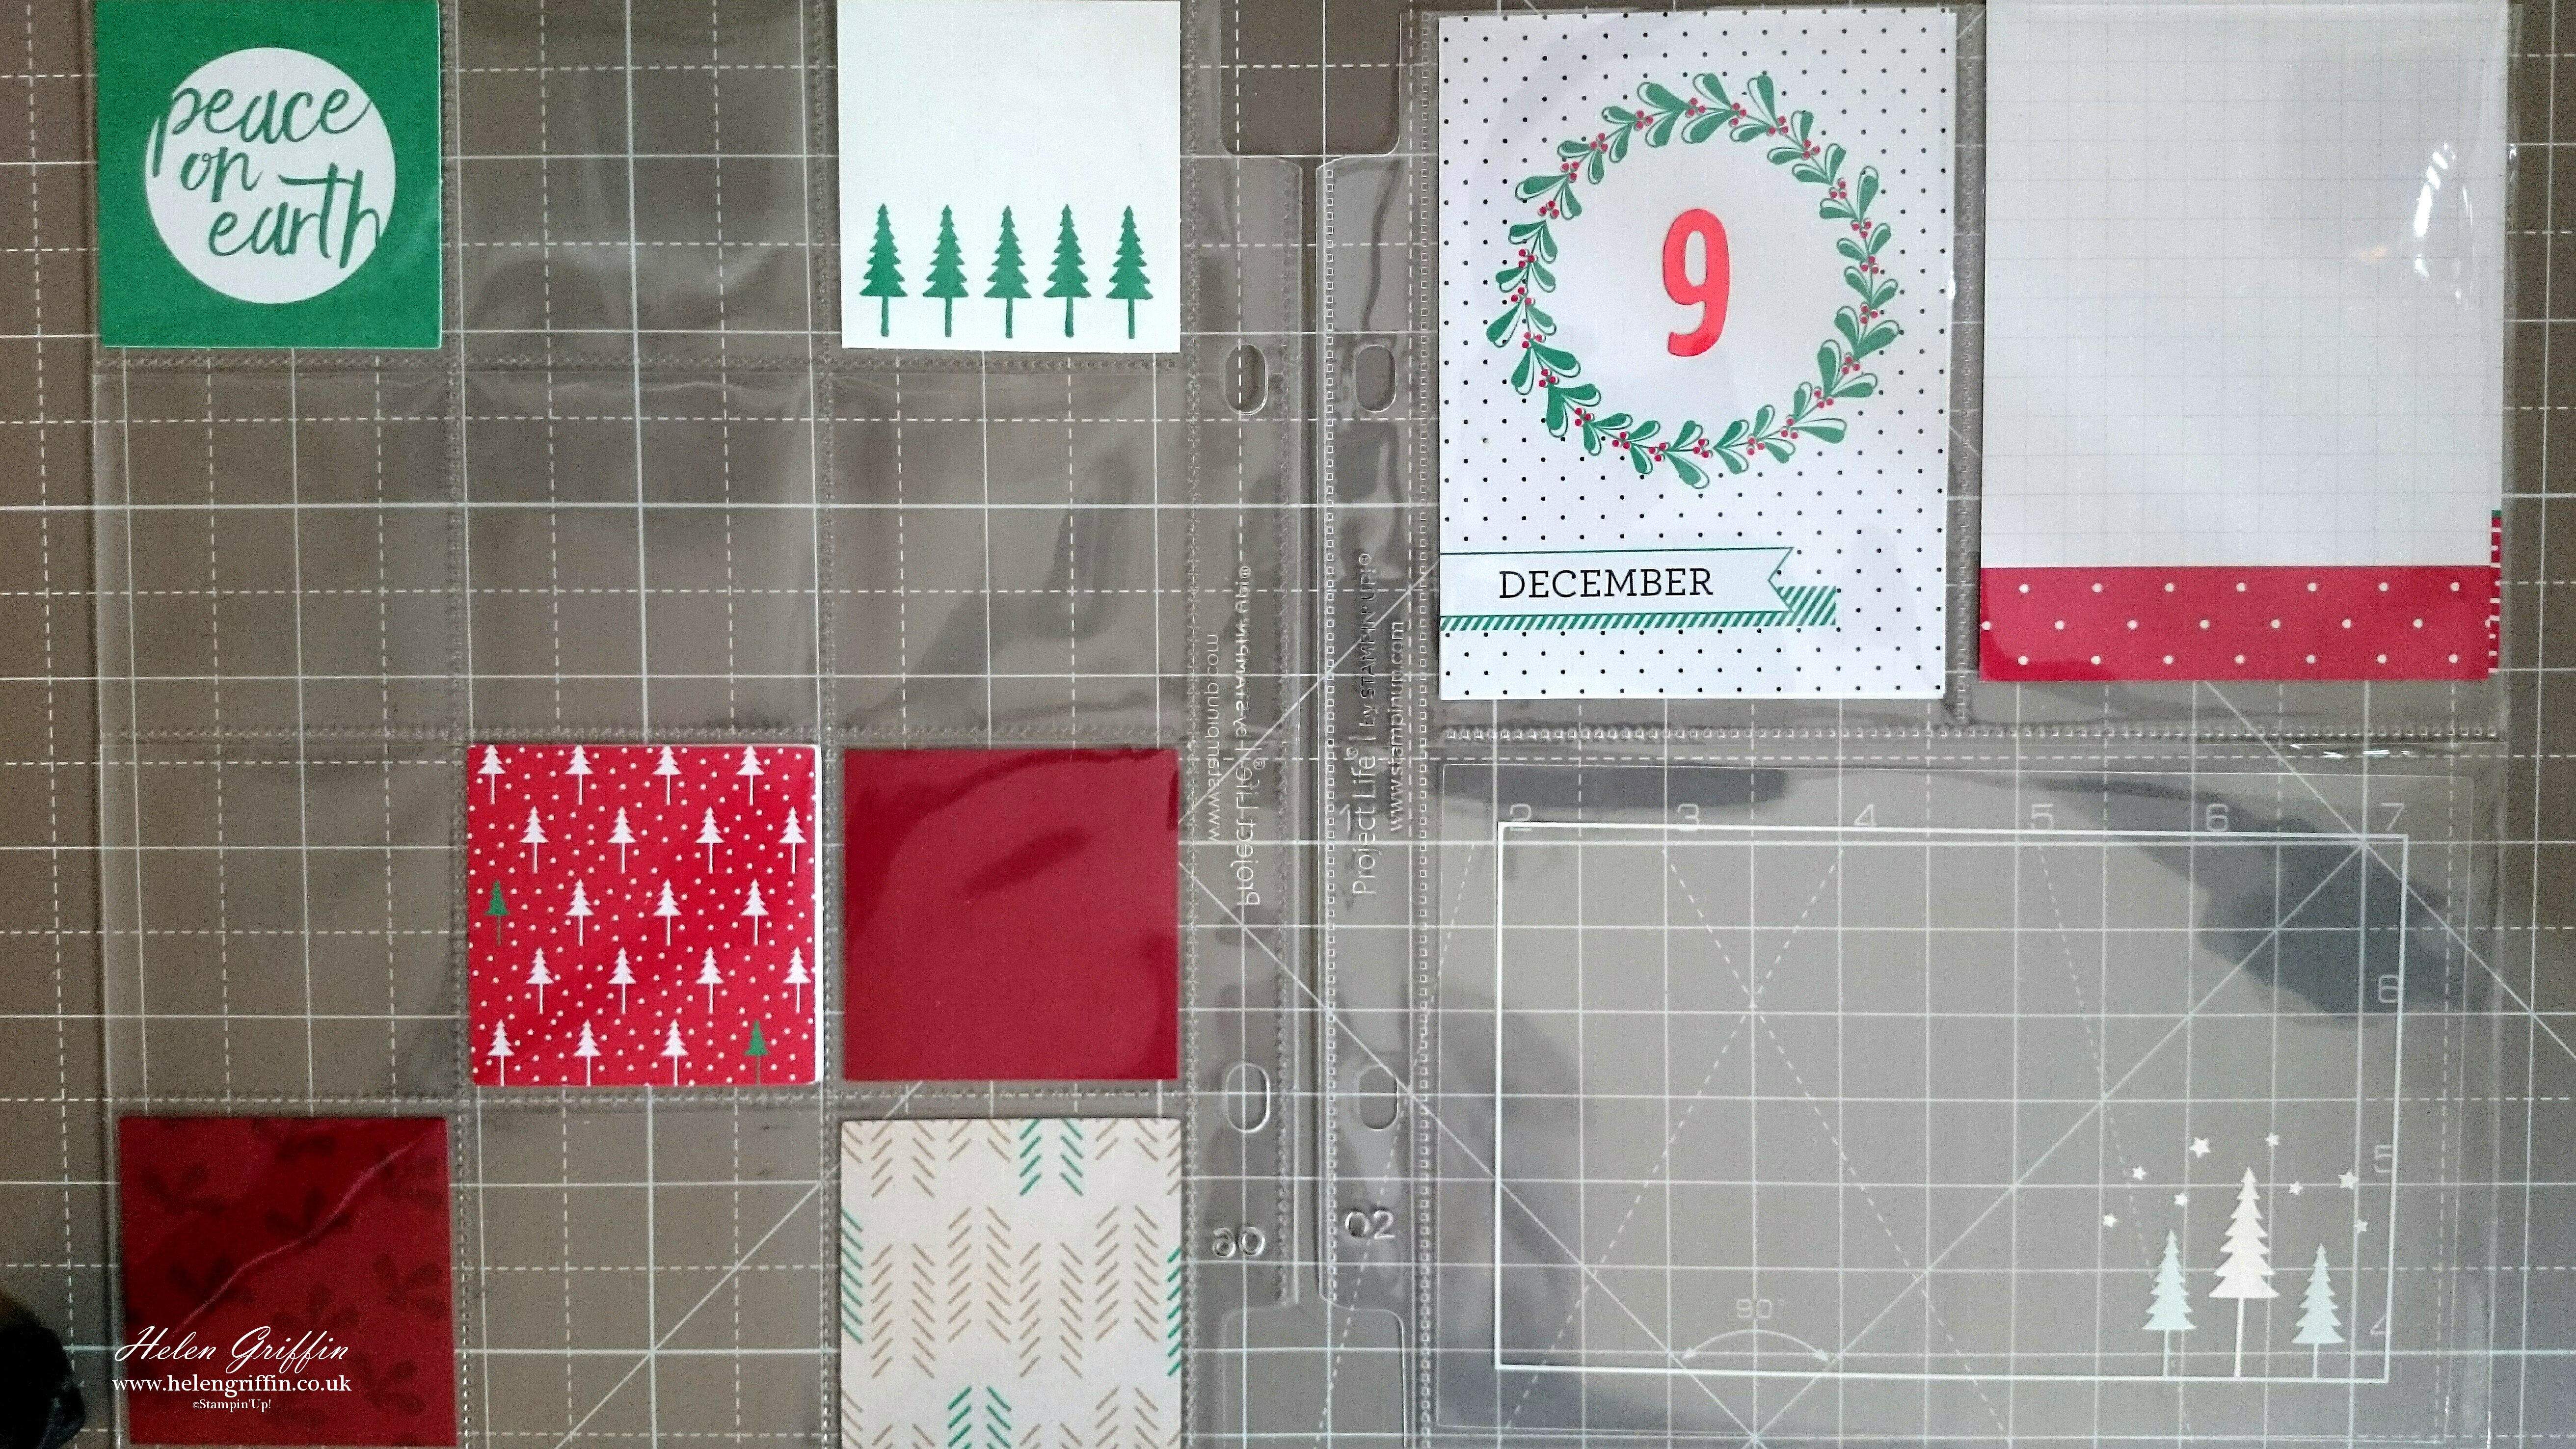
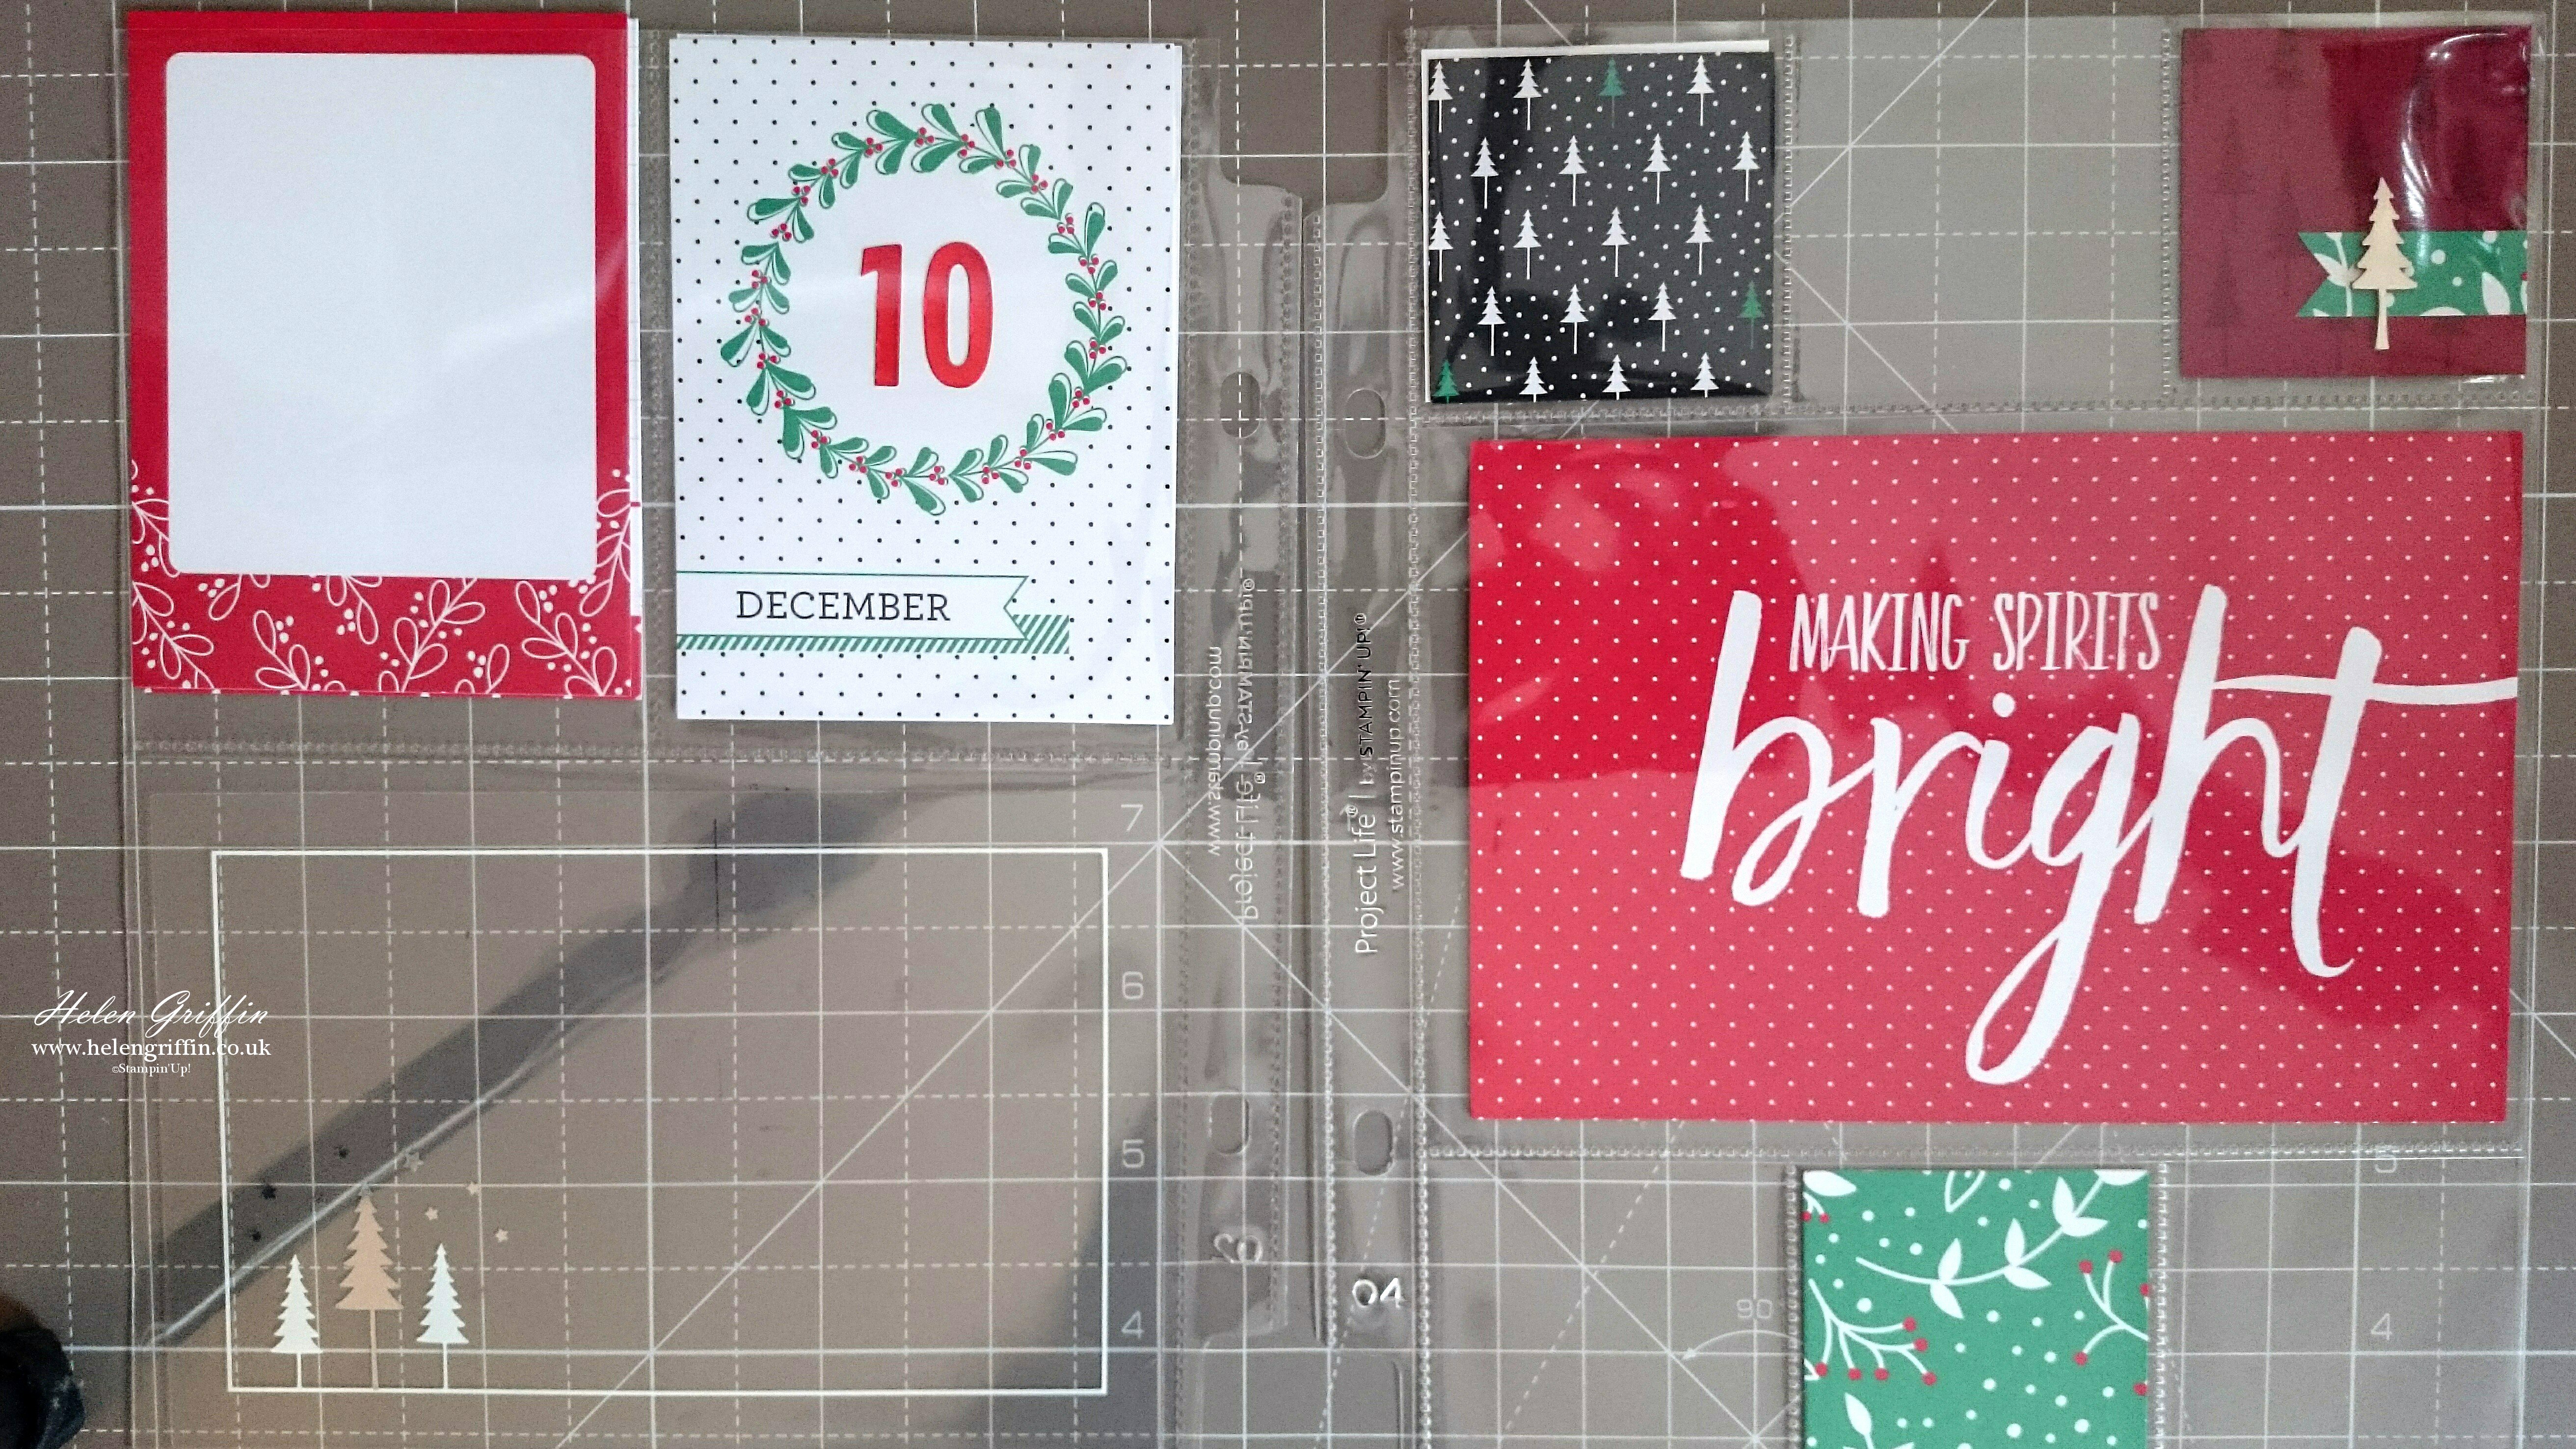
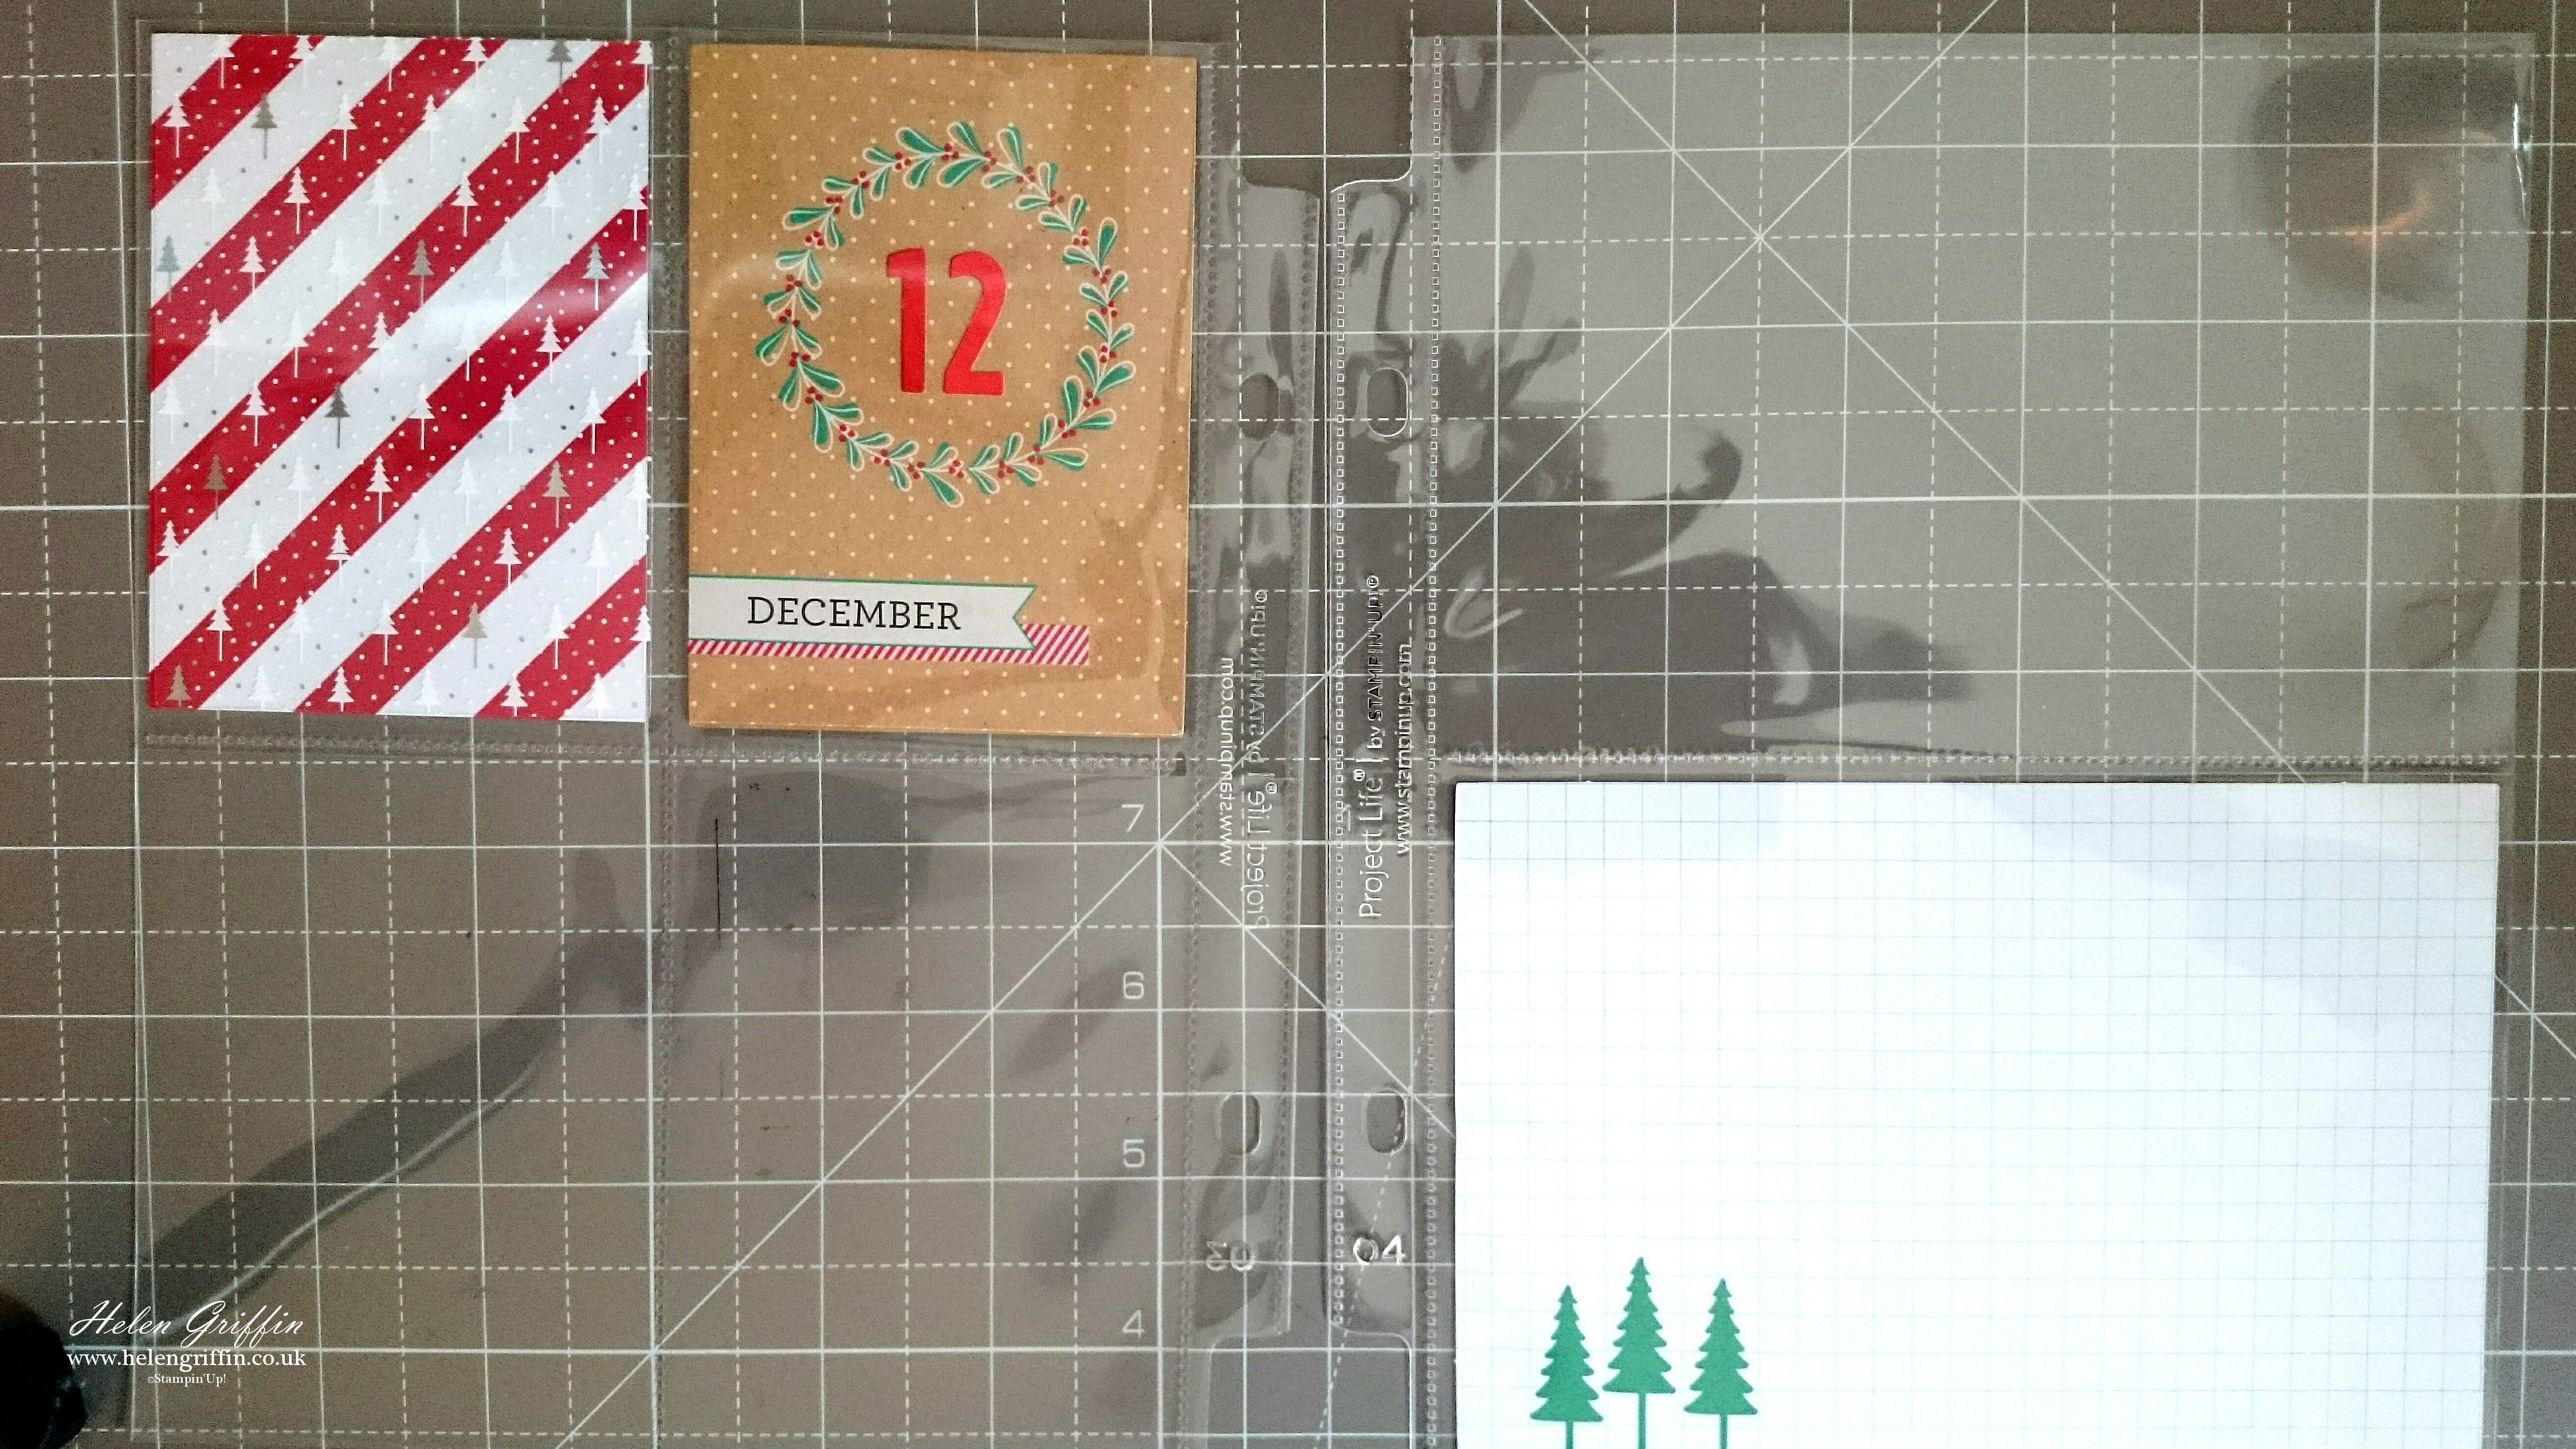
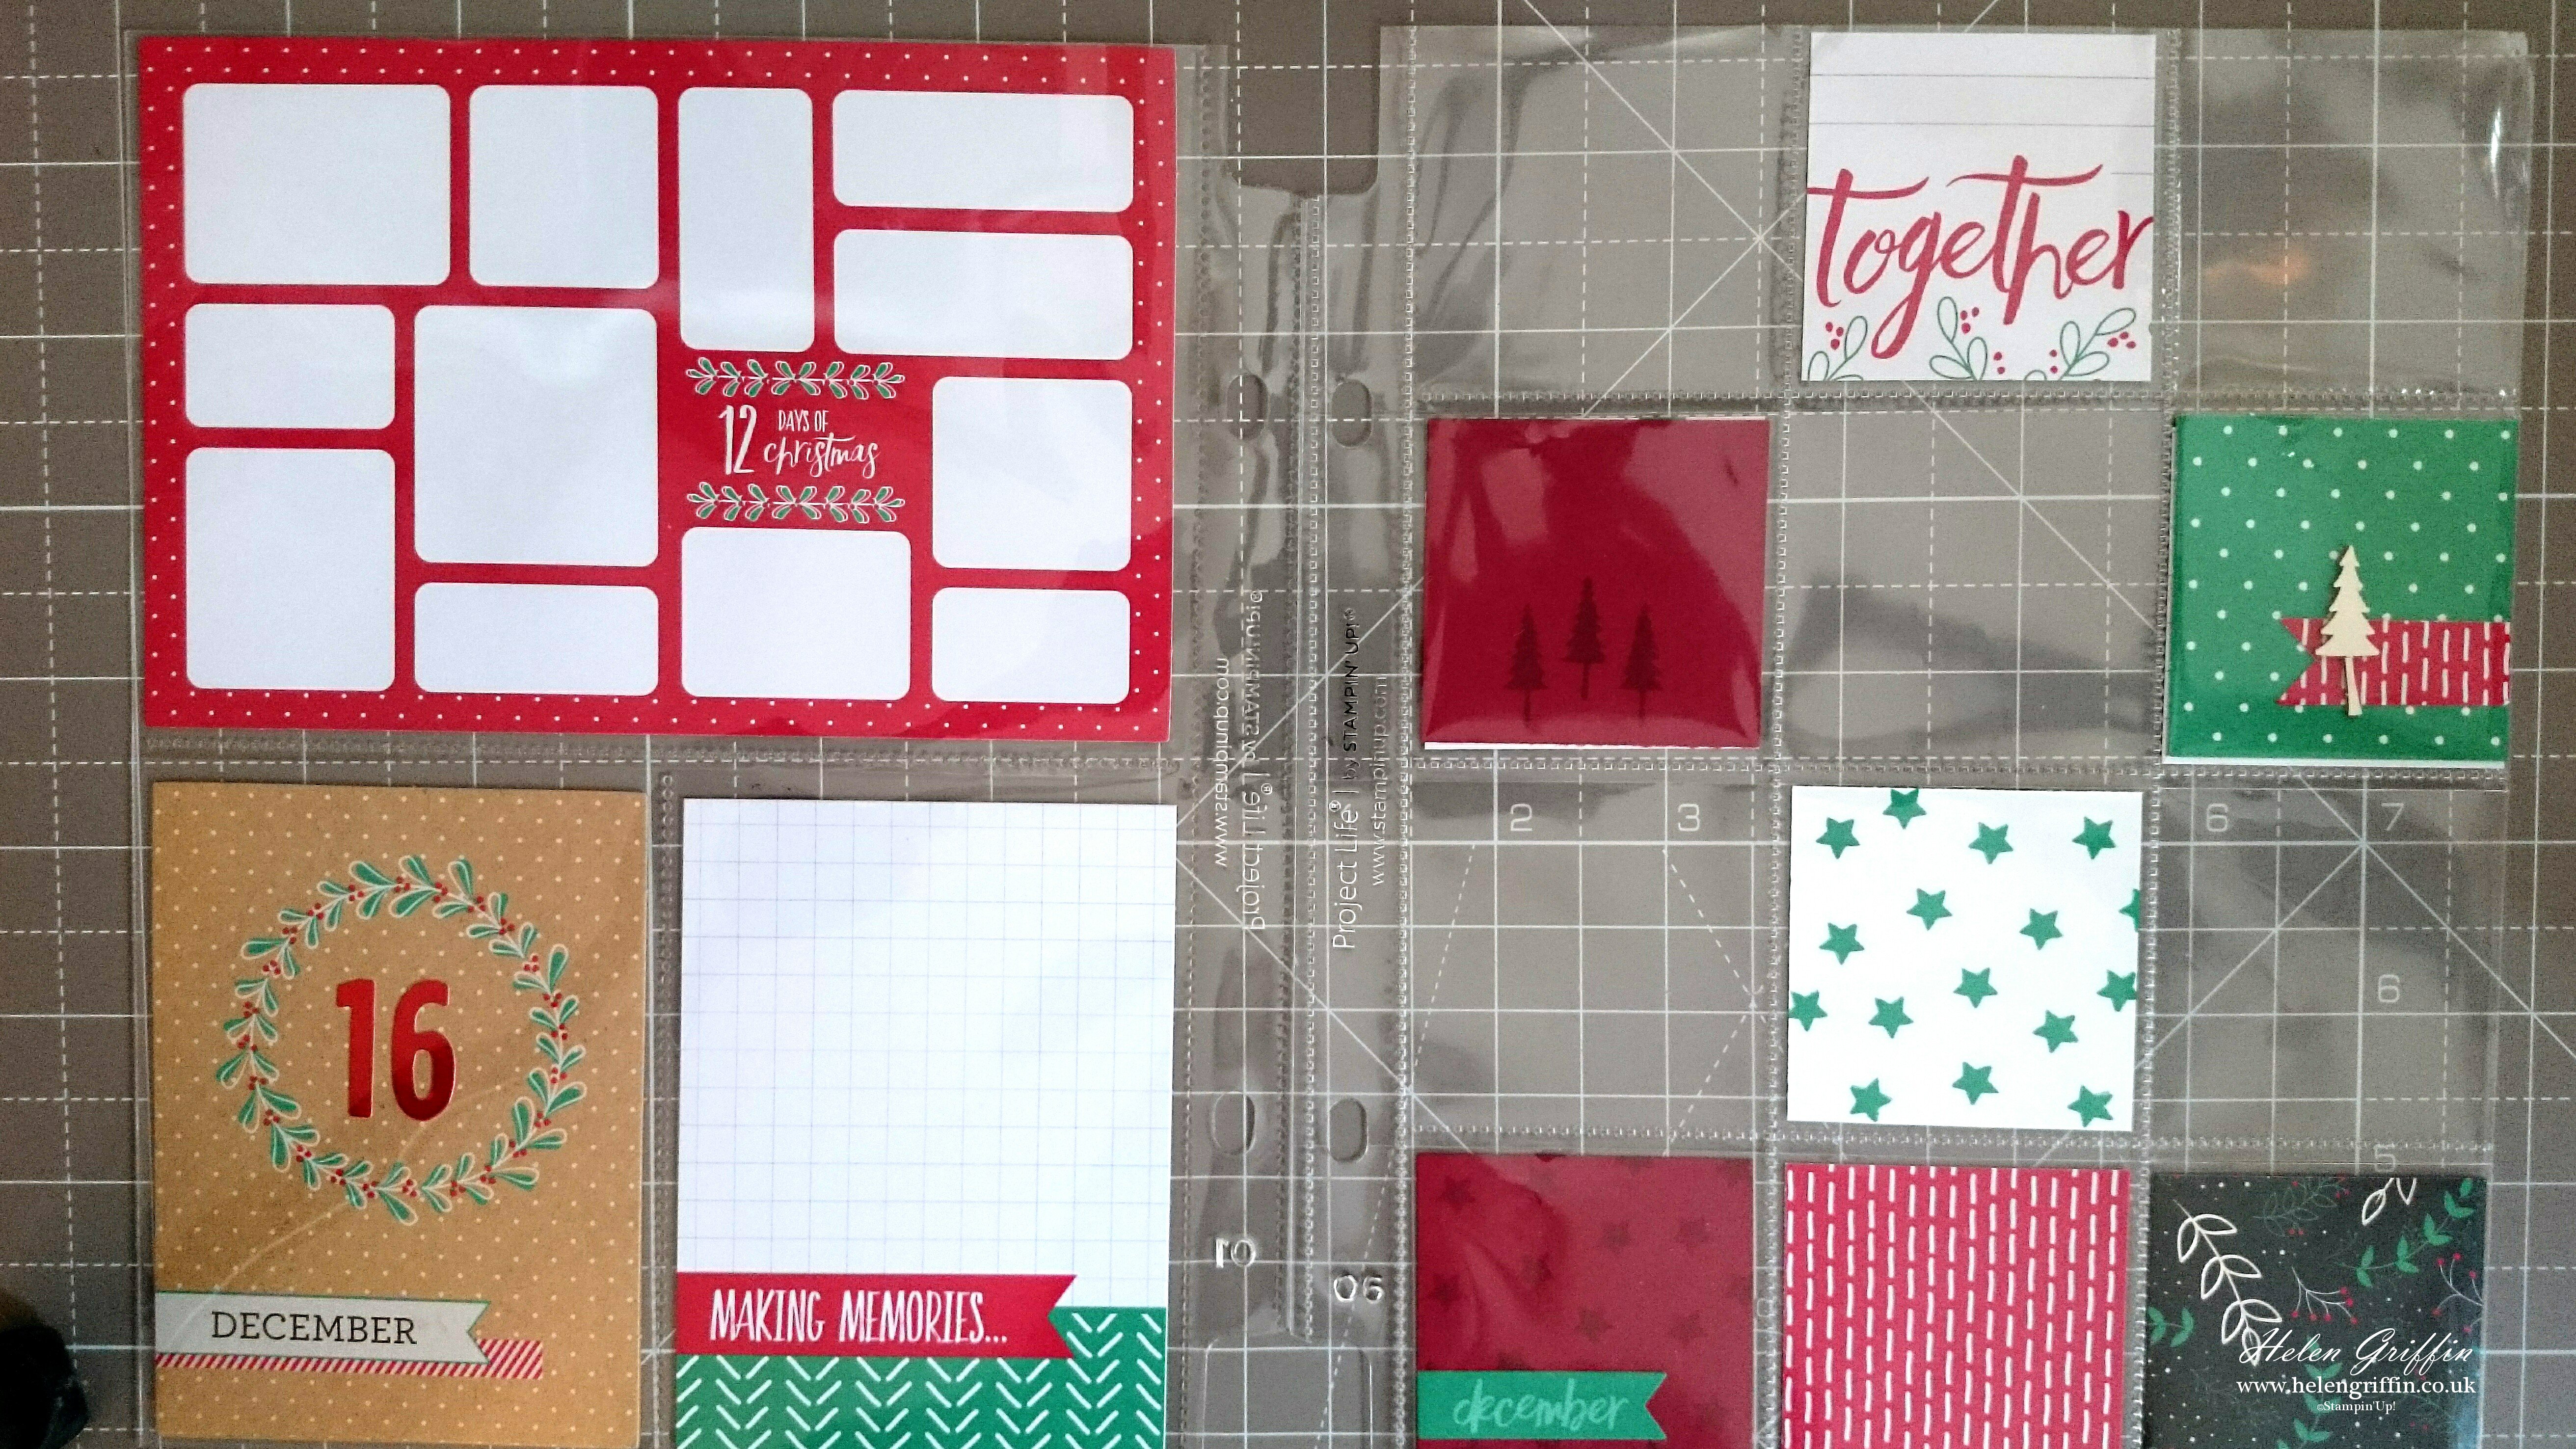
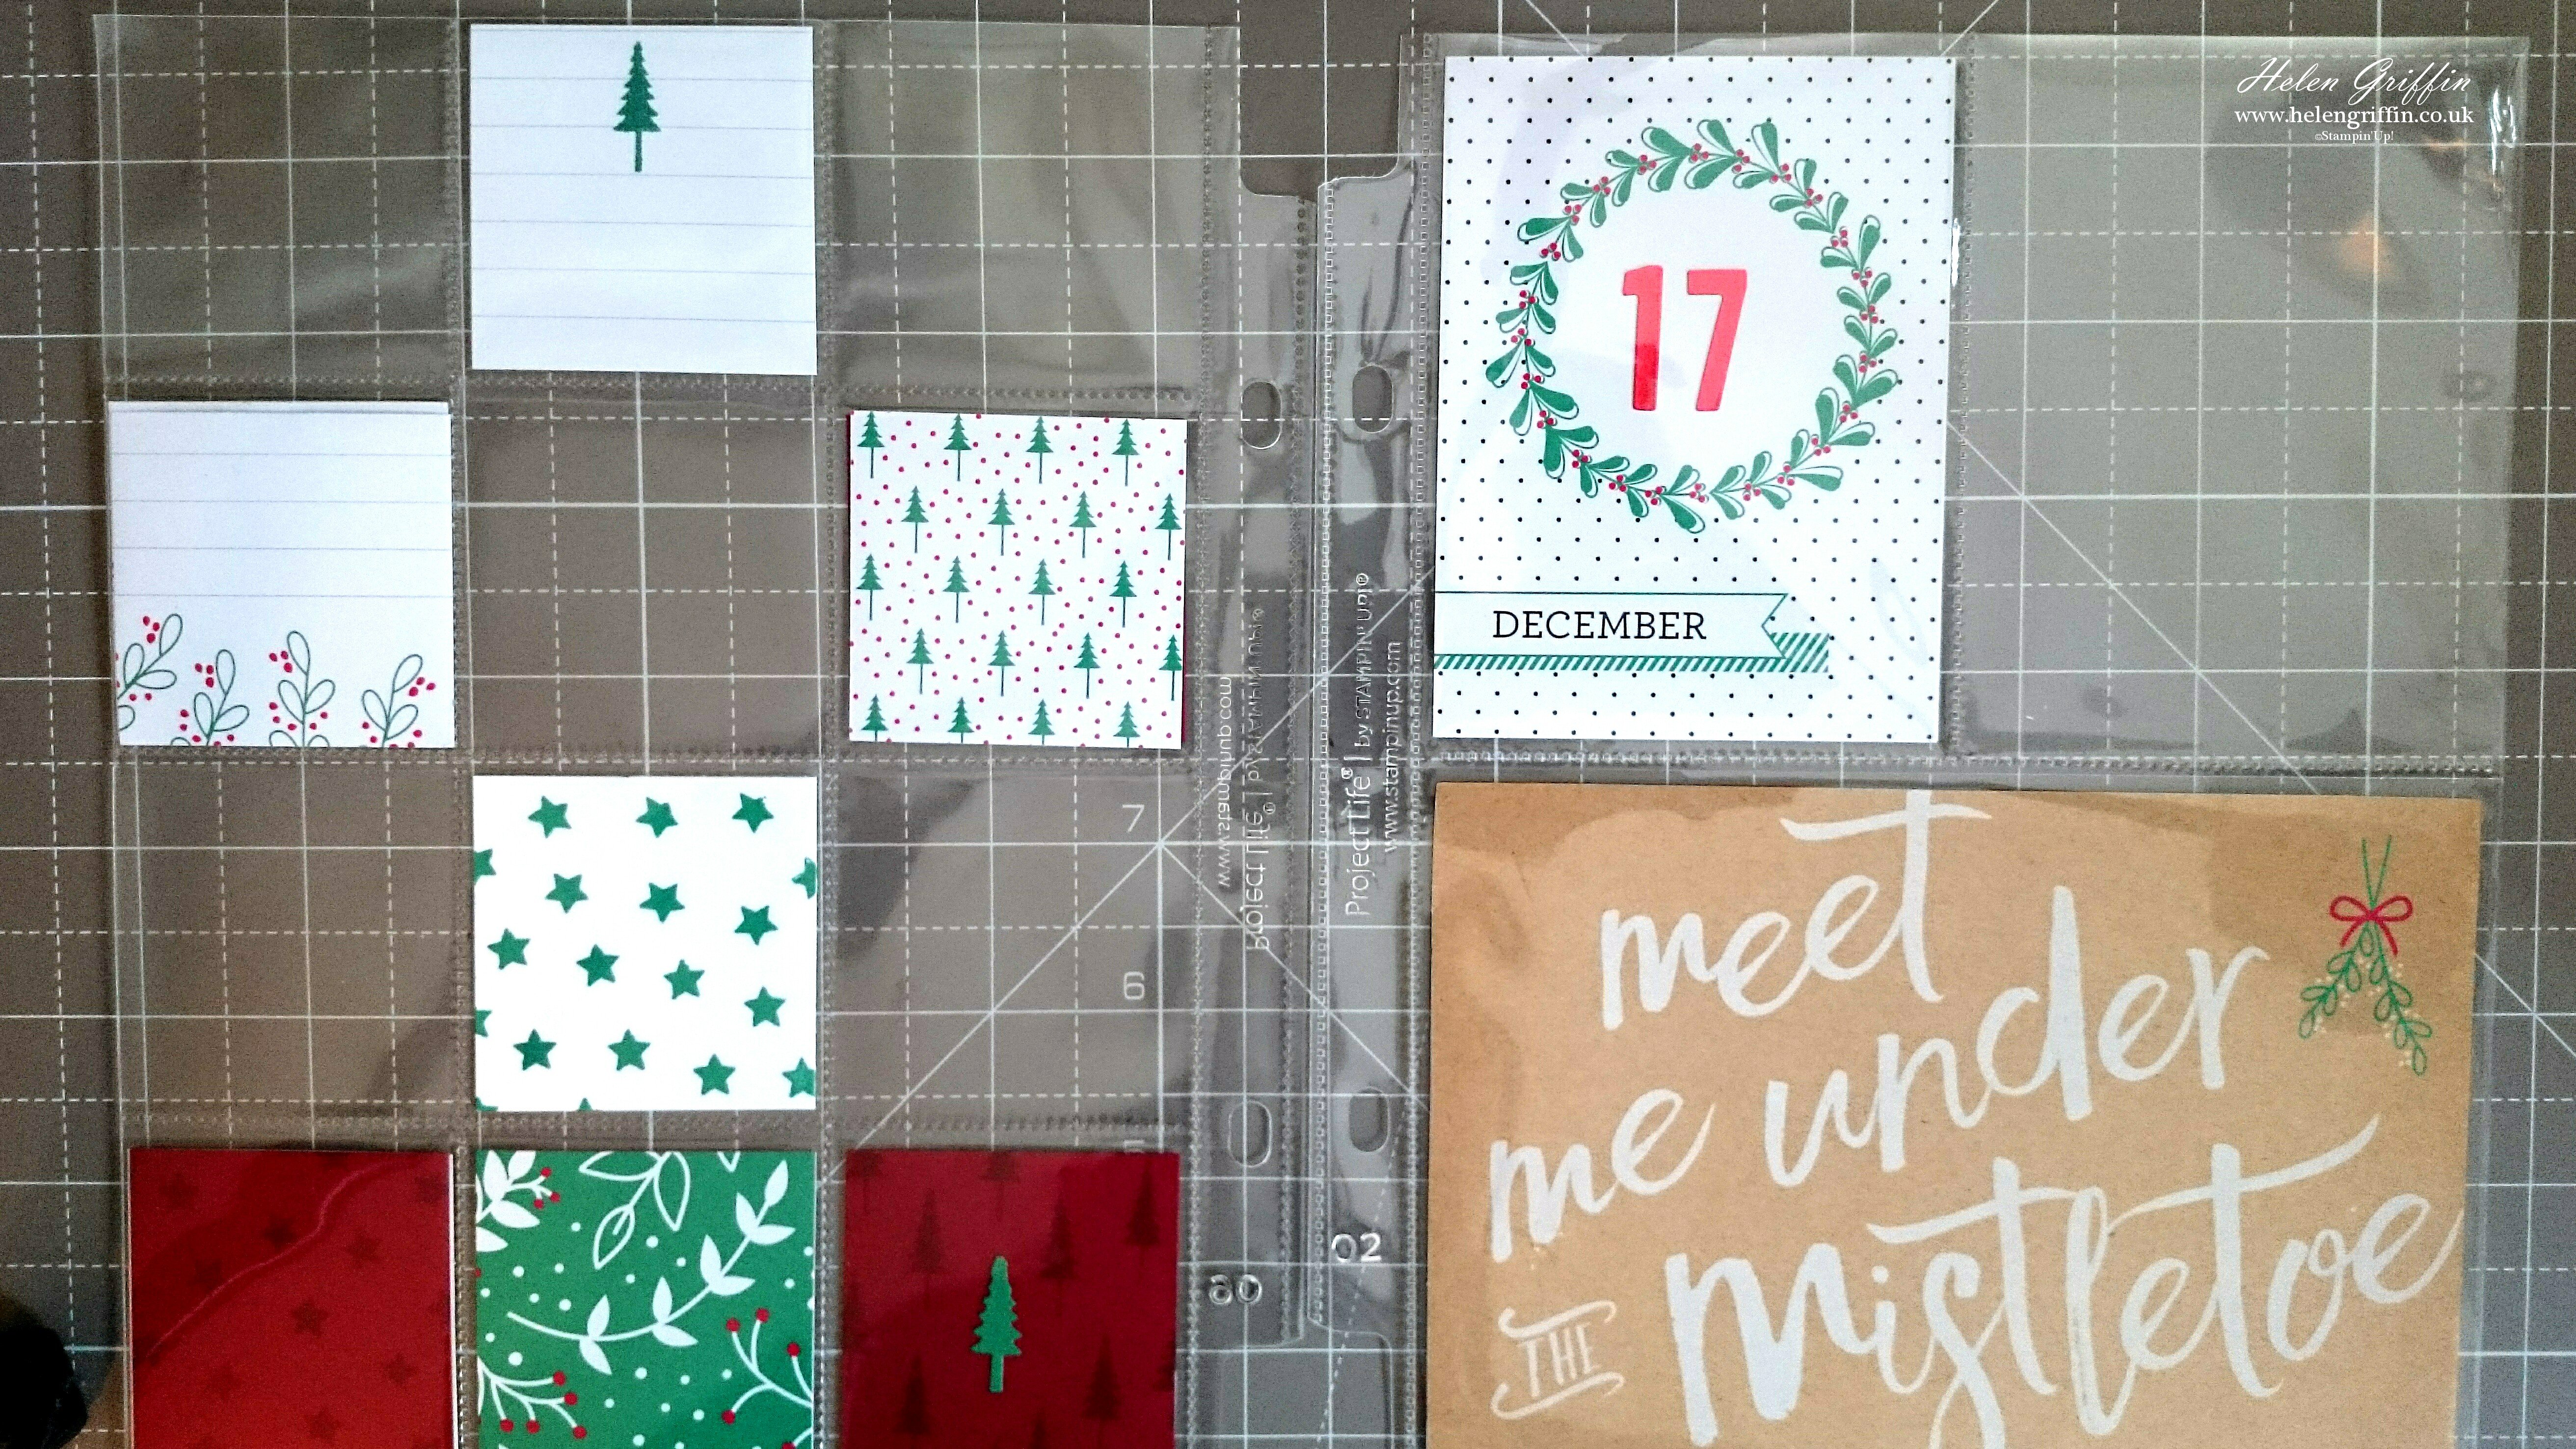
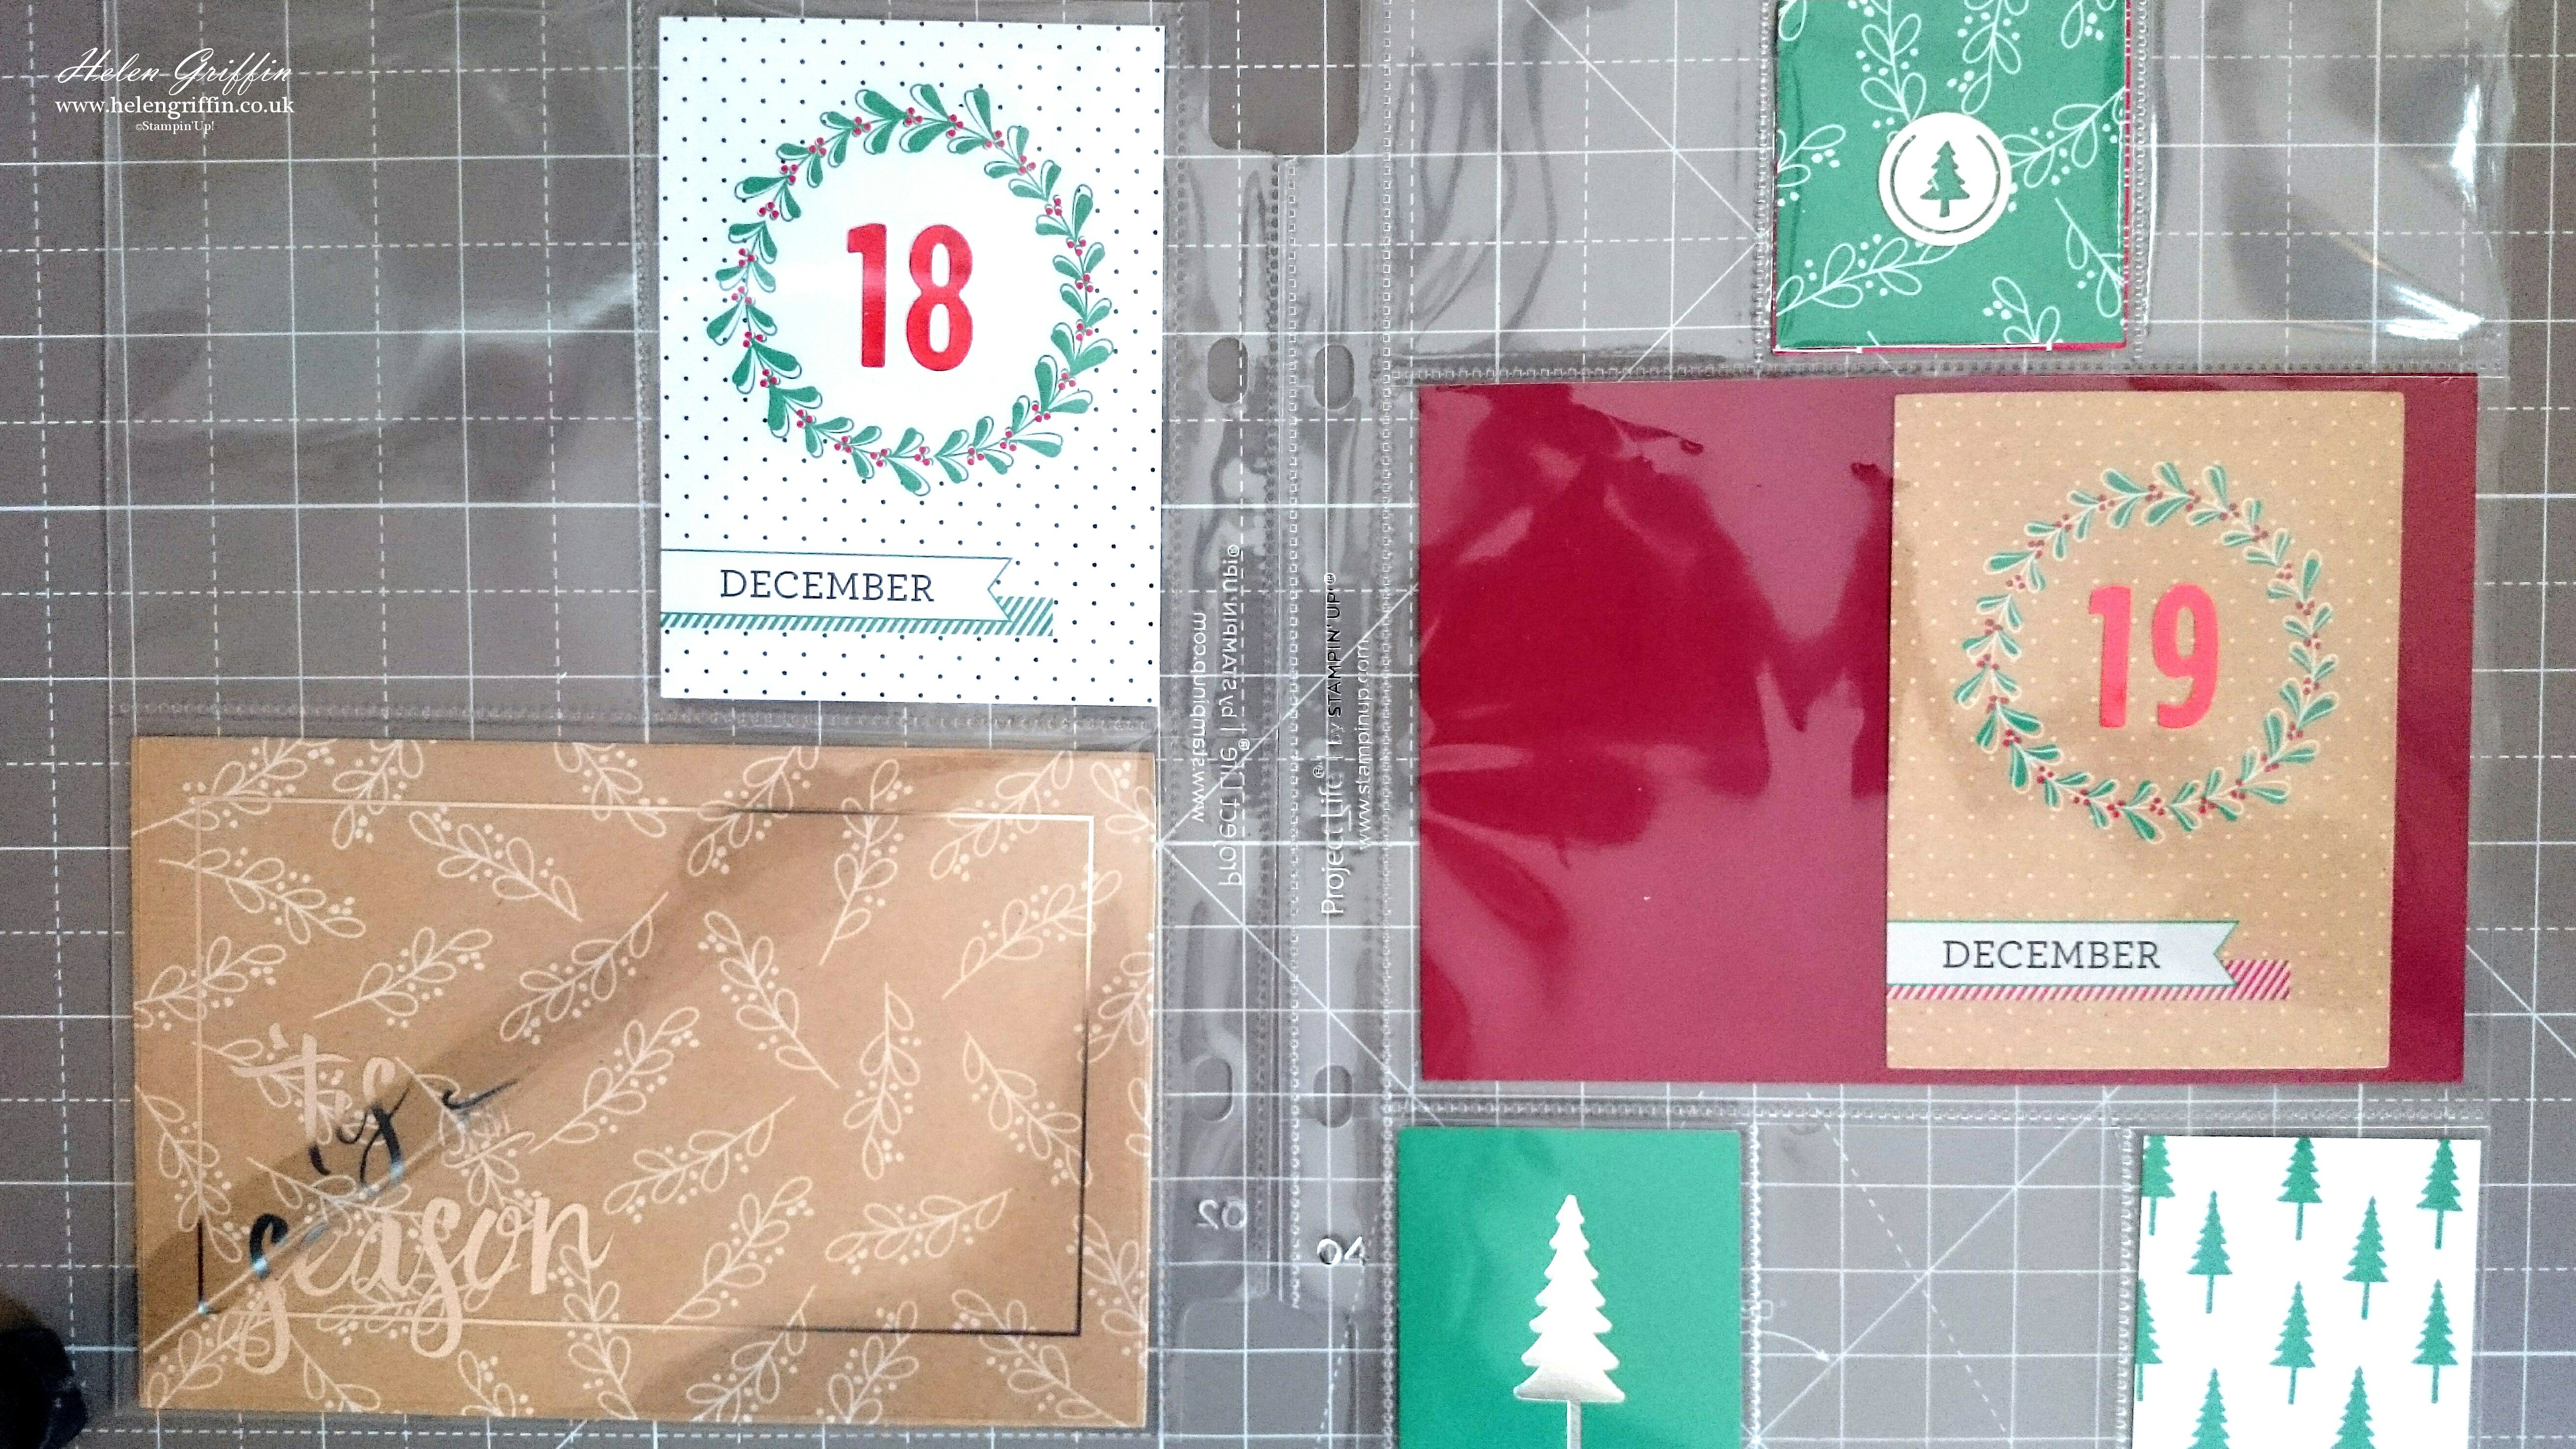
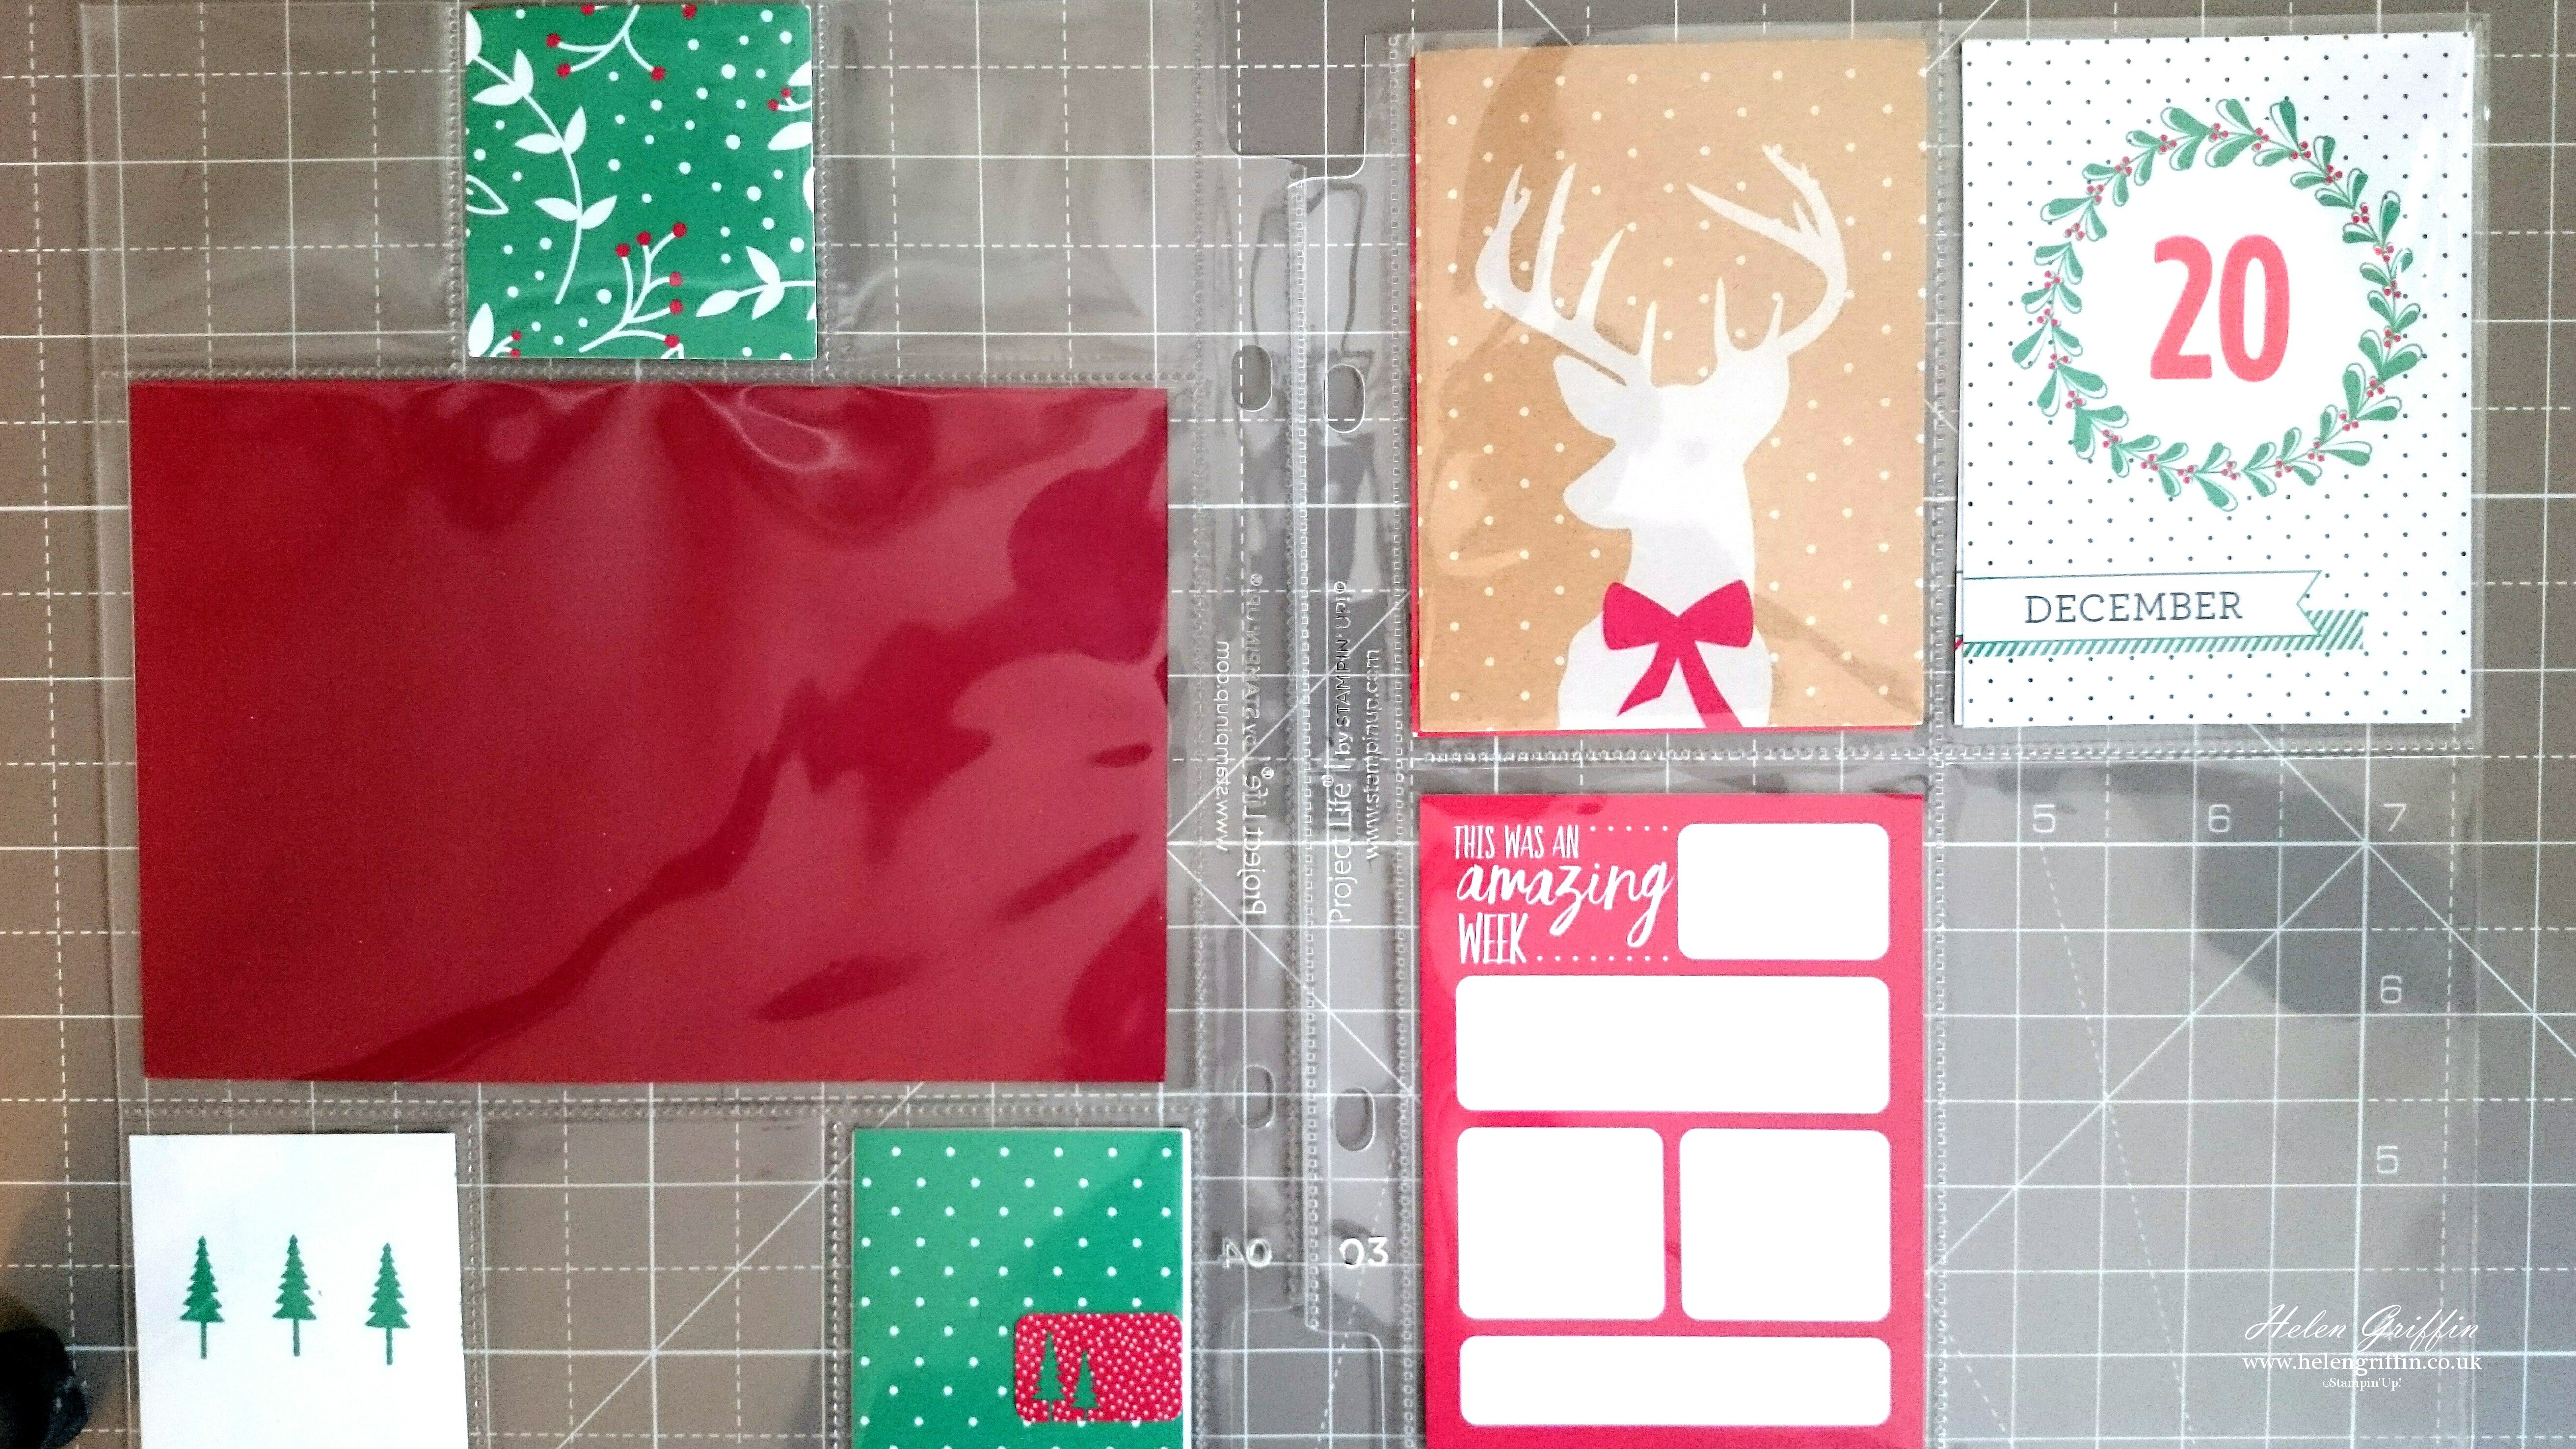
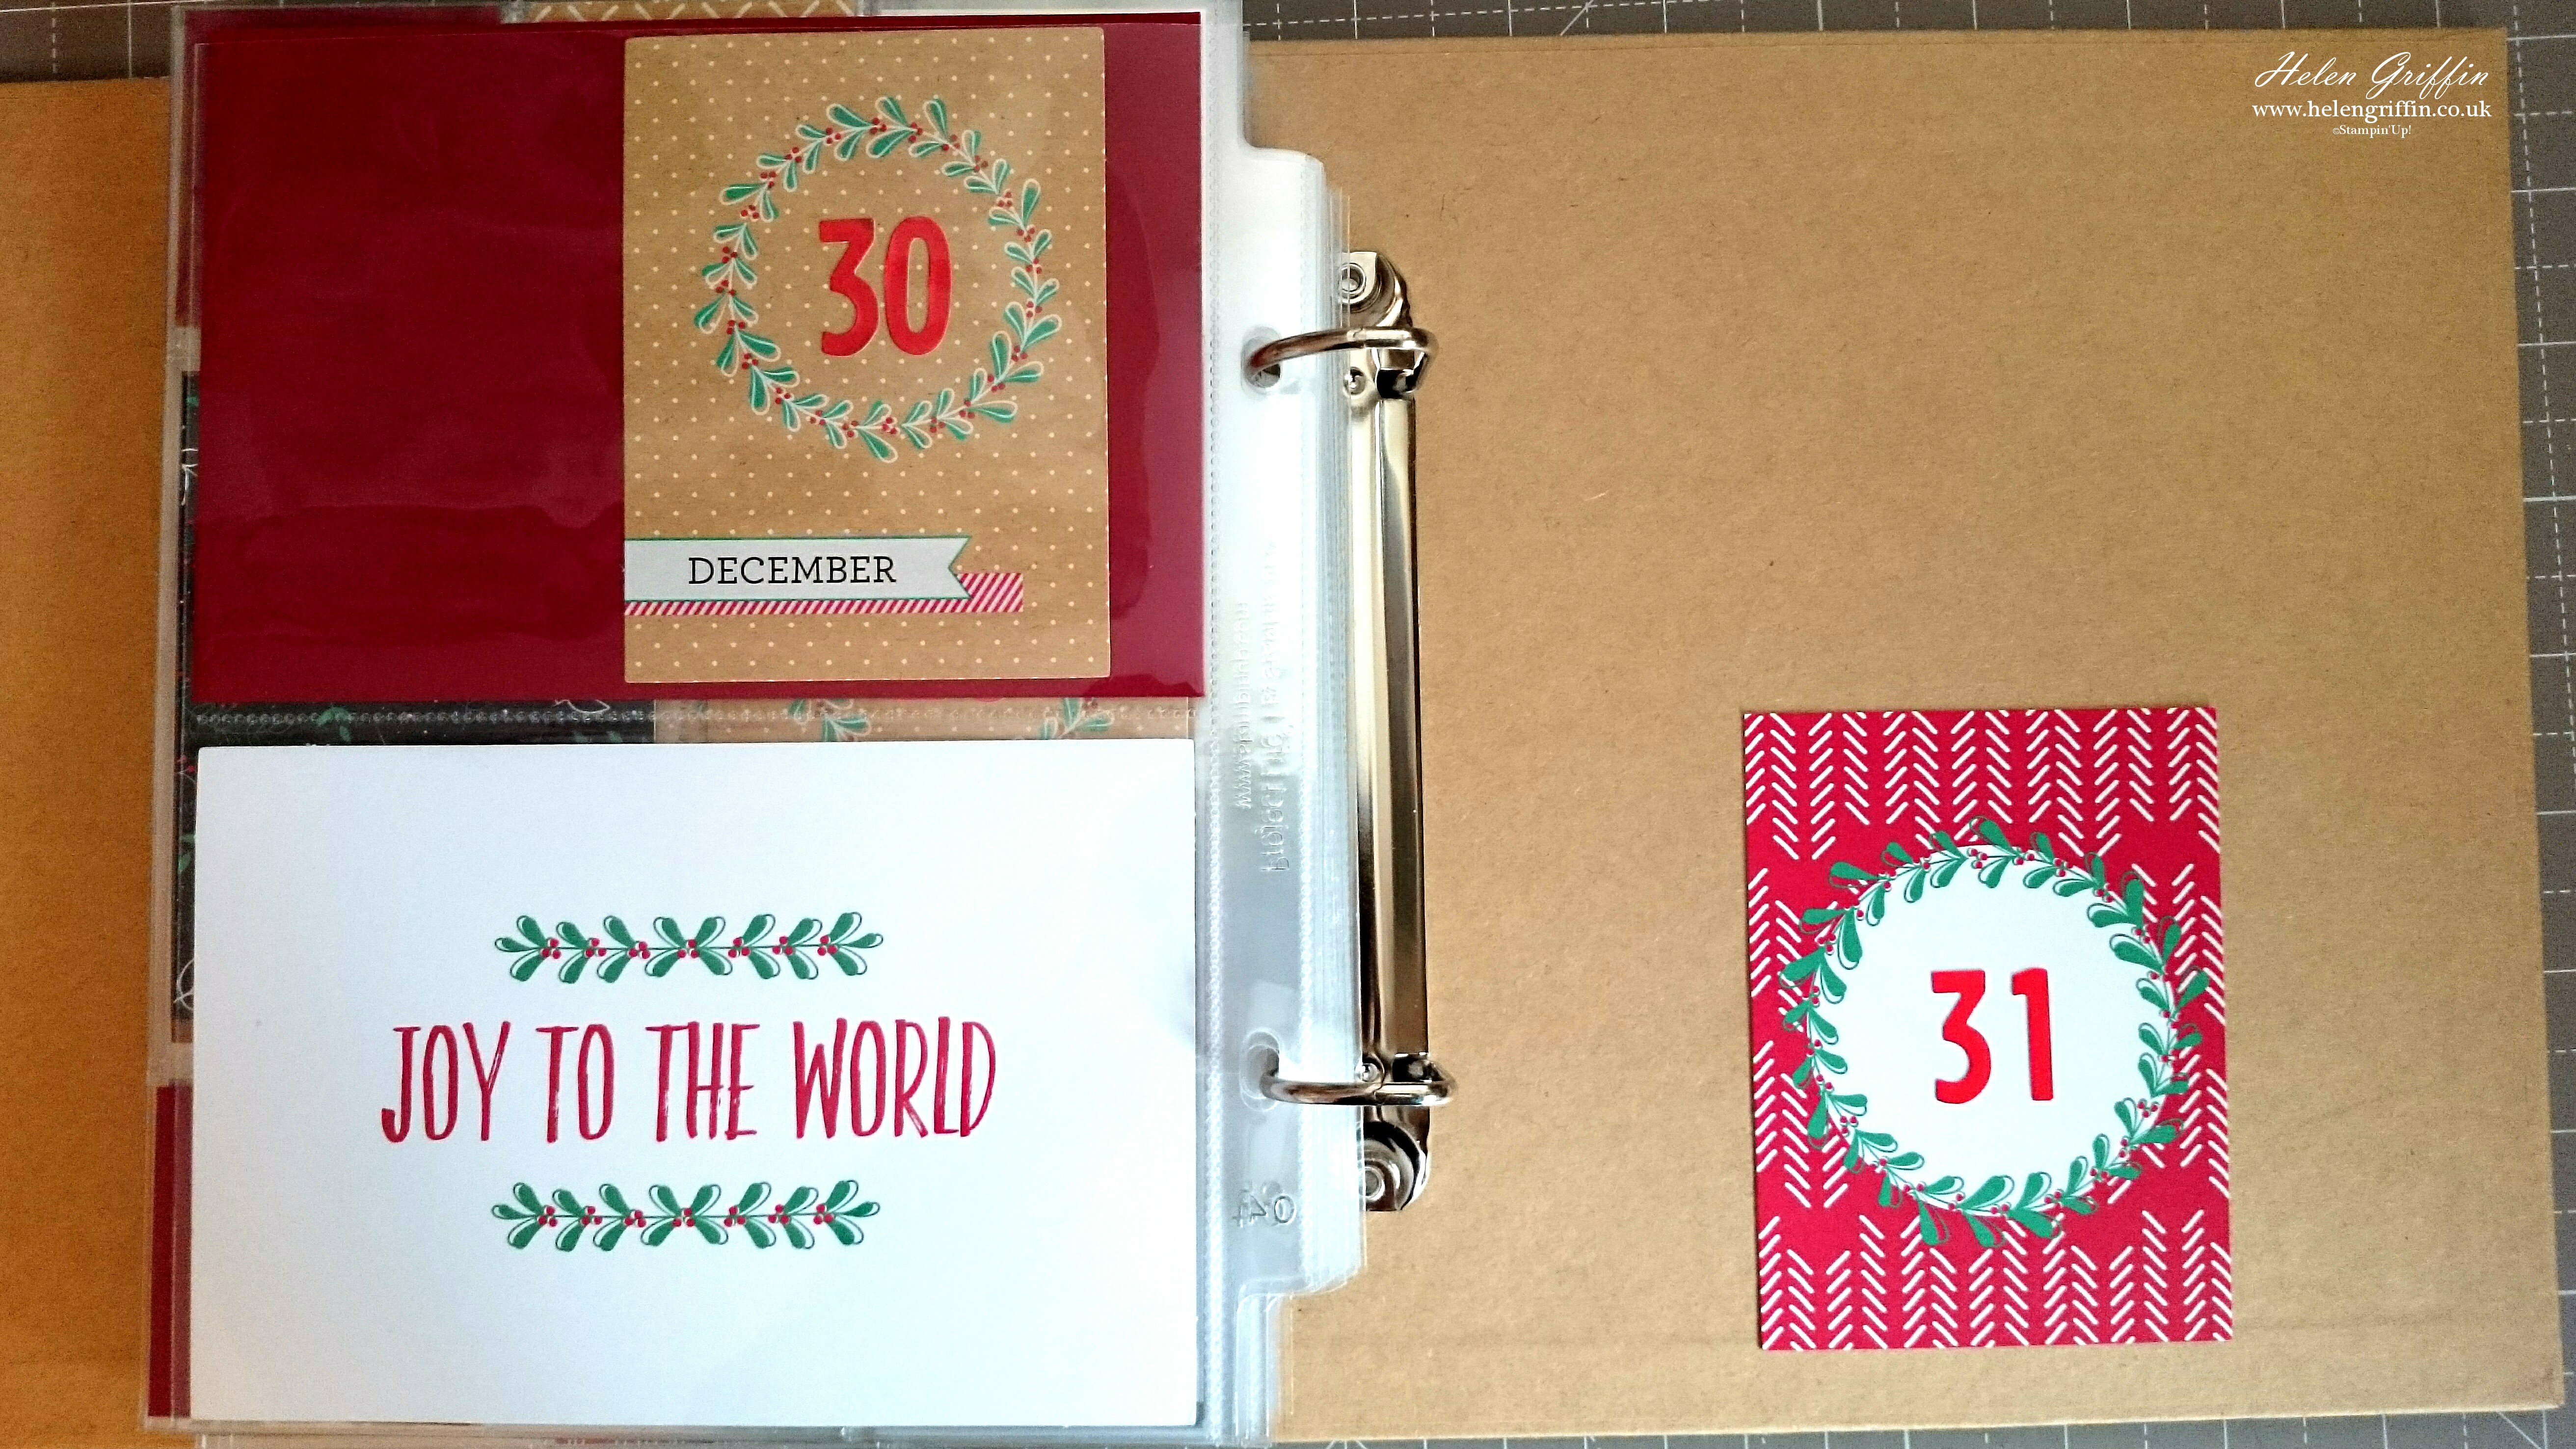
Gather all your supplies together for making the album and slot your cards in as per the video. Or if you are feeling adventurous, make your own page styles up (this may take more time). Next, personalise the inside of your album with the dates of December etc. You can even decorate the outside of your binder – even if it just says Christmas 2016. The pocket pages in this album are 4×6″, 3×4″ and 2×2″. Here are what my pages look like…


Plan your upcoming events and traditions
Now grab your diary/calendar/school agenda and a block of little post-it notes or sticky tabs. On each post-it write down the event taking place and then stick it in your album on the correct day. Once you have done this you will have a mental picture of December in your head. Take a look at the layout for each day and event and think about the most important photos you need to take. Hopefully that will be enough to jog your memory when taking photos or write them down.
I managed to get to this point watching The Muppet’s Christmas Carol and Jingle All The Way. PUT THAT COOKIE DOWN! I love that bit!
Plan your photo editing
Take your photos in a selection of landscape and portrait or do your best to take the photos in the correct orientation. It’s a tricky step but crucial in streamlining the whole project life process. I think this is the part where most traditional scrapbookers and project life beginners trip up. Your camera needs to be set with taking the photos at the ratio of 4:3 and not 16:9, like on most mobile phones. The 4:3 ratio will give you the true 4×6 size. This ratio will also give you the 3×4 size when taken in portrait. You can fit two 3×4 photos onto a 6×4. And this is how you print those sizes out. A free way of editing your photos is going to www.picmonkey.com and make your collages that way. You can find detailed tutorials on YouTube on how to do this – search for ‘printing Project Life photos’.
The 4×6 slots will be landscape photos, the 3×4″ slots will be for the portrait photos. The 2×2″ slots can be used as trimmed down photos. You can also trim your 4×6 prints in half to make a 3×4.
Printing
Now you need to decide how and when you are going to print your photos. If you have a Canon Selphy or something similar, then thumbs up! If you have a home printer that can print borderless (right up to the paper edge) photos in 4×6, then thumbs up to you too. This means you can print as you go or set a time once a week in December to print and then slot them in your album.
I’m afraid I fall into the other camp. My old printer could do borderless, but my new one does not – I have my eye on a Canon Selphy CP1200 in black with the 4×6 paper and ink set (if my husband is reading this, that is a hint).
I normally send my prints off to be printed and then delivered – I am in the UK and I use www.photobox.co.uk. I buy photo credits and then batch print. My plan is to send off my photos towards the end of December and then do another batch in January. It’s my birthday month so I will have more photos to print off by then.
Finishing your album
This is the part that we all start out hoping to achieve. If you have done your best to be organised and ready, then you should be approaching this point. If you didn’t make it, don’t beat yourself up about it – you were probably having lots of fun. You can enjoy quiet time doing your album while your memories are still fresh. My plan is to put in any finishing touches when I put in my photos and do my journaling. I have purposely not used up all the cards and accessories so I can still add to the album as I fill it.
So that’s it folks, you will find down below the Stampin’Up! video and the list of products & links that were used. The links will take you straight to my store and if you use this month’s hostess code at checkout, you will receive a free gift (please click here for more details). This is in addition to the handmade thank you gifts that I send out to each customer.
I wish you all the best in your journey to making your December Daily a completed project.
Helen Xx
Product List

 Project Life Album")


Hostess Code Club – do you like free gifts?
All orders over £25 (before shipping & handling) & using this month’s Hostess Code at checkout will receive a Hostess Gift from me. If your order is over £150, please do not use this code – you can claim your own Stampin’ Rewards.
All online orders under £150 will collect Stampin’ Rewards (free product) throughout the month. Your order is processed as normal, with it being delivered to your house as usual, so nothing changes there. But, at the end of the month, I close off the code and work out how many people have placed orders and divide the total Stampin’ Rewards between them all, making sure that everyone has exactly the same products.
However, the more people who join the code, the higher the rewards go because everyone is pulling together!
This month’s code can be found at the top right of this page or on the home page