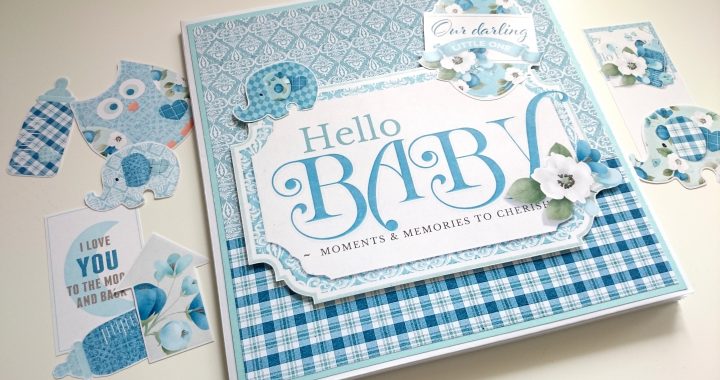
This mini album is so quick, easy and simple to make! I’ve used the gorgeous new paper collection called Hello Baby Boy from Nitwit Collections and below I show you how to make your own.
This collection is a digital collection – so you can print it as many times as you need, in whatever size you fancy. I’m always being asked questions about how and what I print my printables on, so I’m going to answer a few of those questions below:
What printer do you use?
I use an Epson XP-640 – It is a lovely printer that prints great quality images.
I also use an Epson XP-900 which is a wide format printer (A3).
Both printers above have a thick paper/card option 😀
What inks do you use?
I use compatible inks by Jetsir (link below) – I am happy with the print quality of these inks at a fraction of the cost.
What paper/card do you use?
I always like to experiment and so far my favourites are HP Professional Matt Inkjet paper (A3) – I cut this in half to make A4 or use it in my wide format printer.
I also like HP Professional 180 – it has a very slight sheen and is just like take-away menu or leaflet/pamphlet paper. I used these to print my father’s funeral order of service booklets which included images and text. A very good choice for mini albums too!
How do you print your images?
I don’t use any fancy software! I do sometimes use my Cricut, but there’s more down below on that one. For my background papers, I simply right click on the image and choose print. This brings up a box and I choose my printing options. Sometimes I ‘fit image to page’, sometimes I don’t. Have a play and see what options you have. Another trick is highlight a number of images, right click, print, and in A4 mode you can choose multiple layout prints.
For printing out the elements and journaling cards, I open up a Word document, adjust the borders to make the editable space larger and then add my images. Images can be resized by using the options or clicking on the image and using the little boxes to ‘drag’ it smaller or larger.
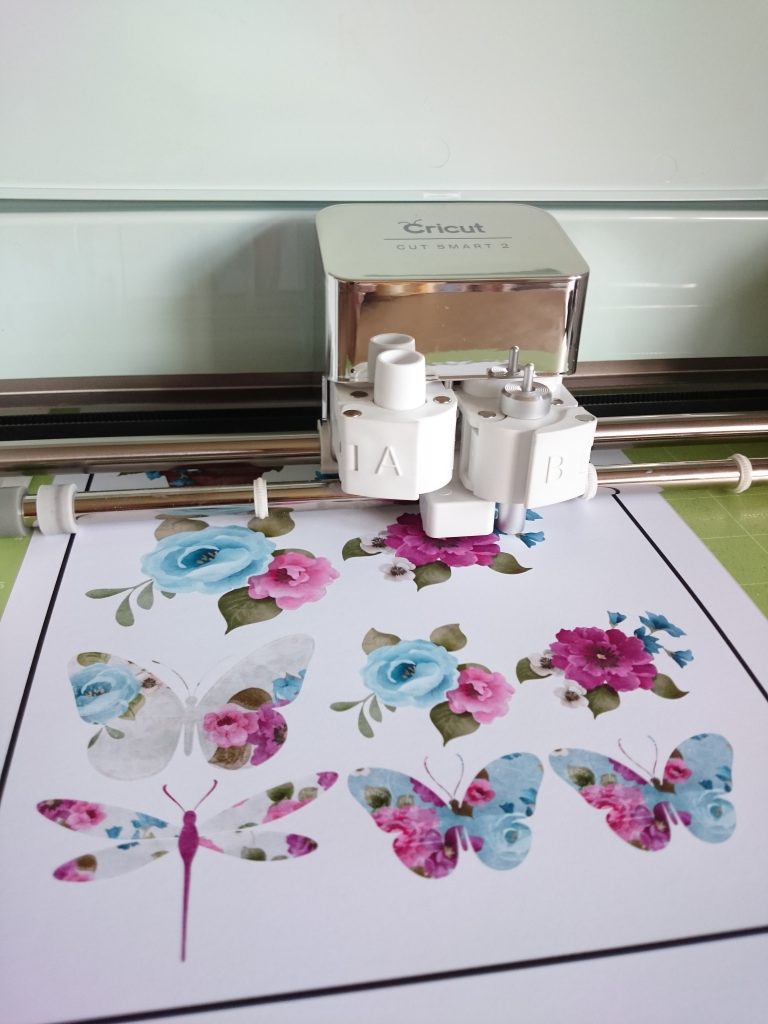
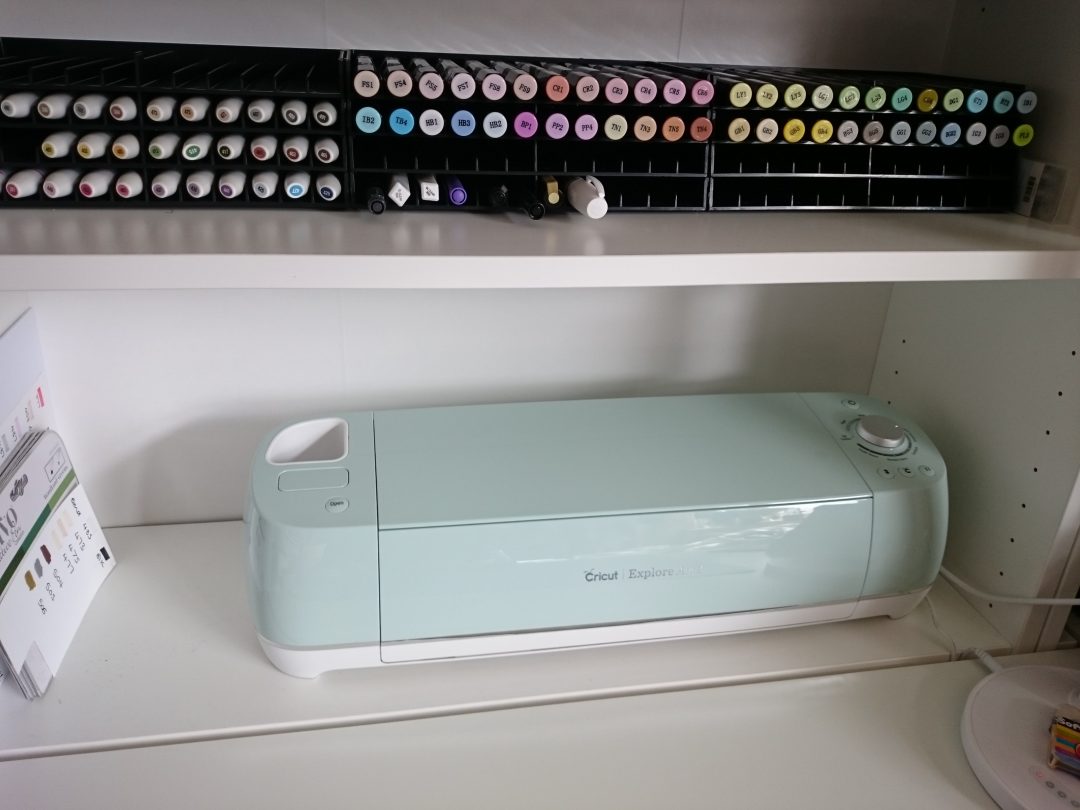
I also use my Cricut Explore Air 2 and I love how this does it all for you! Nitwit Collections has a tutorial on how to print and cut. I will include the tutorial further down this page.
If I have any further questions, then I will add them and my answers to the above section.
Thank you for dropping by today. If you have enjoyed today’s project, please subscribe to my blog on the right and/or my YouTube channel so you don’t miss any future projects. You can also find me on Facebook and I’m happy to answer any questions you may have – I try to reply to as many comments as I can.
Helen Xx
Cutting Guide
Five 8″x 8″ white envelopes
Page mats – 7 7/8″x 7 7/8″ (8)
Front page card mats – 7 7/8″x 7 7/8″ (2)
Front page mats – 7.5″x 7.5″ (x2) trim both at 5″
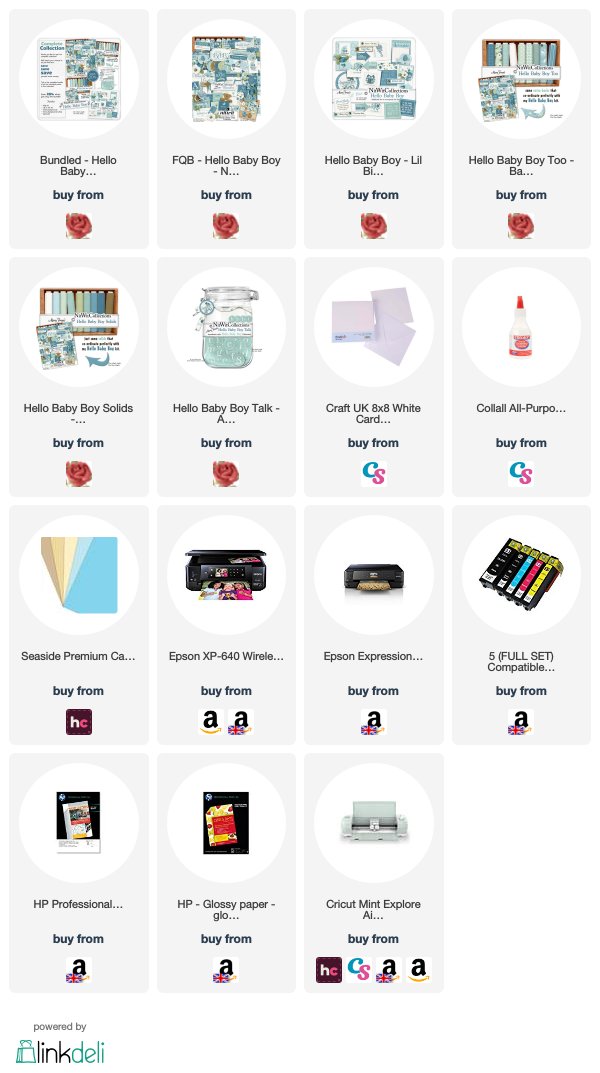
SUPPLIES
GET 20% OFF YOUR FIRST ORDER WITH CRAFTSTASH WHEN YOU SIGN UP TO THEIR FREE NEWSLETTER
Hi Hellen, Lone the Collection, and your album. Did you say you put chipboard I’m the album ? I though I heard it in you tutorial. Thank you so much for shearing
Hi Mona, I used cardstock to strengthen the covers. I may have said that chipboard would work too 🙂