This technique is very simple, but also very effective – especially when you don’t stick to one colour. Here’s how to make the most out of your circle blending tool or sponge dauber.
The Technique
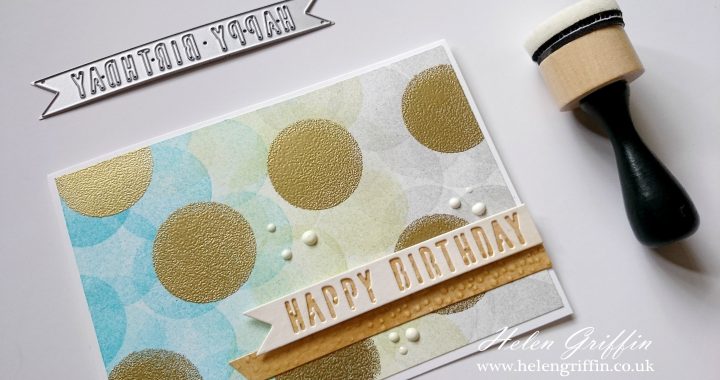
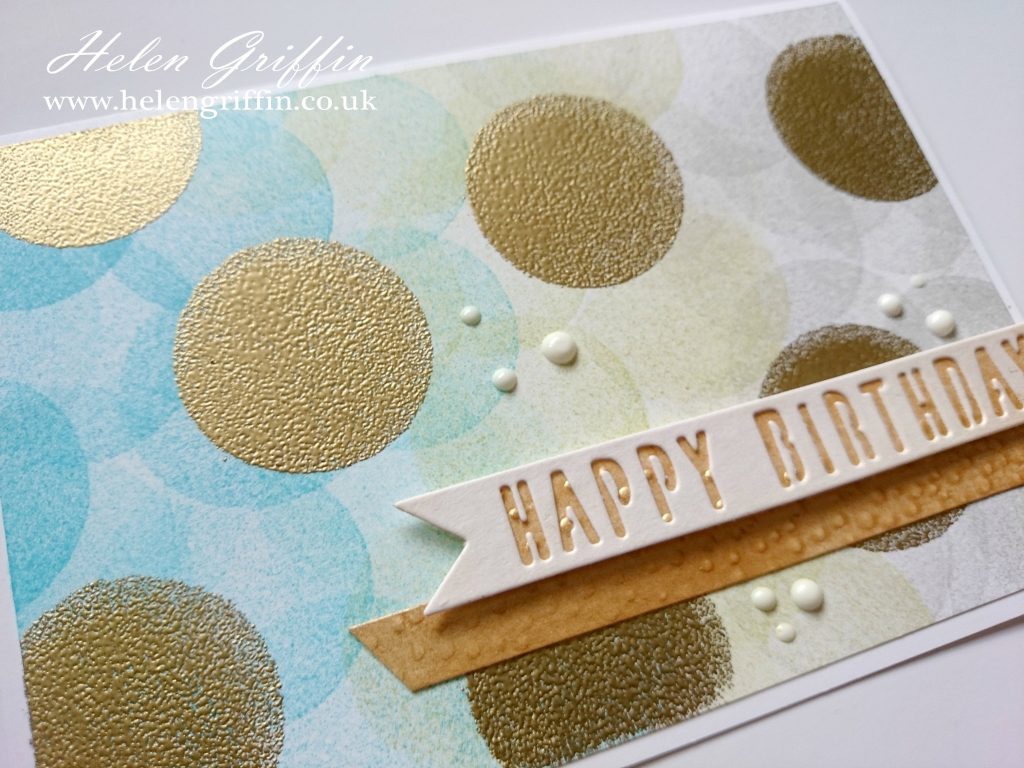
As I mentioned above, you can use your circle blending tool or a sponge dauber for this technique. Simply dab it onto your ink pad and then stamp on your card, then stamp again in a different place for a lighter circle (second generation stamping).
Change your pad when you change colour and overlap the two colours to help it transition on your card. I also used a clean pad on my Versamark Watermark ink pad and heat embossed it in gold. To finish, I used a Happy Birthday die cut from First Edition Craft (Trimcraft) and used some left over gold painted card that will be featured soon.
Thank you for dropping by today. If you have enjoyed today’s project, please subscribe to my blog on the right and/or my YouTube channel so you don’t miss any future projects. You can also find me on Facebook and I’m happy to answer any questions you may have – I try to reply to as many comments as I can.
Helen Xx
Materials
Mini Ink Blending Tool – Ranger (or round sponge dauber)
Modern Sentiments dies – First Edition Craft (Trimcraft)
White Cardstock
Tempting Turquoise, Pear Pizzazz & Smoky Slate ink pads – SU!
Versamark Watermark ink pad
Gold heat embossing powder
Heat Tool
White Nuvo Crystal Drops – Tonic